DIY Recycled Cardboard Play Food Sandwich: Toast, Lettuce, Ham, Cheese and Tomato (free tutorial + pattern)
Recently I posted about how to make a easy felt DIY playfood set with fish, burgers, carrots, and lettuce to add to your child’s pretend play collection. However, I realize that many people may be intimidated by the fact that they need to sew, they don’t own a sewing machine, or they just plain dislike sewing (what can I do to bring you the joy of sewing????)
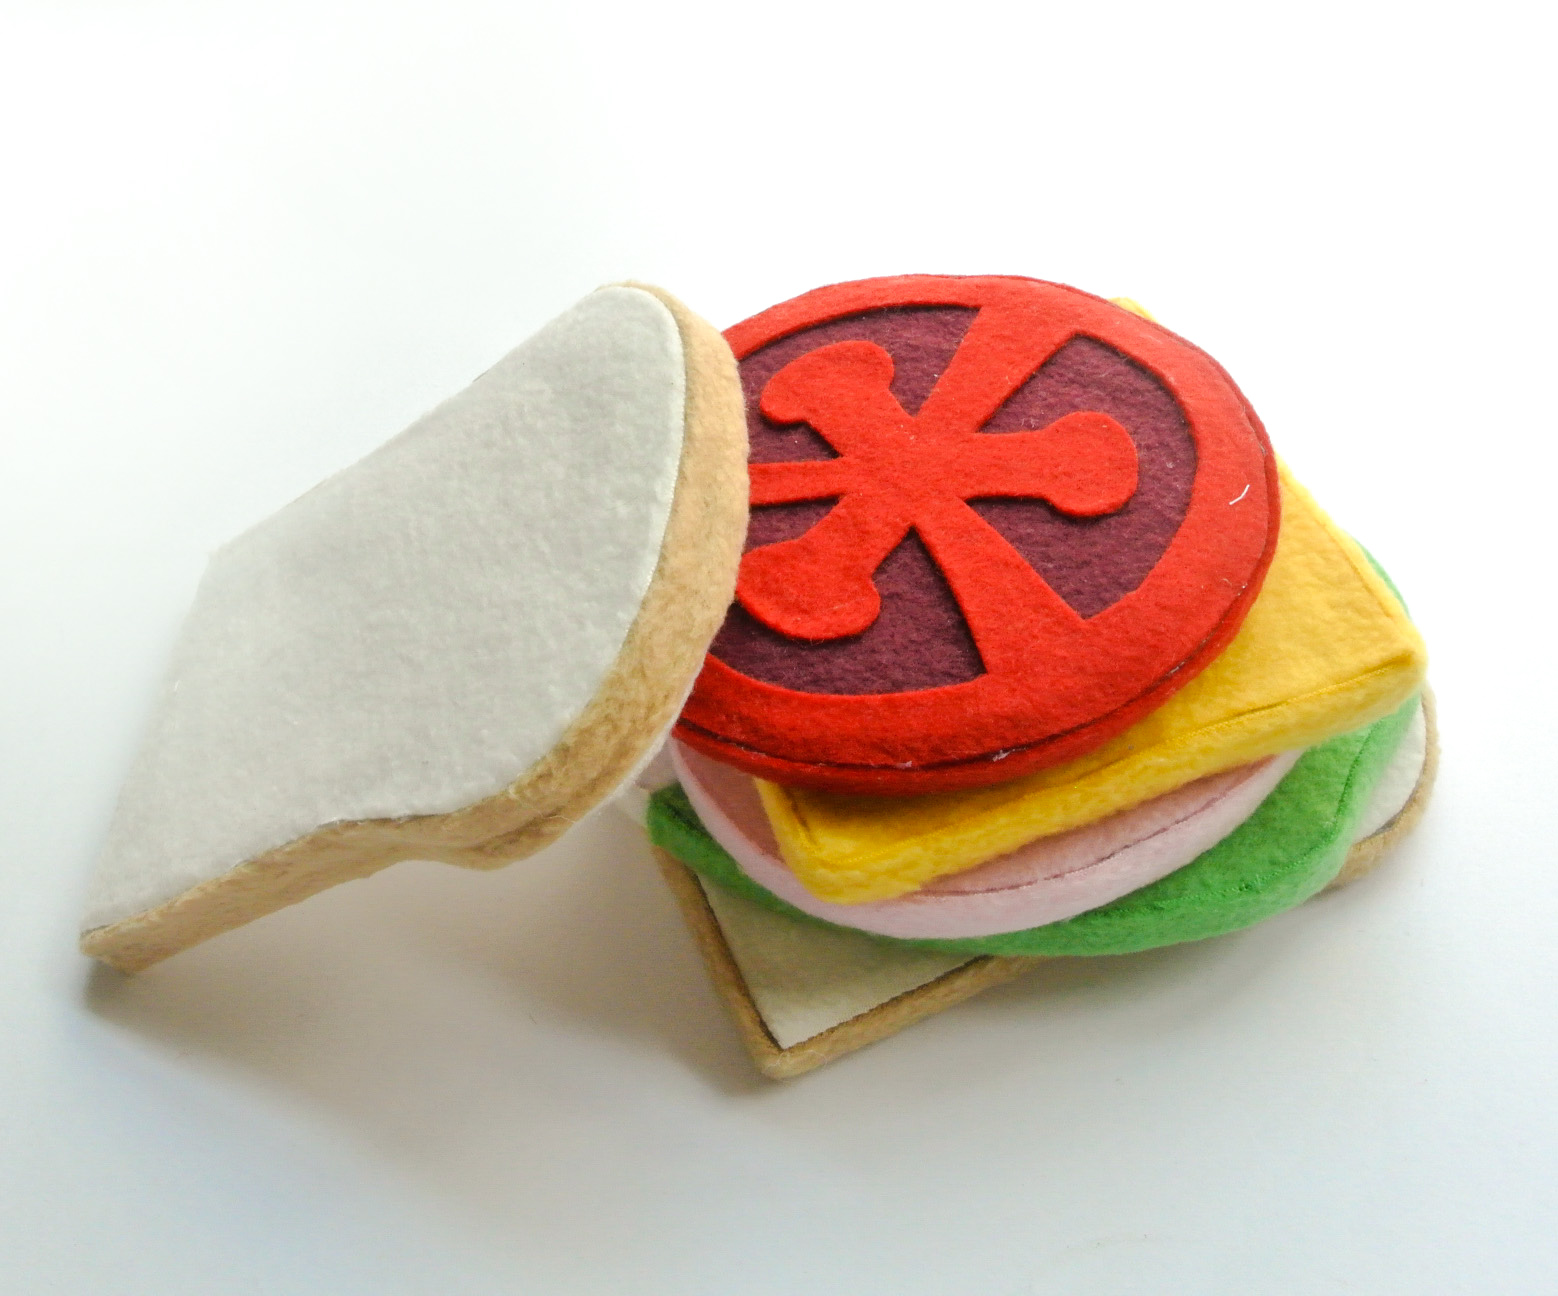
Since I enjoyed making the play foods quite a lot, and my toddler enjoyed playing with them, I wanted to come up with a way to make play foods for my non-sewing friends. Here it is! a no sew pretend play Felt Sandwich to add to your child’s play food collection. All you need is a large cardboard box, felt/fleece fabrics, My Free Cardboard Play Food Sandwich Pattern (available in my free resource library) and glue glue away! It really can’t get any easier!
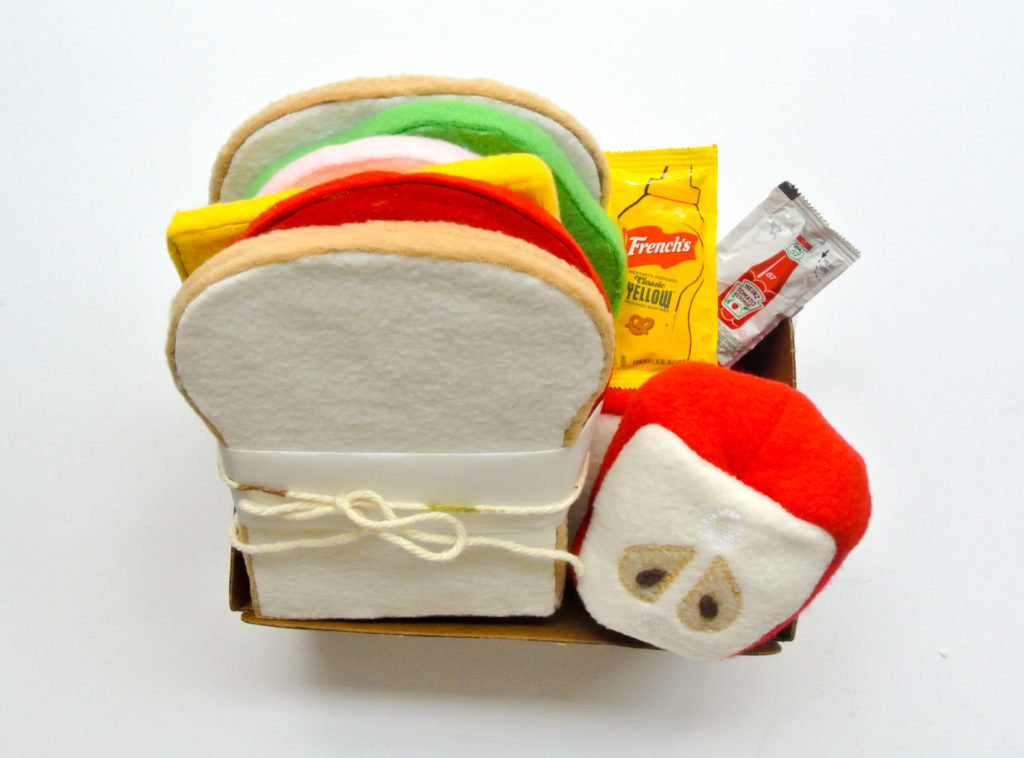
For the sandwich I made two pieces of toast, a piece of cheese, a deli meat ham, a lettuce and a tomato slice. All the play food pieces (except the tomato slice) are constructed from two pieces of cut cardboard glued to each other as the core. Then, we surround this cardboard core with felt/fleece. The tomato slice, on the other hand, is made using only one piece of cardboard. This is due to the fact that I want the tomato slice to be slightly thinner.
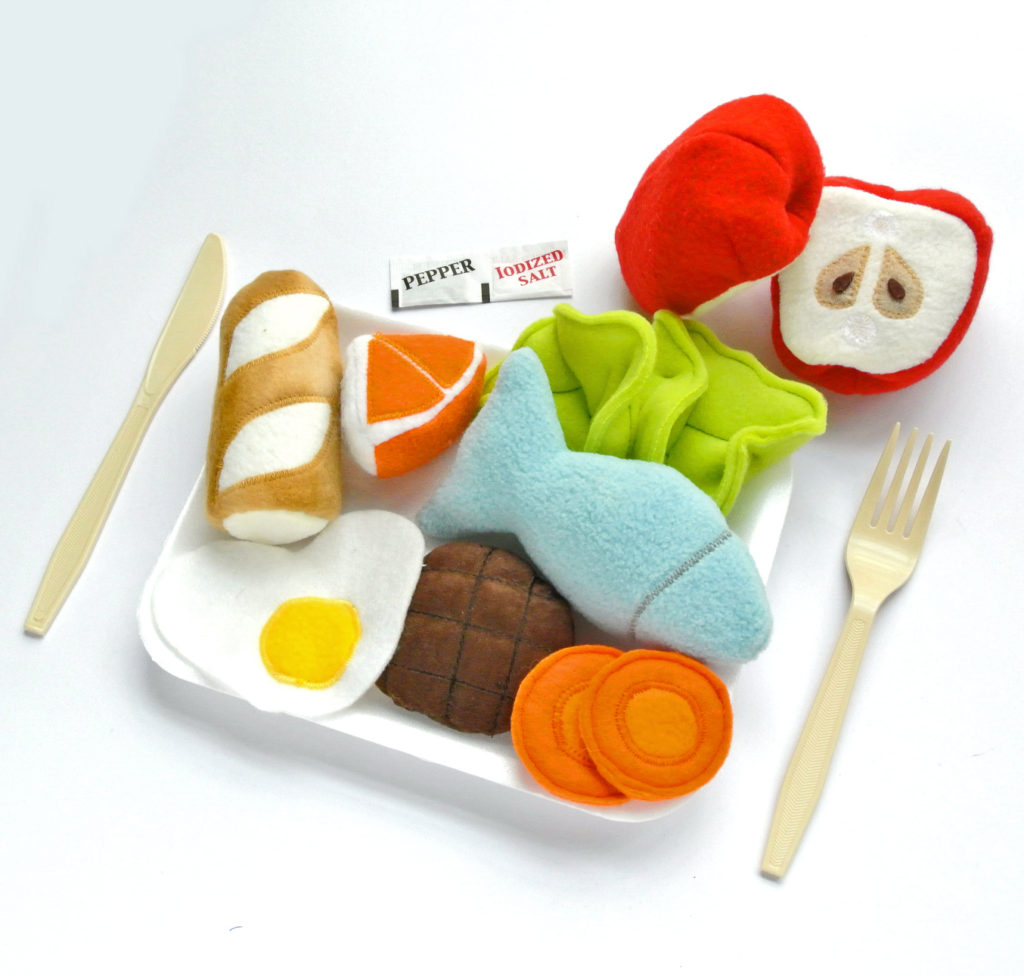
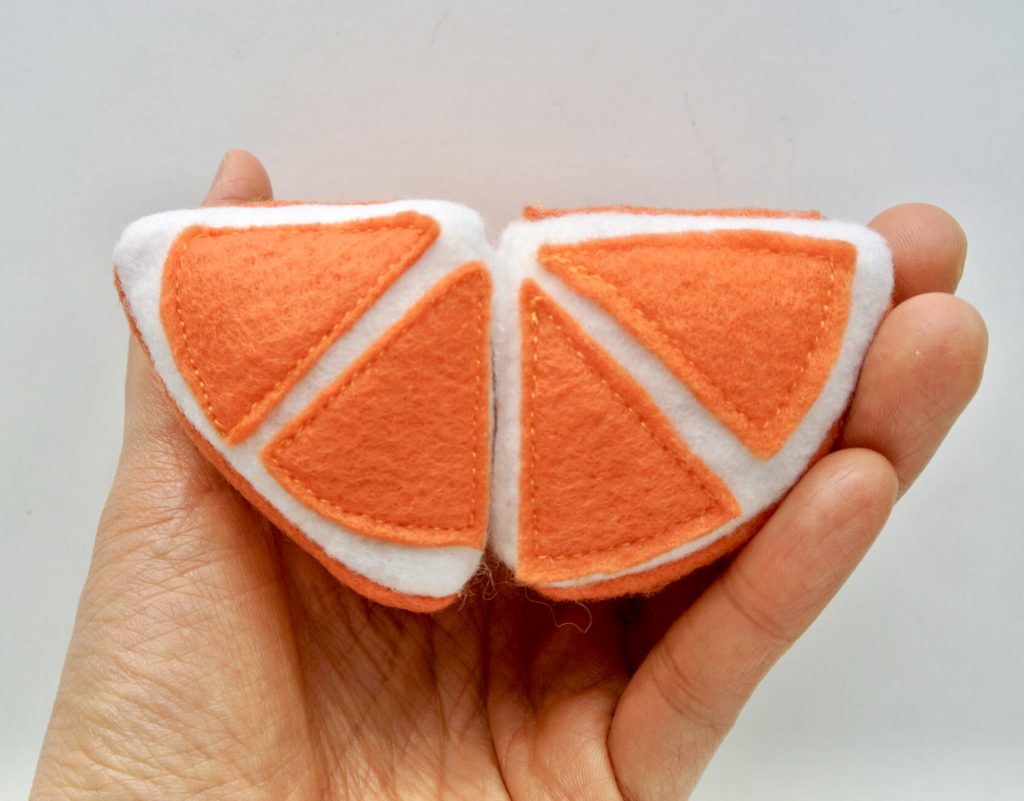
Want to learn how to make the apple to go with the sandwich? Check out the post Felt Food: Shareable Apples and Oranges. Sewing required!
You can actually make the sandwich filling (cheese, ham, lettuce, and tomato) out of felt without adding the cardboard core. However, I liked that the cardboard added some thickness and weight to the play foods. As you can see in the picture below, it makes for a pretty tall sandwich!
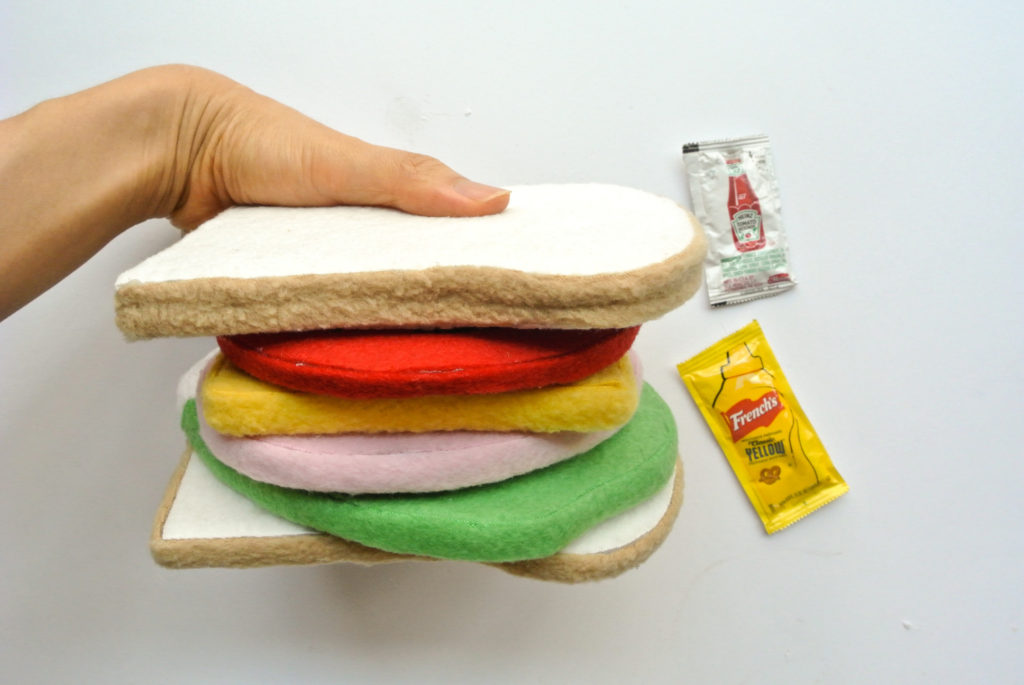
I do HIGHLY recommend using at least two pieces of cardboard as the core for the toast. It really makes the sandwich more realistic and fun! If you use thick cardboard you may be able to get away with just using one piece.
Either way if you choose to use cardboard to make the sandwich filling or not, your pretend play food will turn out nicely. In the tutorial below I will show you how to make the Toast slices, the tomato slice, and the lettuce slice. The ham and cheese are made in the exact same way.
MATERIALS:
- My Free Cardboard Play Food Sandwich Pattern (available in my free resource library) – get the password by subscribing. I promise no spam, just updates on new projects I’m working on!
- Recycled Cardboard Box
- Fleece*/Felt Fabric**
- Craft Bond
- Glue Gun
- Fabric Scissors (I use Gingher 8” Dressmaker Shears, my absolute FAVORITE!)
- Scissors for Cutting Cardboard
NOTES:
*I get all of my fleece fabrics from Joann.com. I prefer the anti-pill fleece as it doesn’t pill (develop those tiny small fuzz balls) overtime. Check out the anti-pill fleece collection here.
** Joann.com has a good selection of craft felts. Otherwise amazon sells craft felt assorted packs as well. Felt is extremely versatile for crafts as they do not fray and thus are good for a lot of no-sew projects!
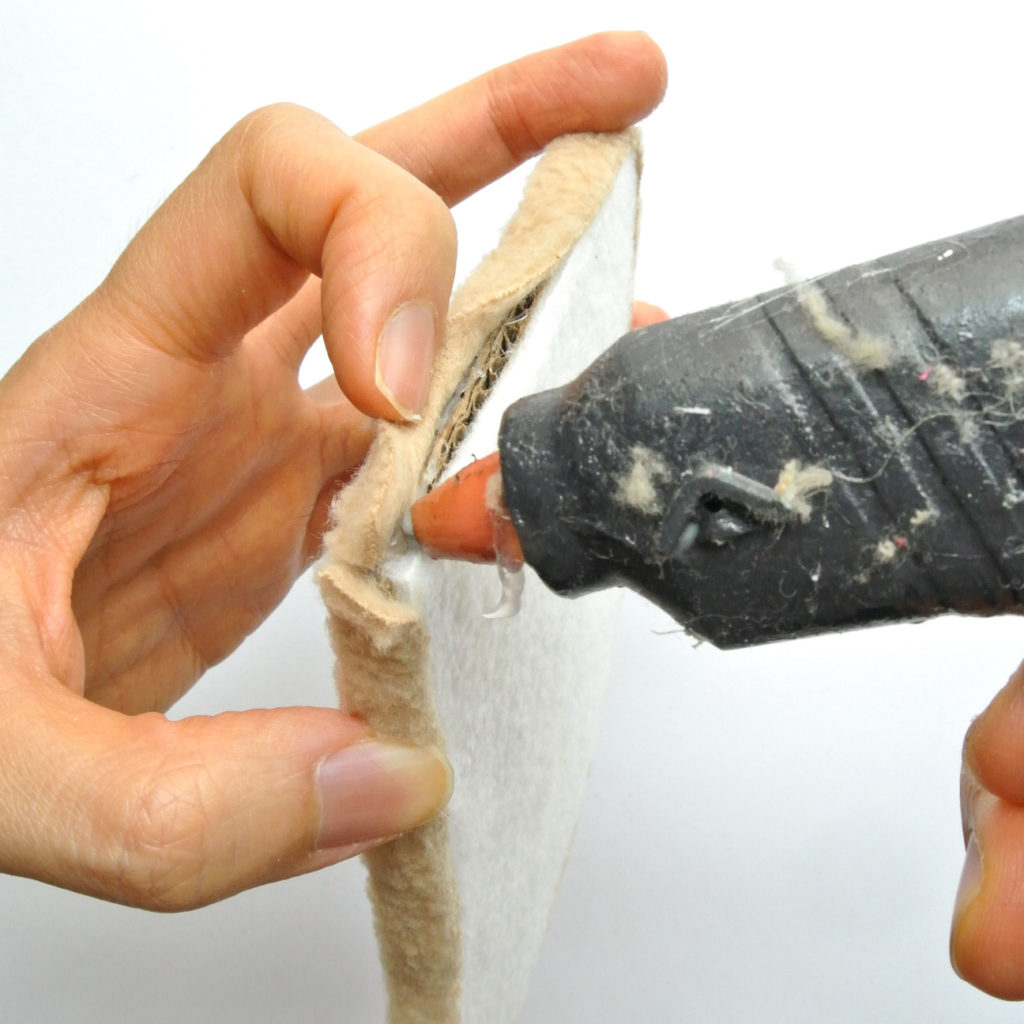
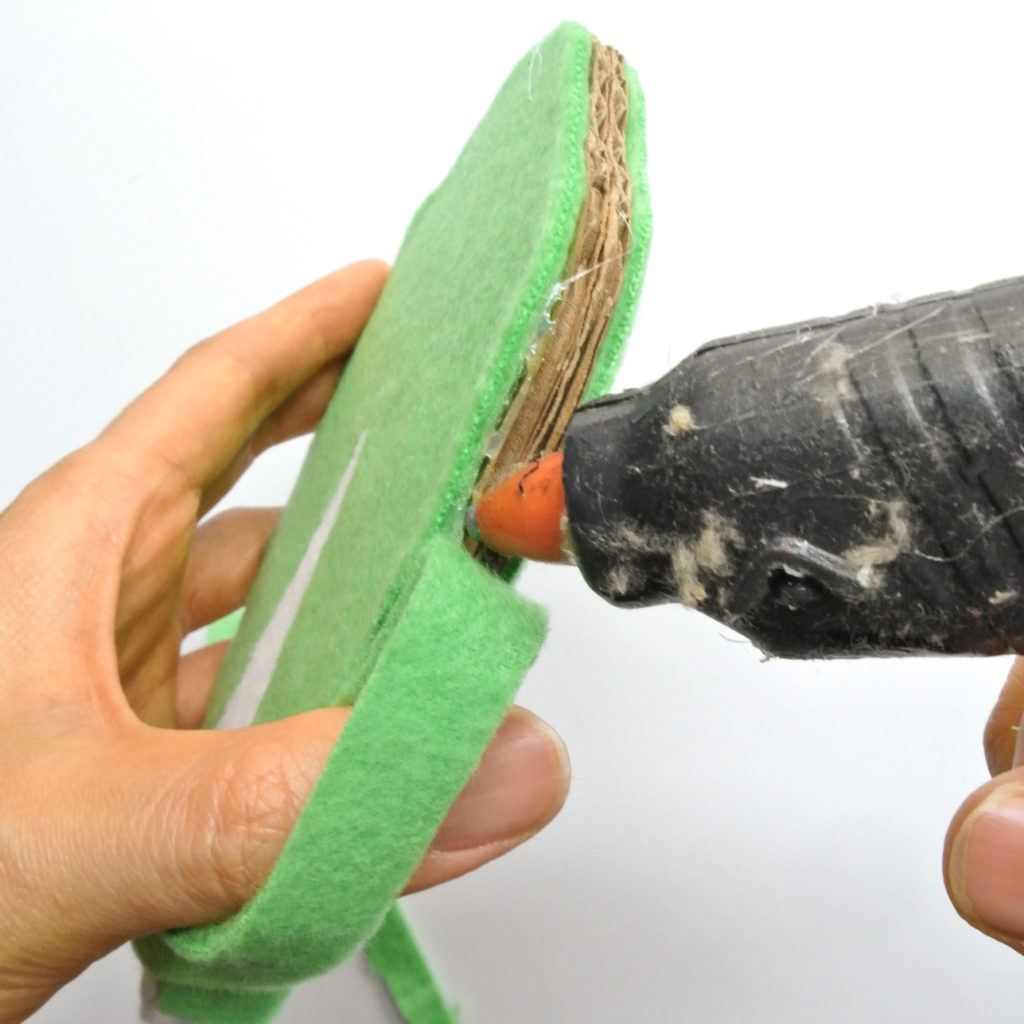
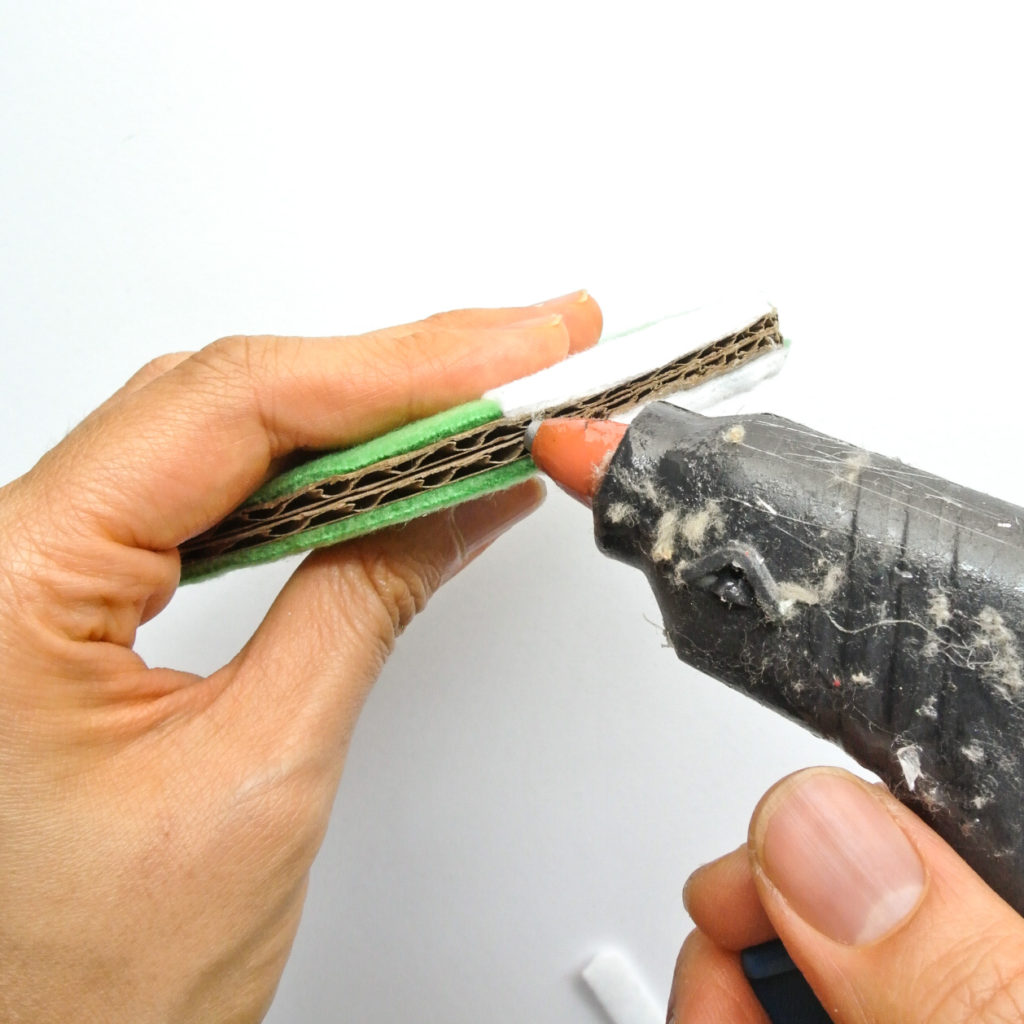
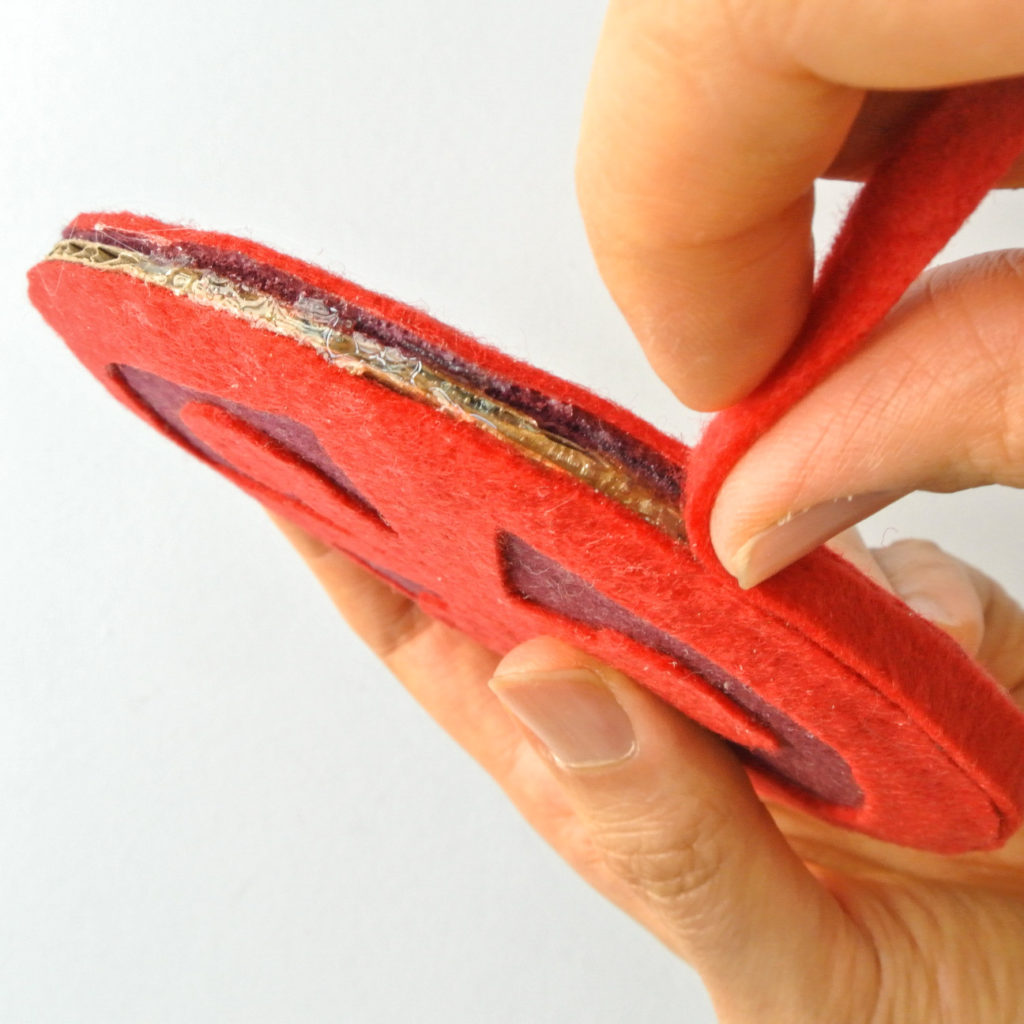
Tip: When gluing the fabric strips to the sides of the cardboard, make sure to use just barely enough to join the sides to the front. Otherwise, the glue hardens and ends up with a thick clump.
HOW TO MAKE CARDBOARD FELT TOAST:
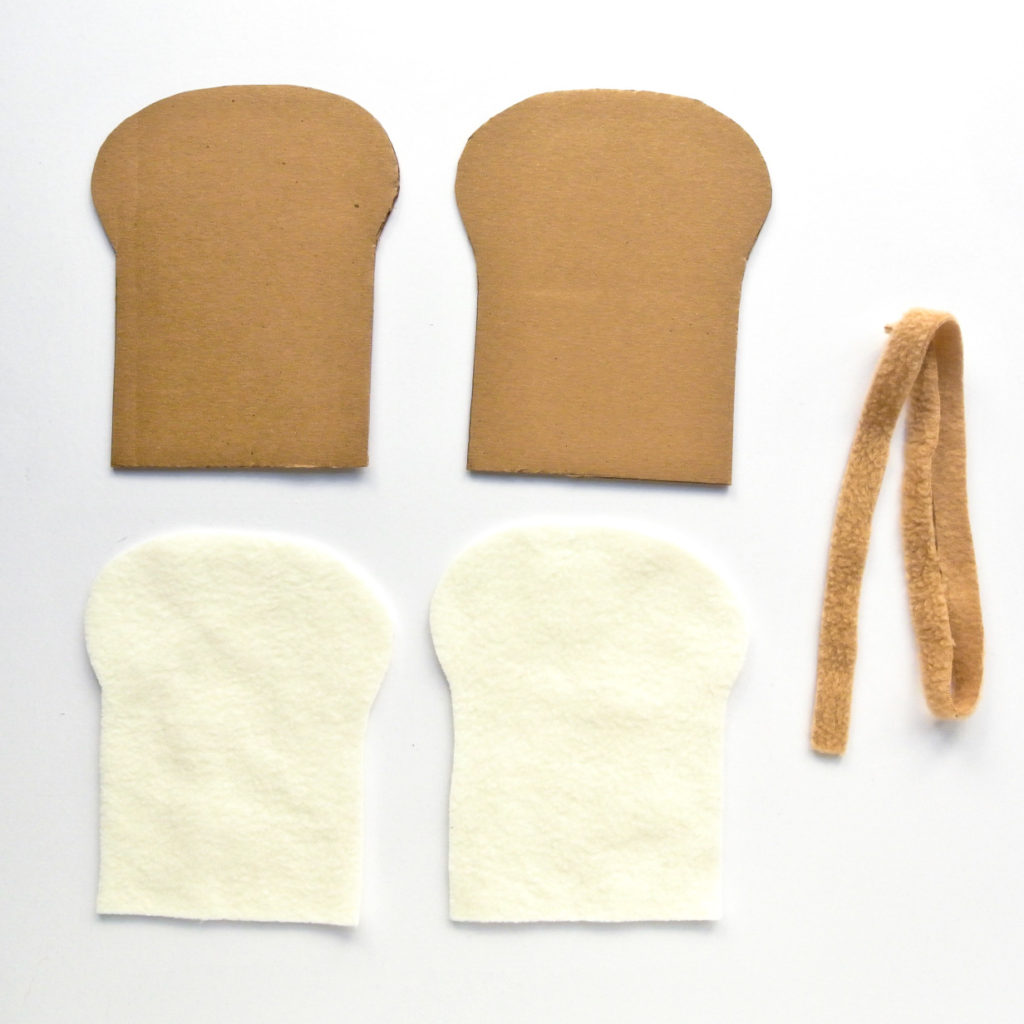
LEFT: Cut out all pattern pieces on cardboard + fabric. Cut a long strip of tan color fabric that measures 1/2″ wide (exact width depends on thickness of cardboard, but always better to cut a little wider. You can trim down later). Make sure the strip is long enough to cover the entire perimeter of the toast.
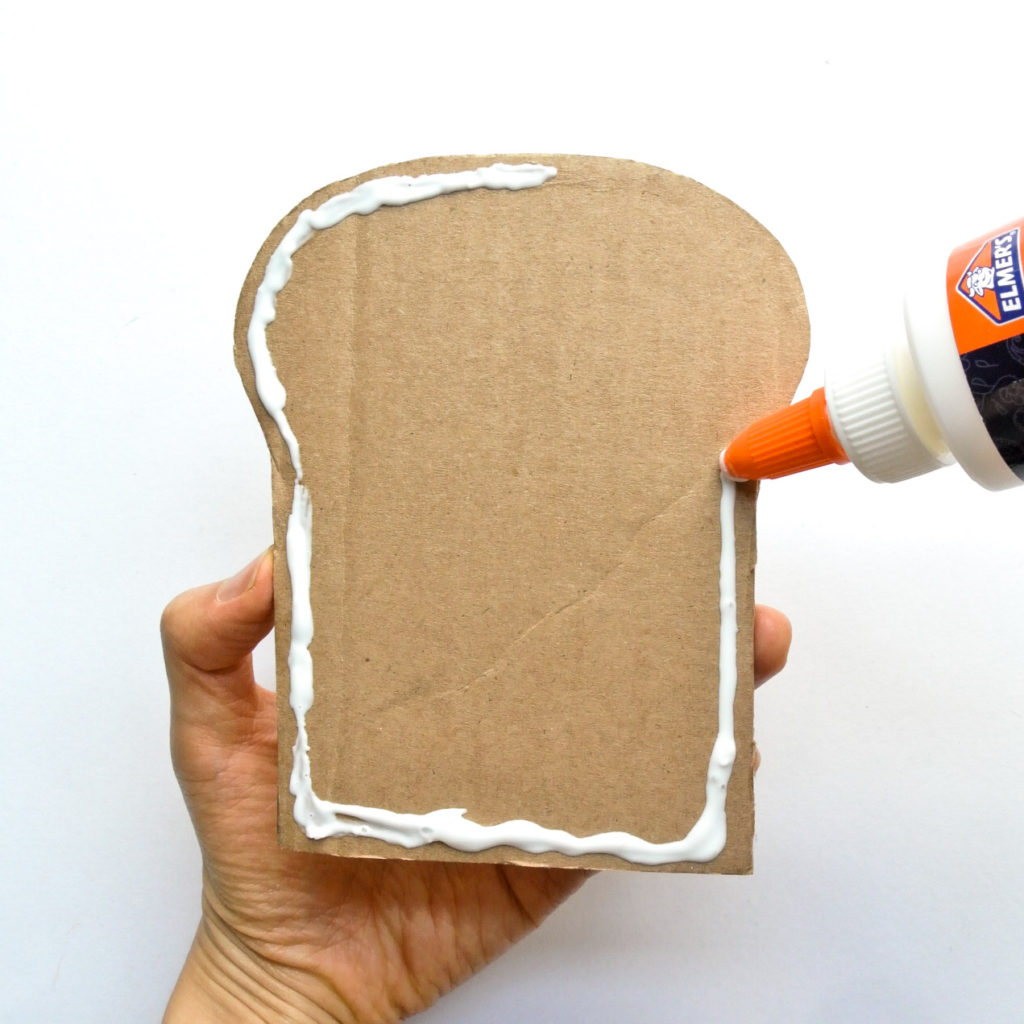
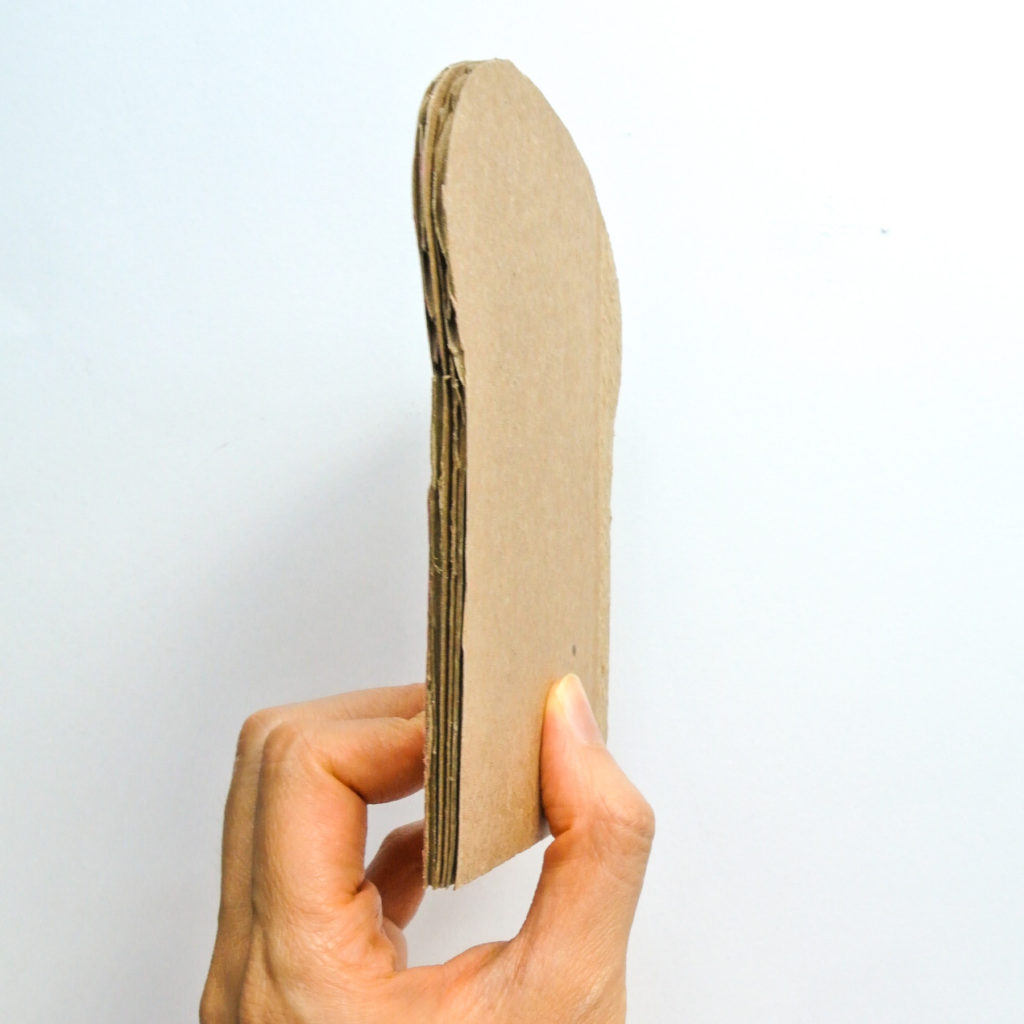
RIGHT: Apply craft bond all over edge of one piece of cardboard toast. You can also use glue gun to glue the cardboard pieces together. However, I find craft bond easier to work with because I can’t seem to apply the glue gun fast enough around the entire cardboard before it starts drying!
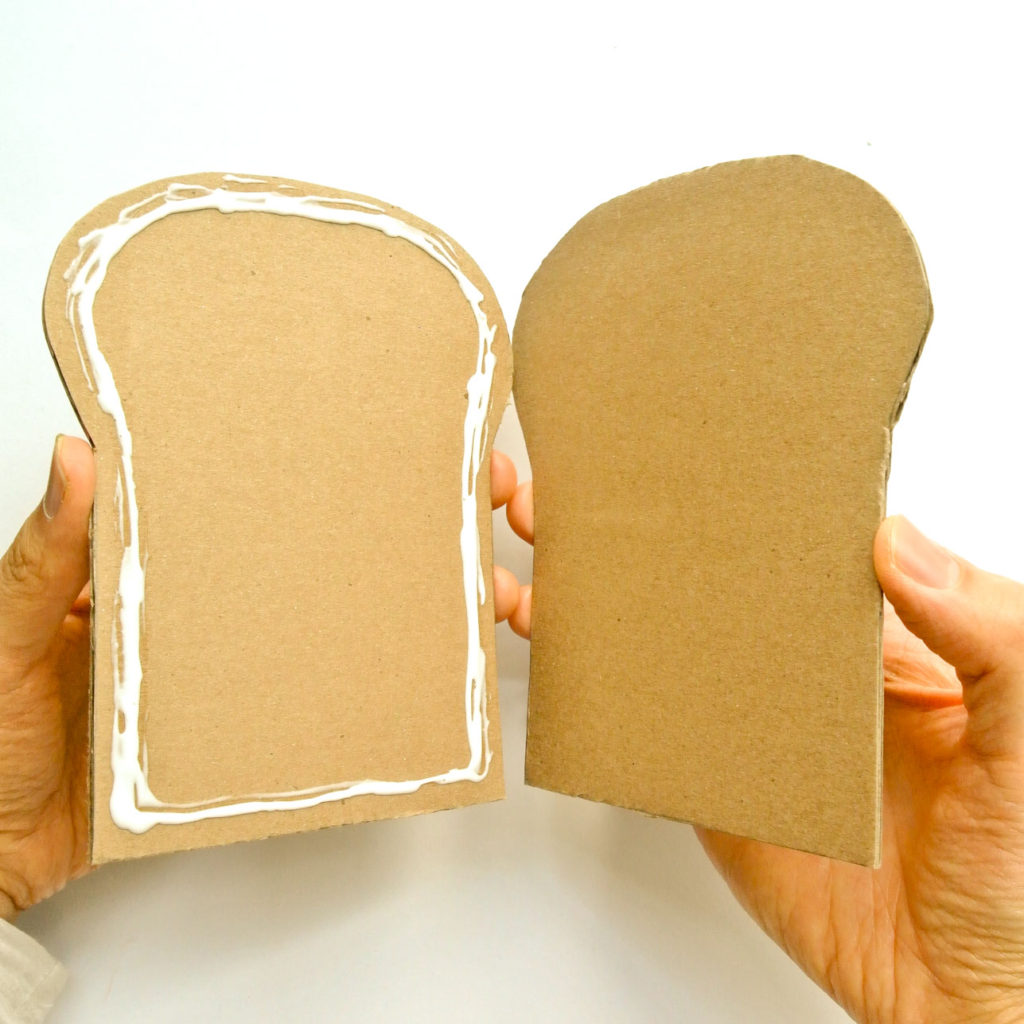
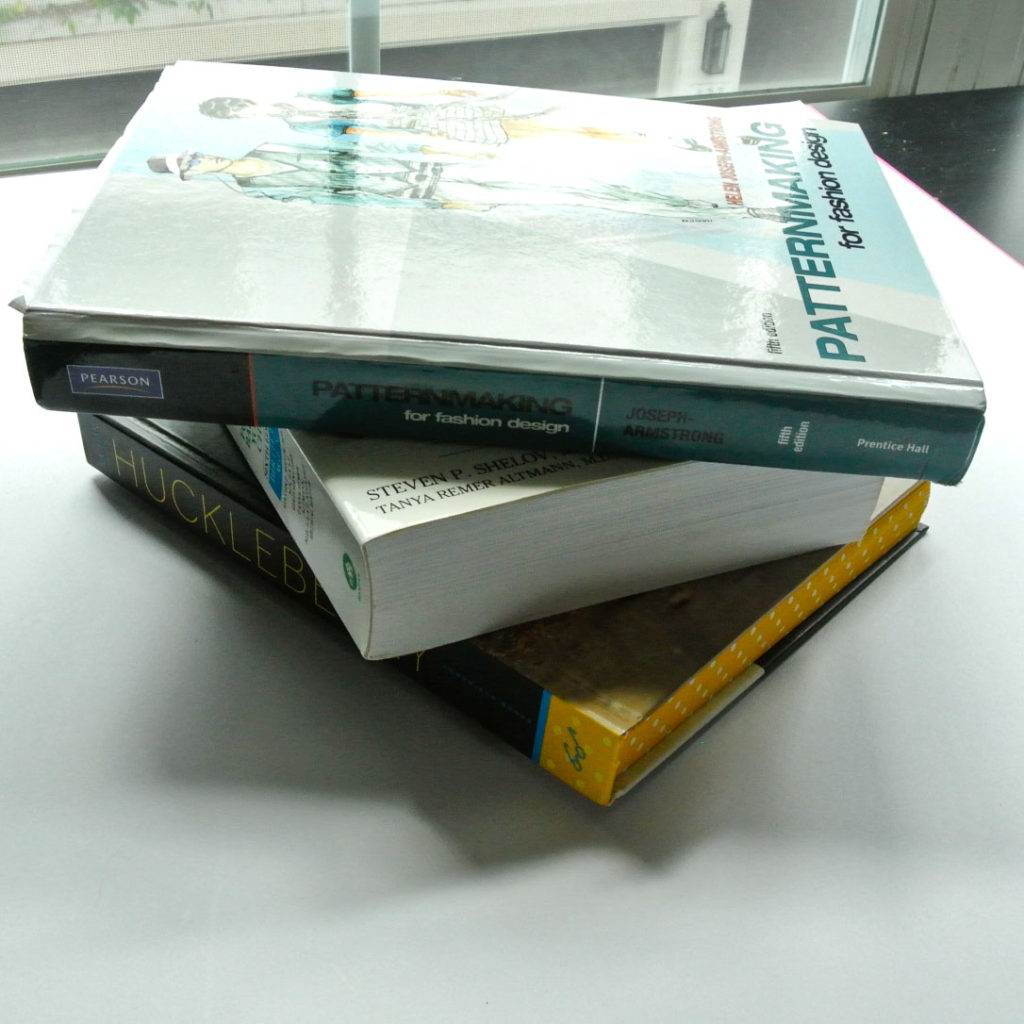
Glue the two cardboard toast pieces together and allow to dry for 20 minutes (I stacked some heavy books on top).
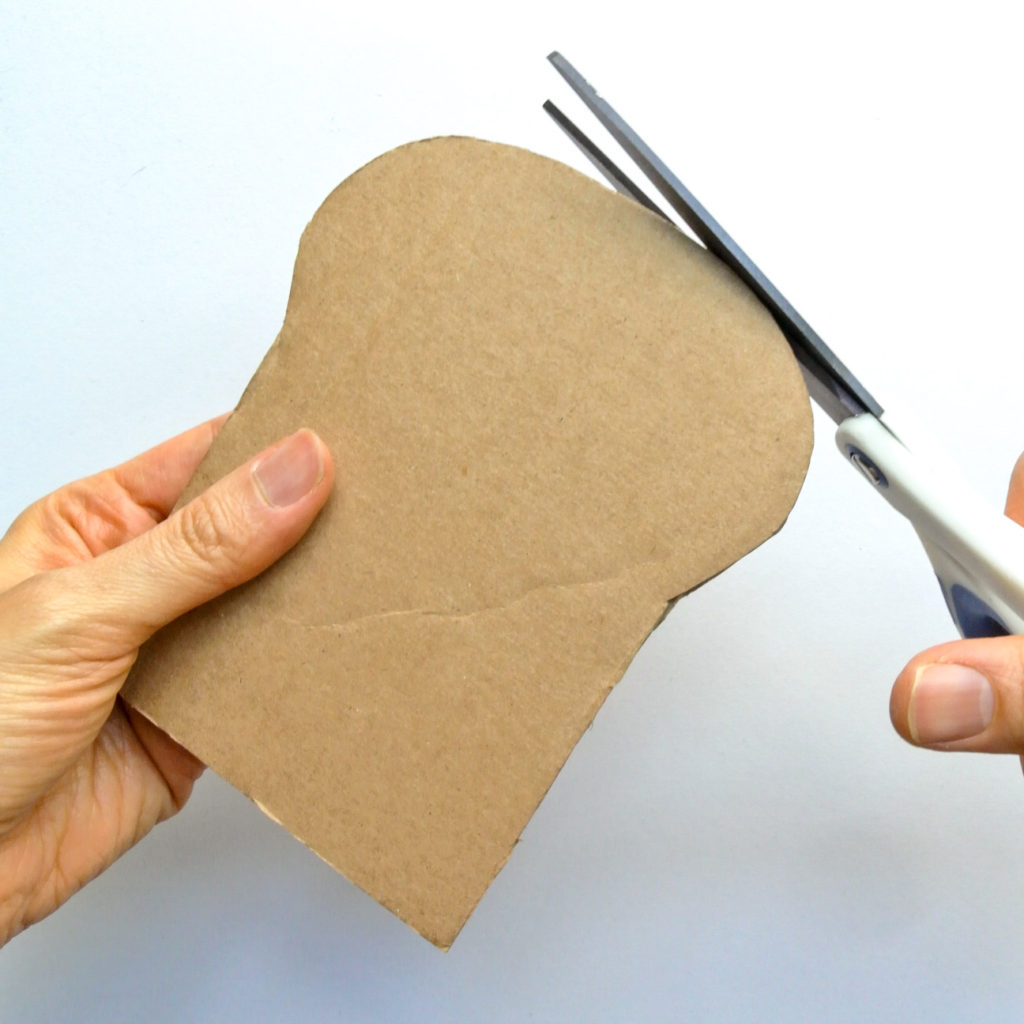
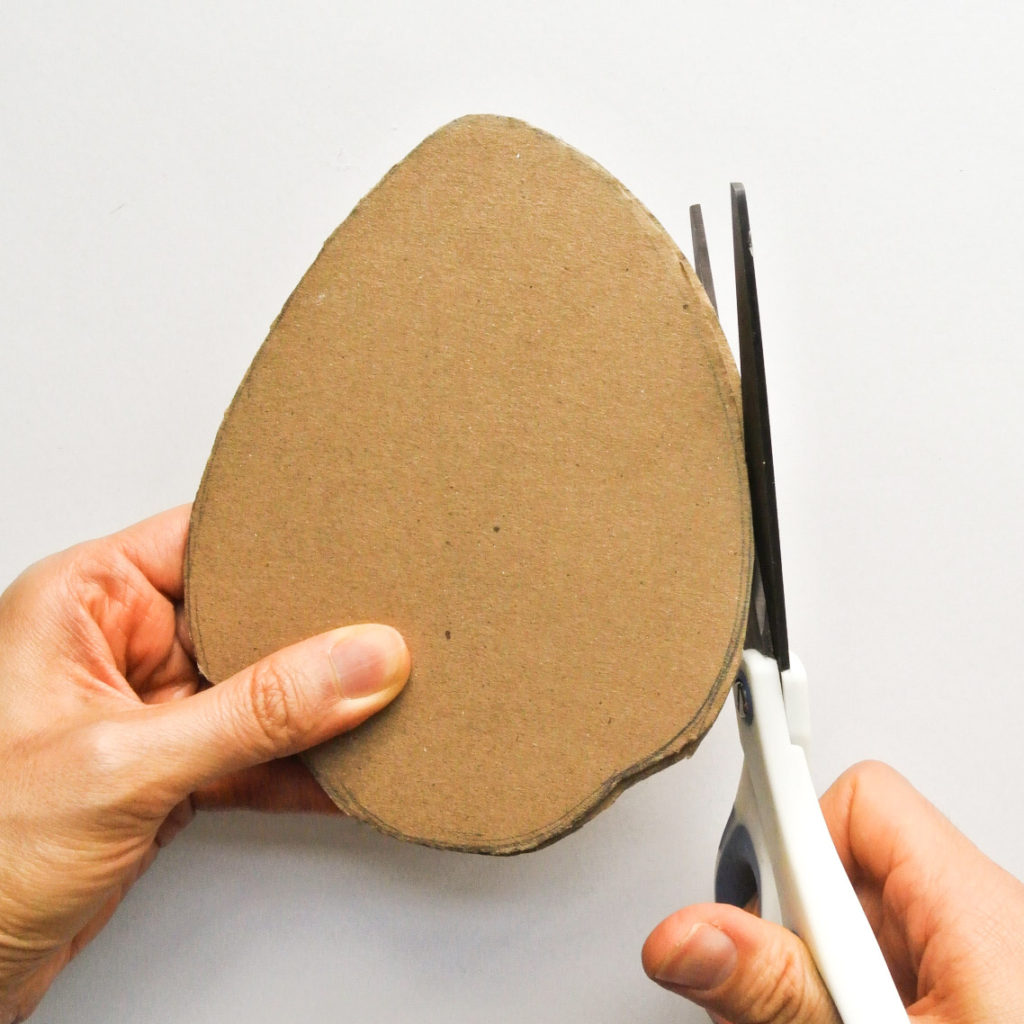
LEFT: Trim off excess cardboard around edges if necessary
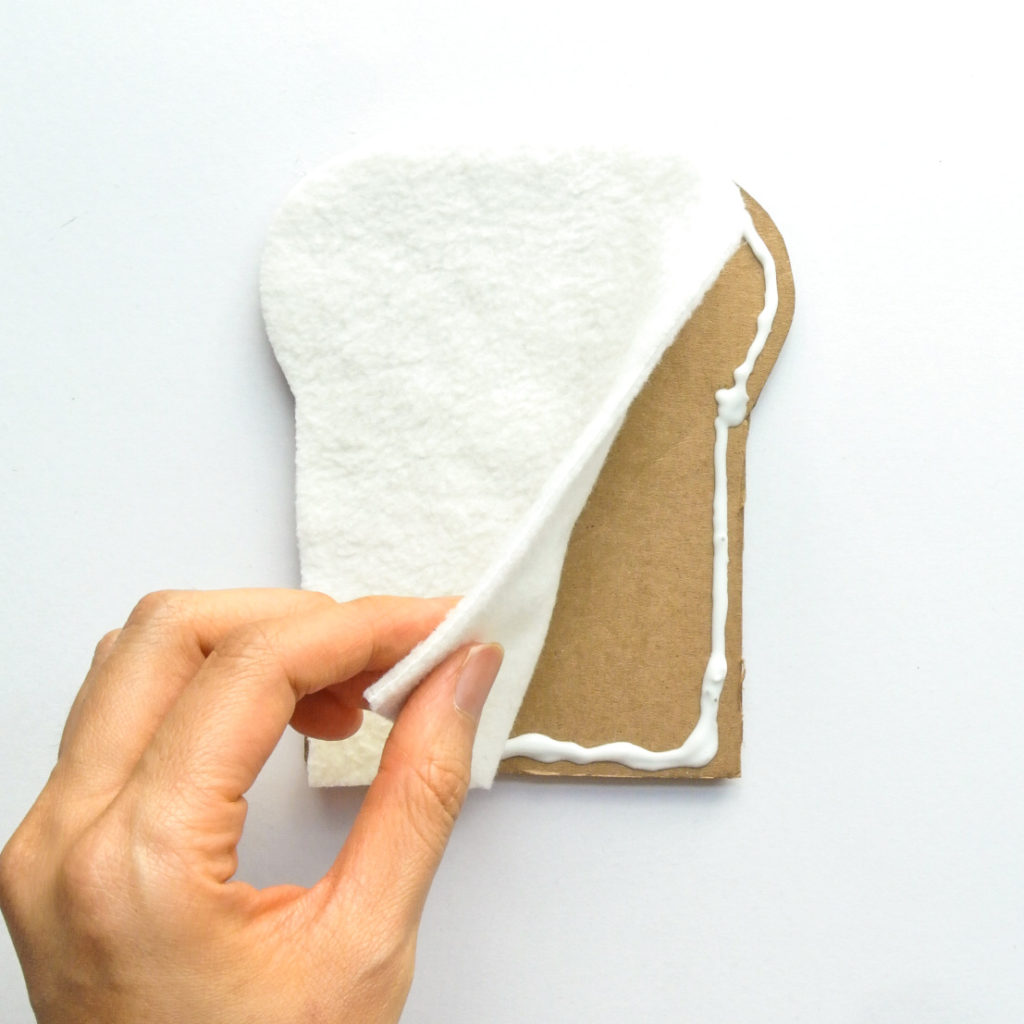
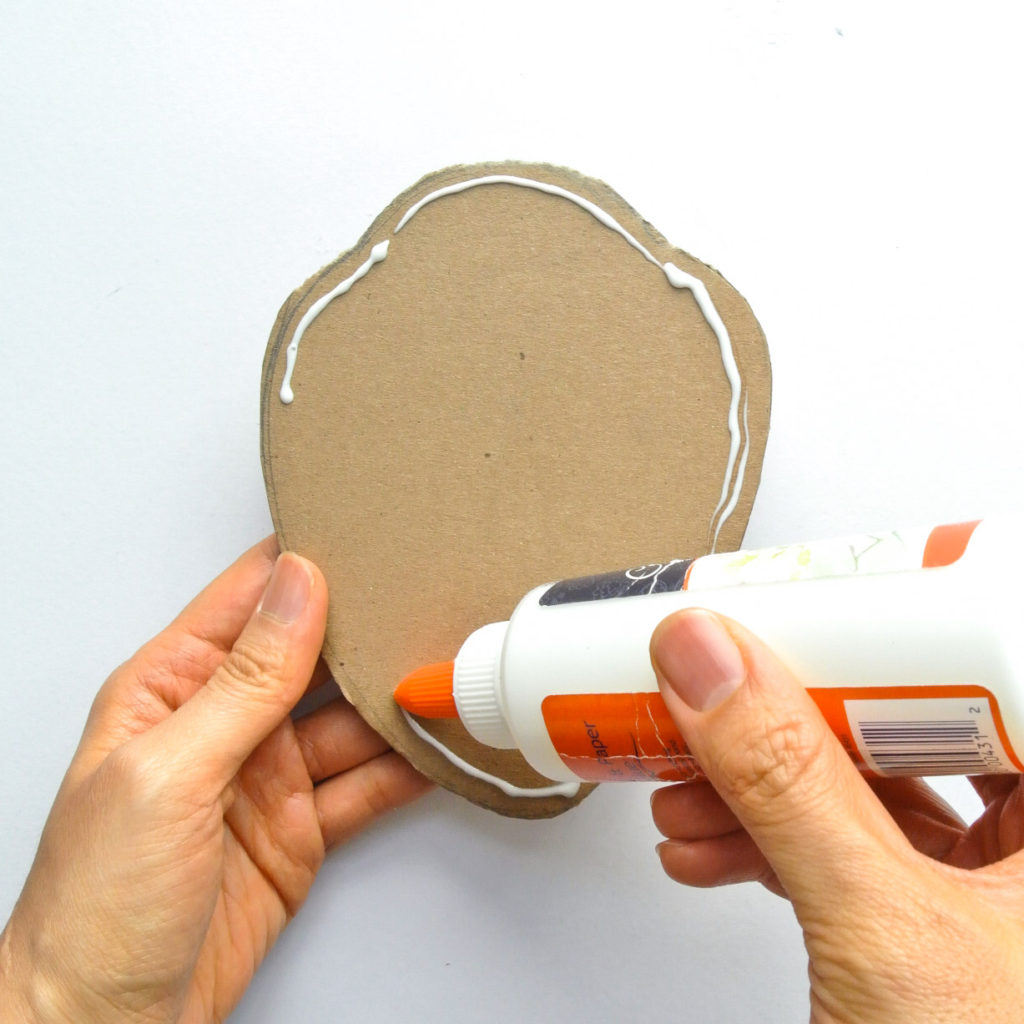
MIDDLE: Apply craft bond around outer perimeter of toast and glue fabric on. You can also use hot glue to glue the fabric on as well. However, I find that I can’t apply hot glue fast enough to cover the entire cardboard surface before it cools down, so I chose to use craft bond instead.
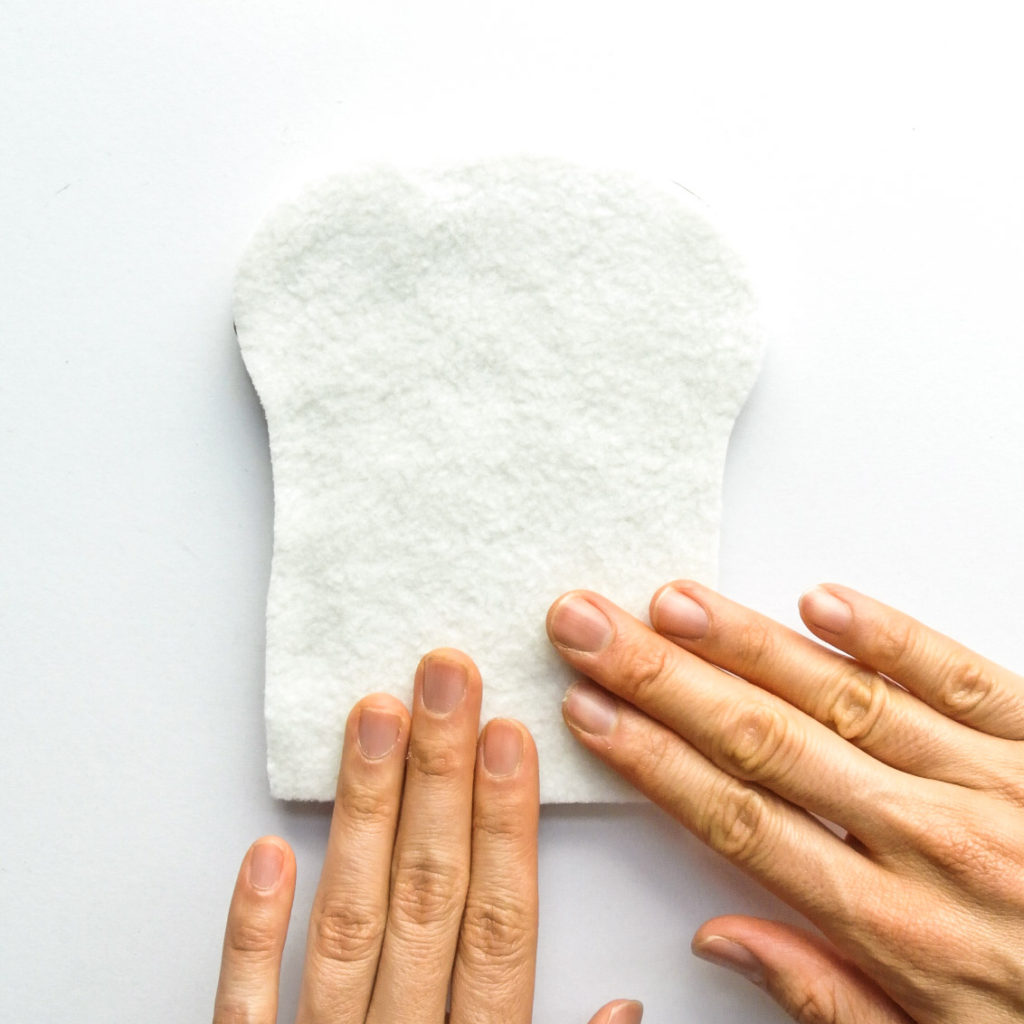
RIGHT: Gently pat down the fabric around edge of toast
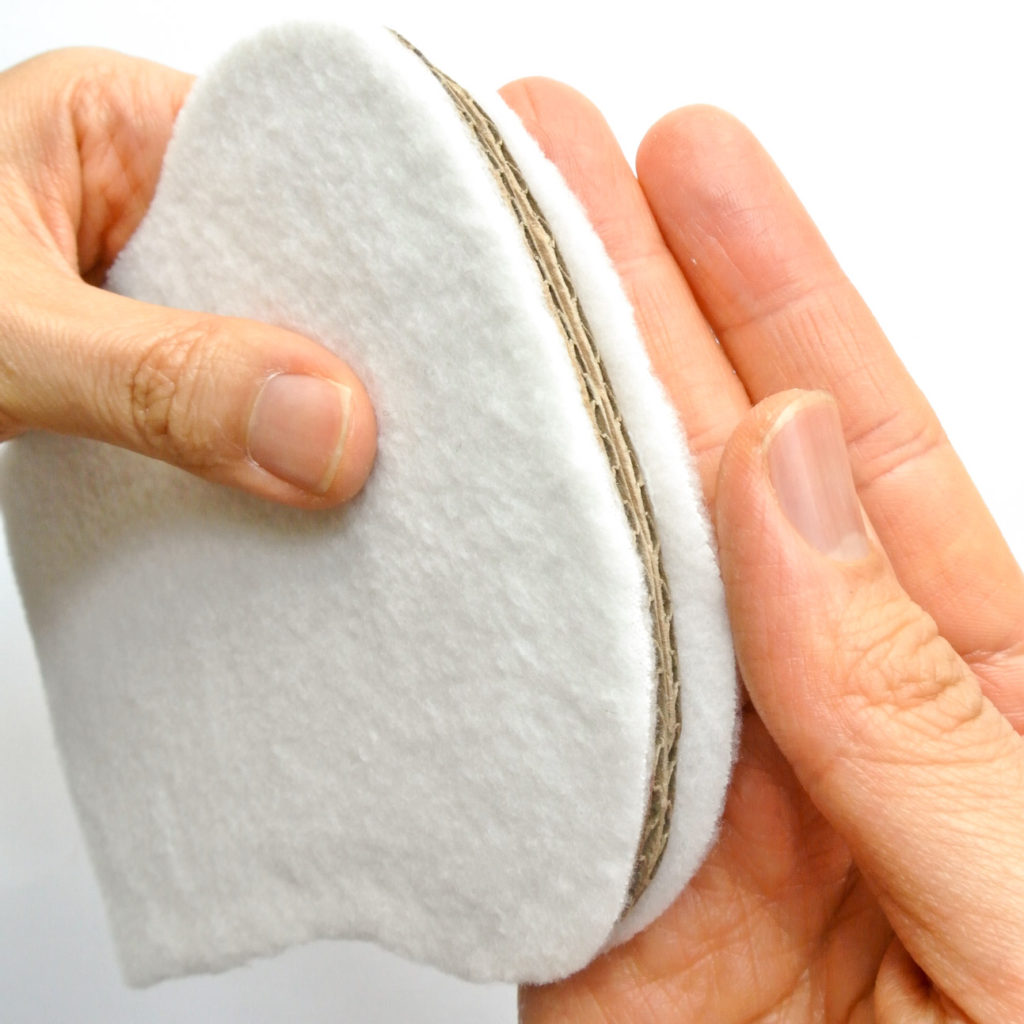
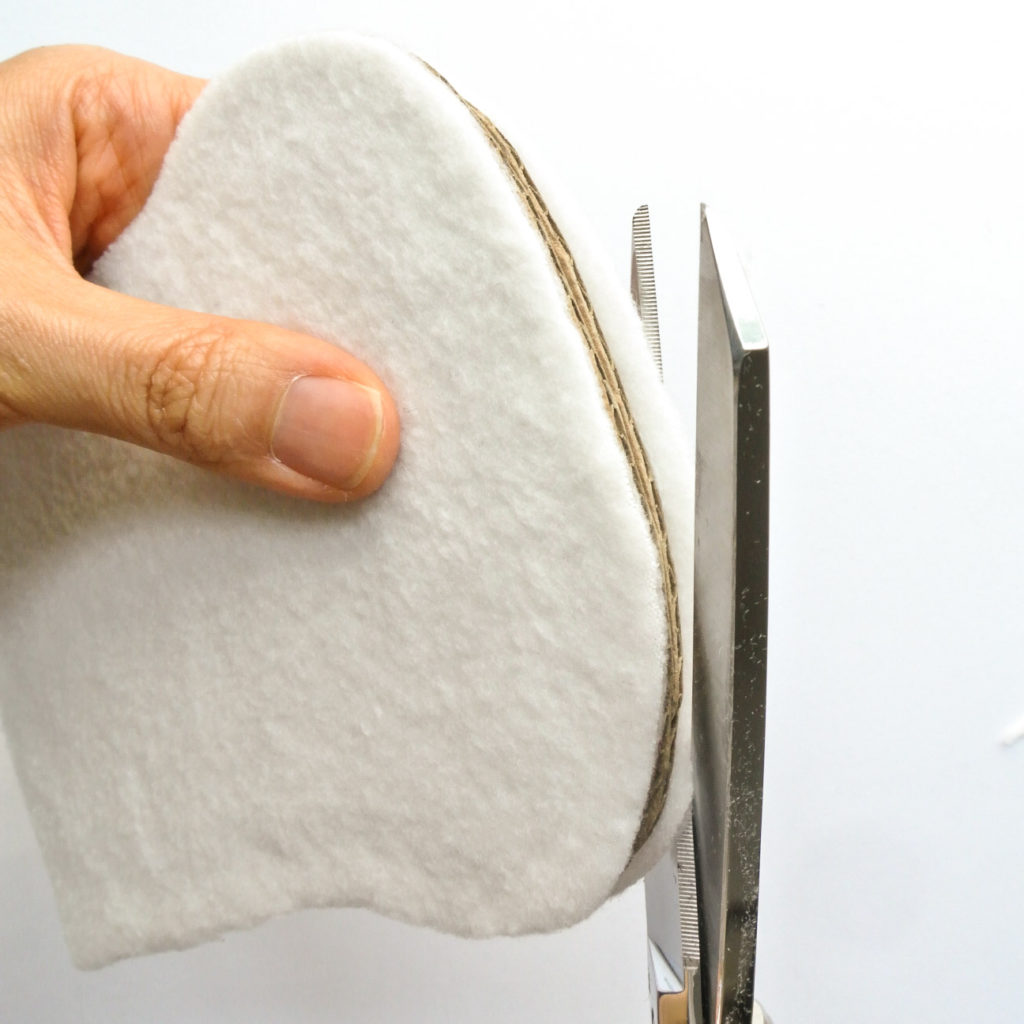
Trim off any excess fabric that extends past cardboard if necessary
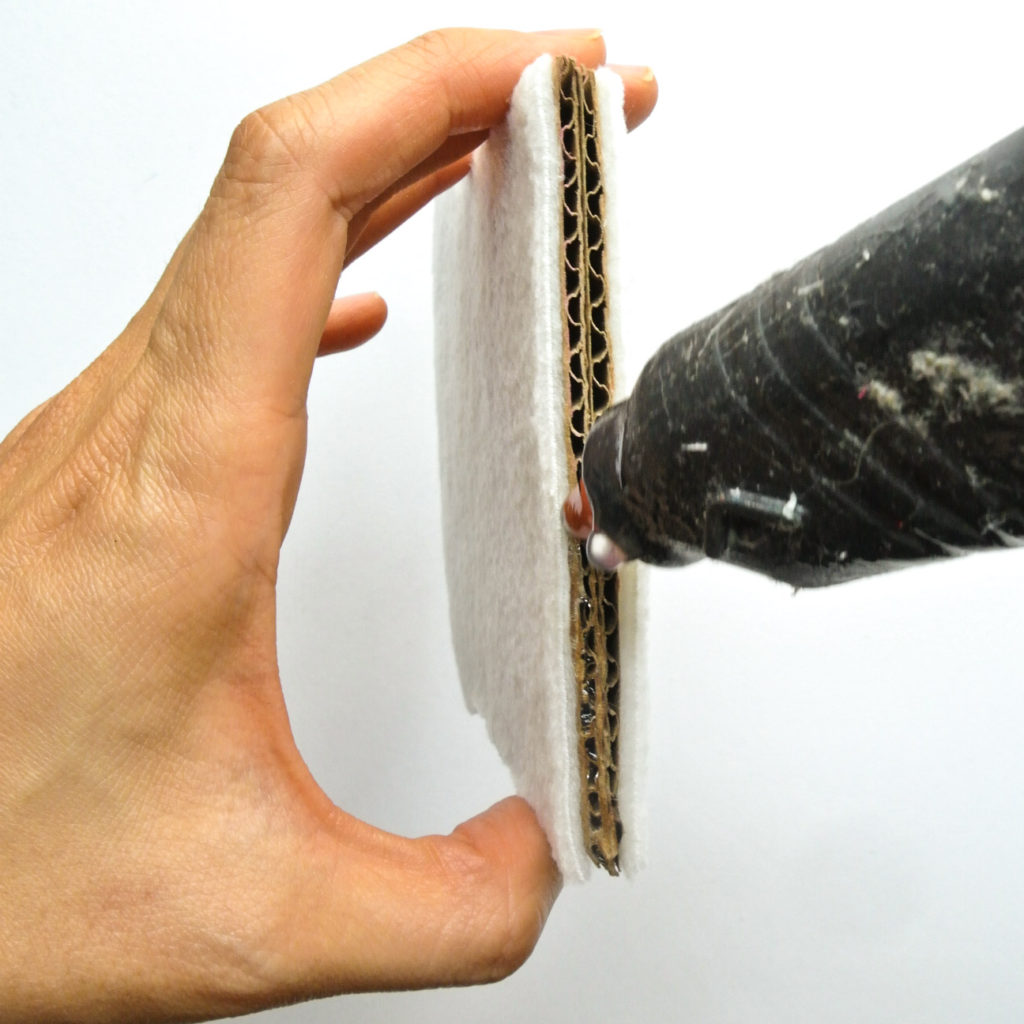
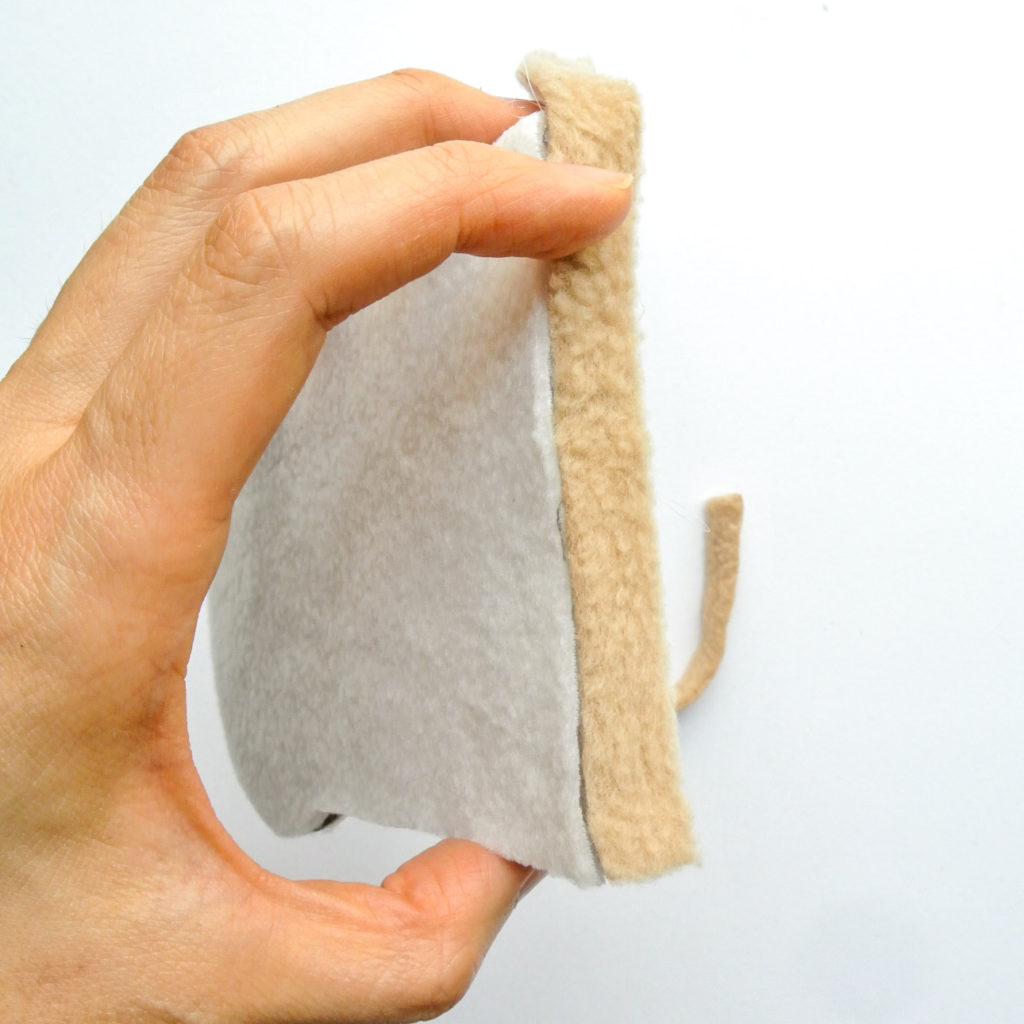
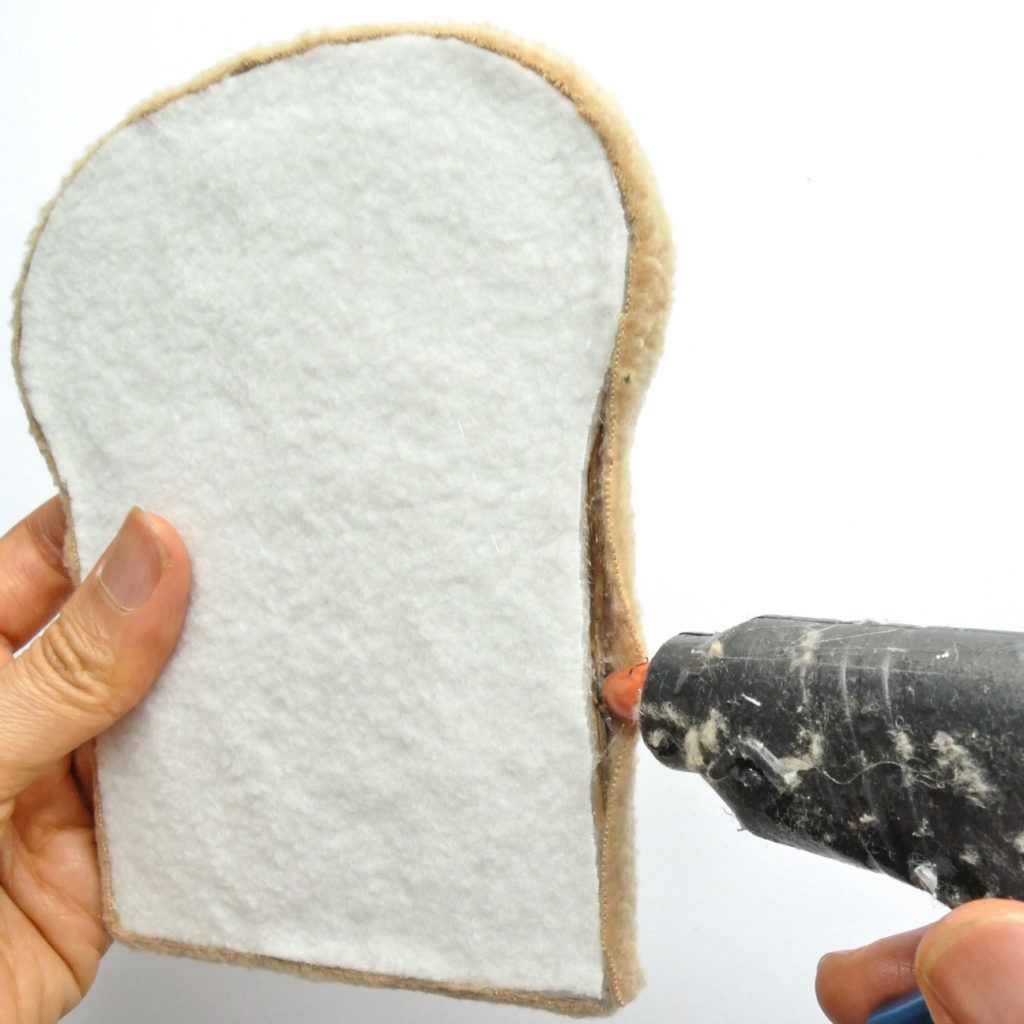
Hot glue gun the brown edge of toast all around.
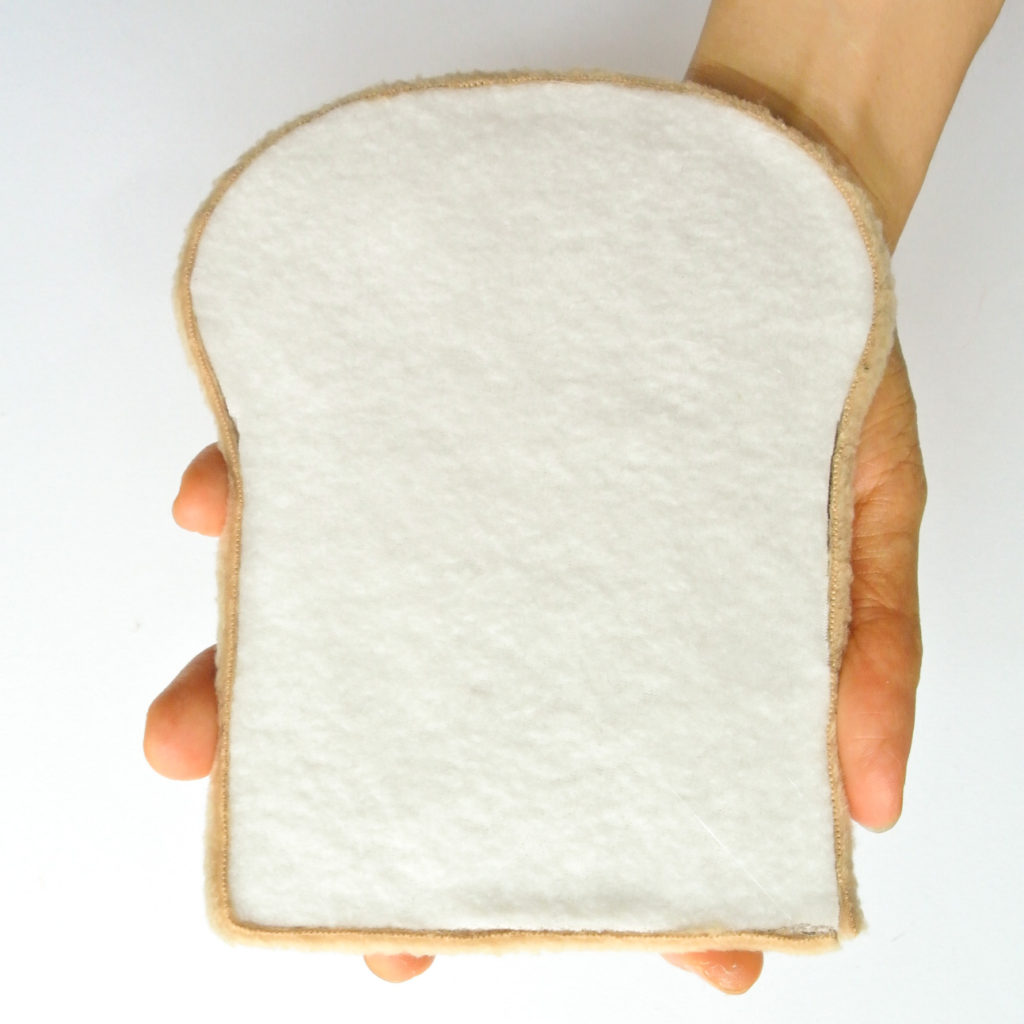
Add excess glue around perimeter of toast if necessary and you are done!
HOW TO MAKE CARDBOARD FELT LETTUCE:
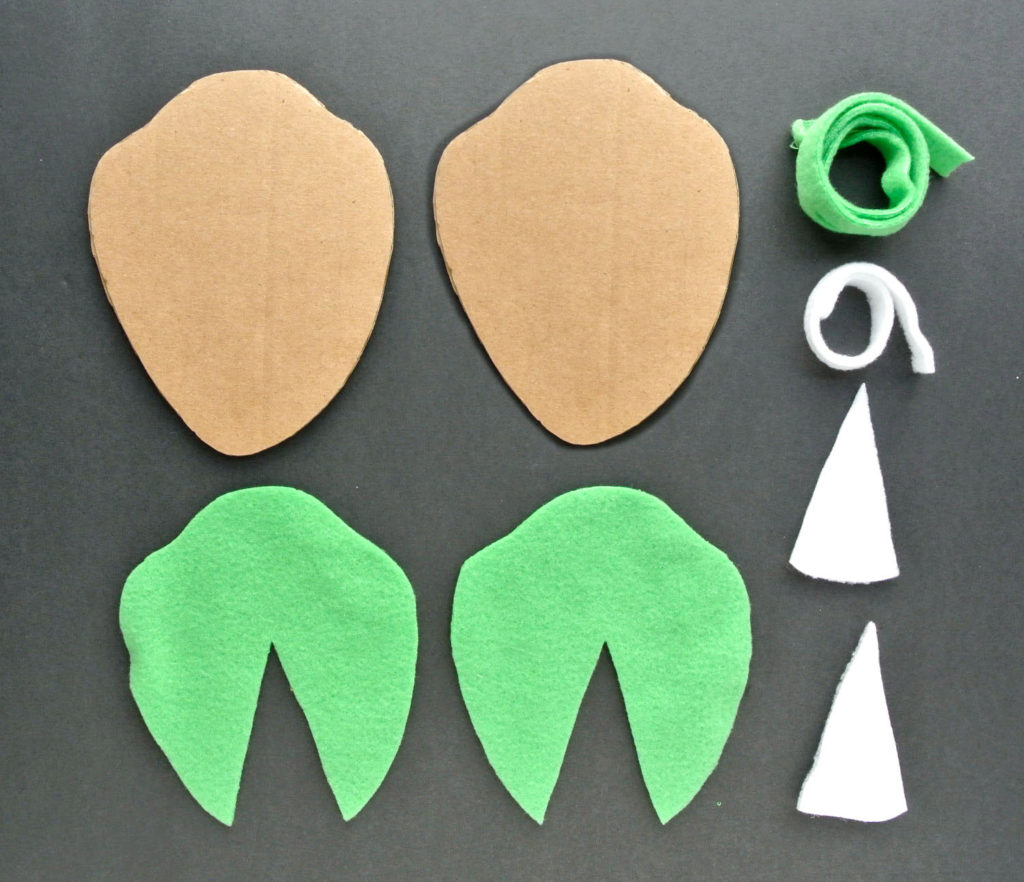
Cut out pattern pieces on cardboard and fabric. Cut a green strip of fabric and a white strip of fabric that is 1/2″ wide. Make sure the fabric strips are long enough to cover the entire perimeter of the cardboard lettuce. Glue card board pieces together and trim.
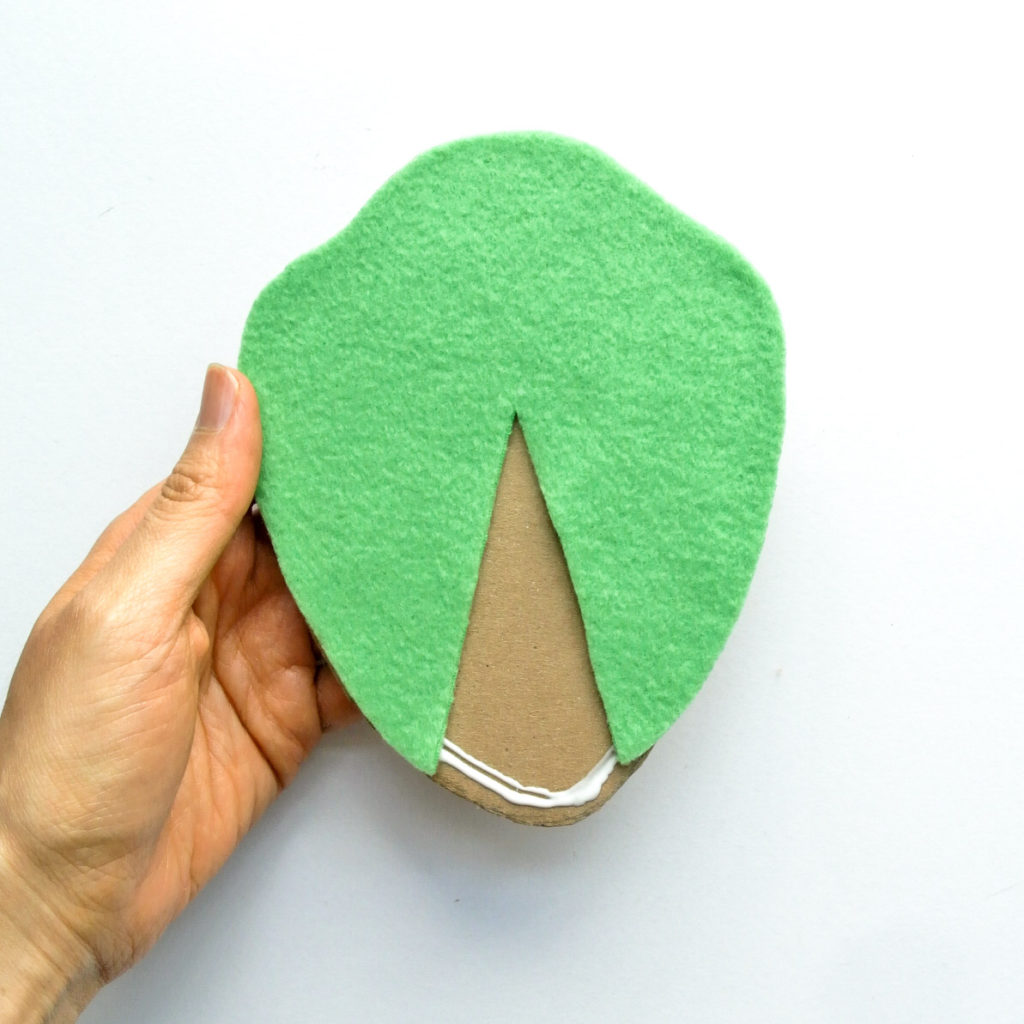
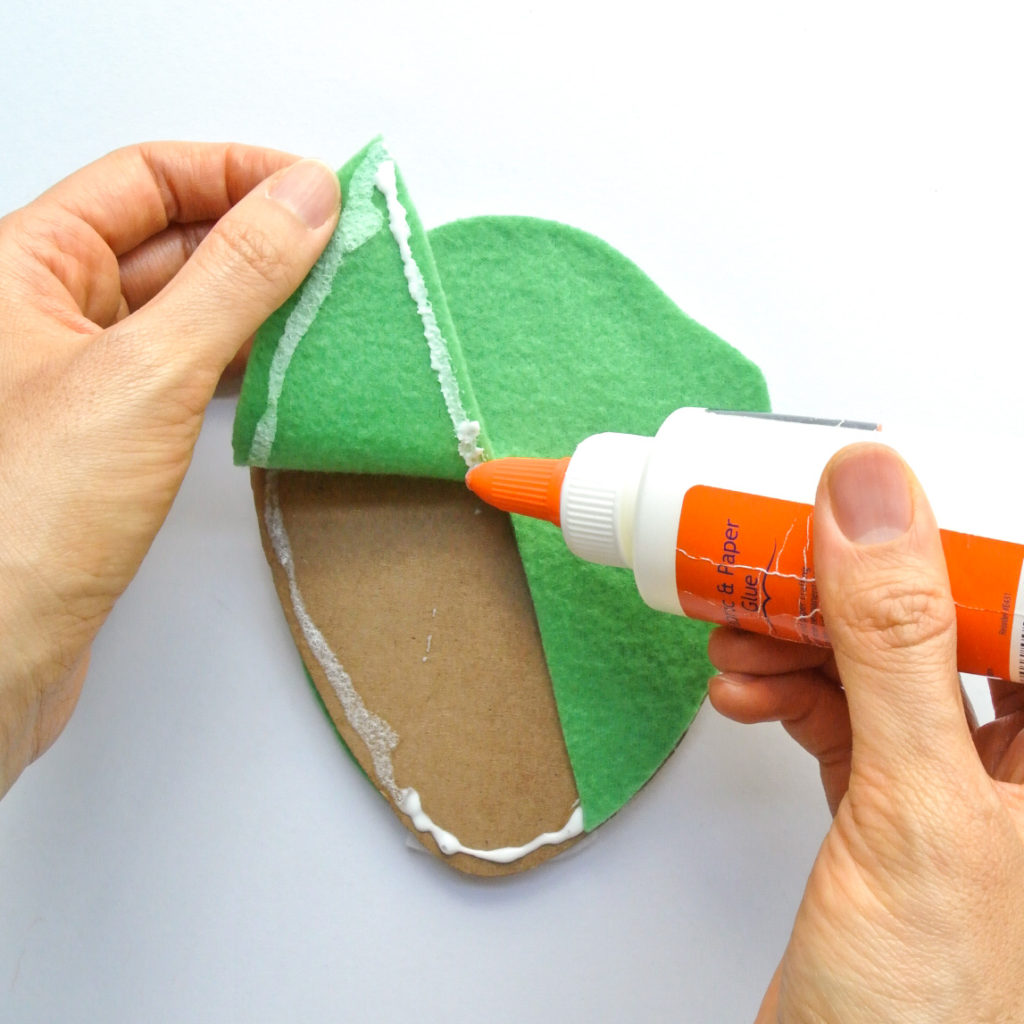
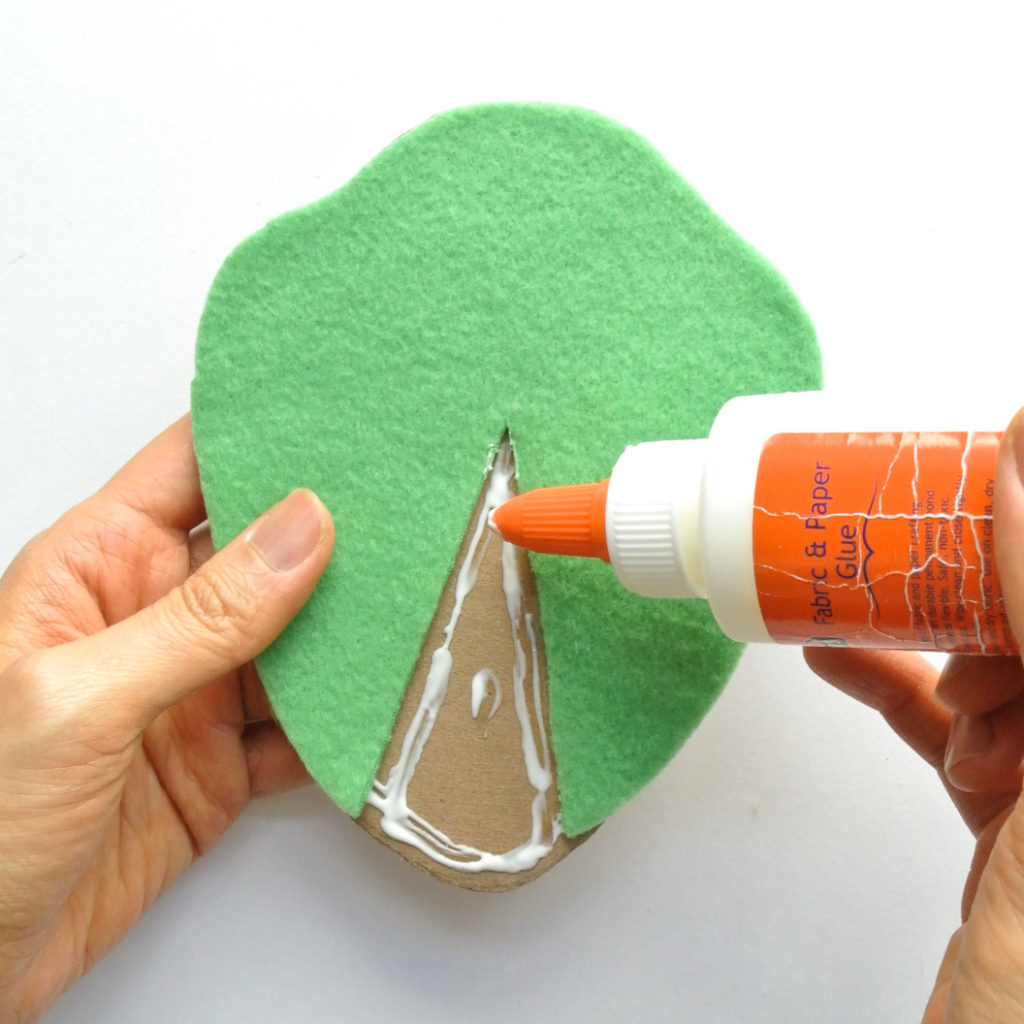
Apply craft bond and glue green portion of lettuce to card board.
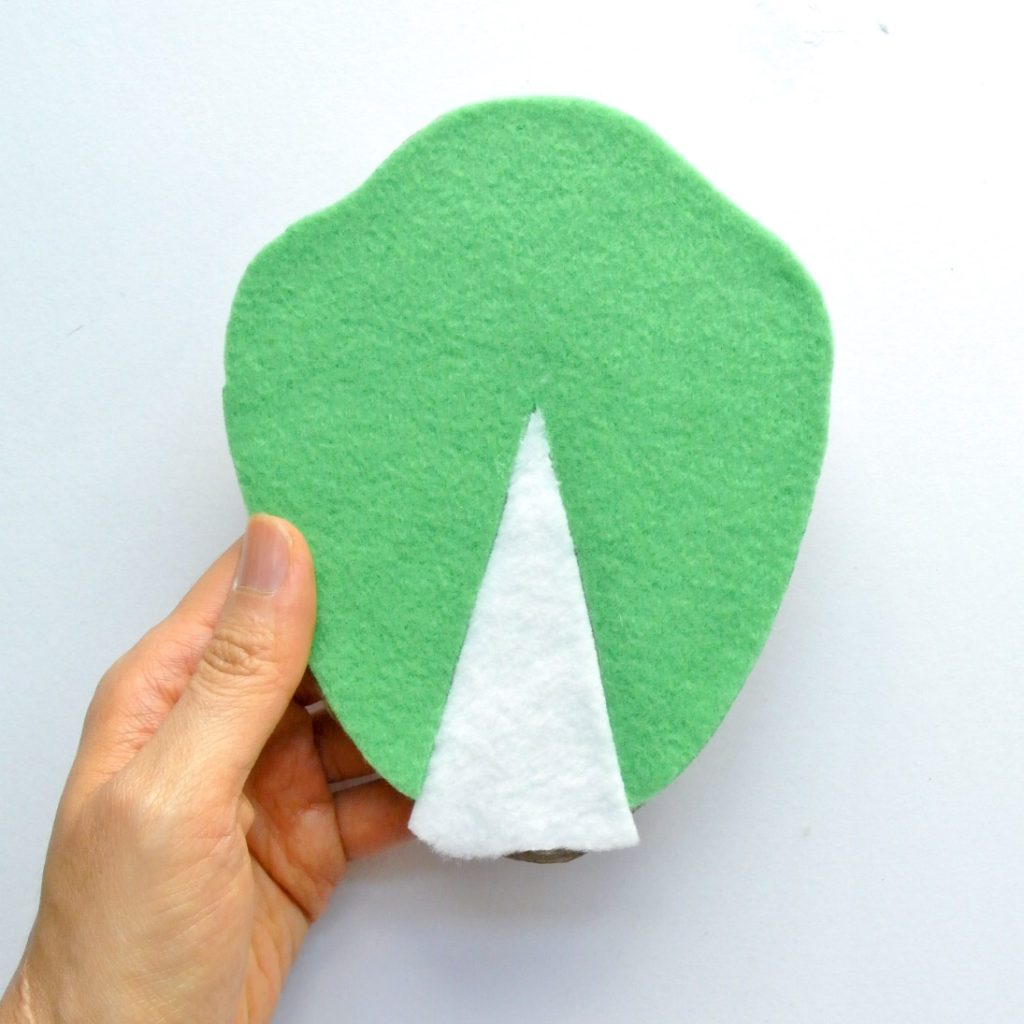
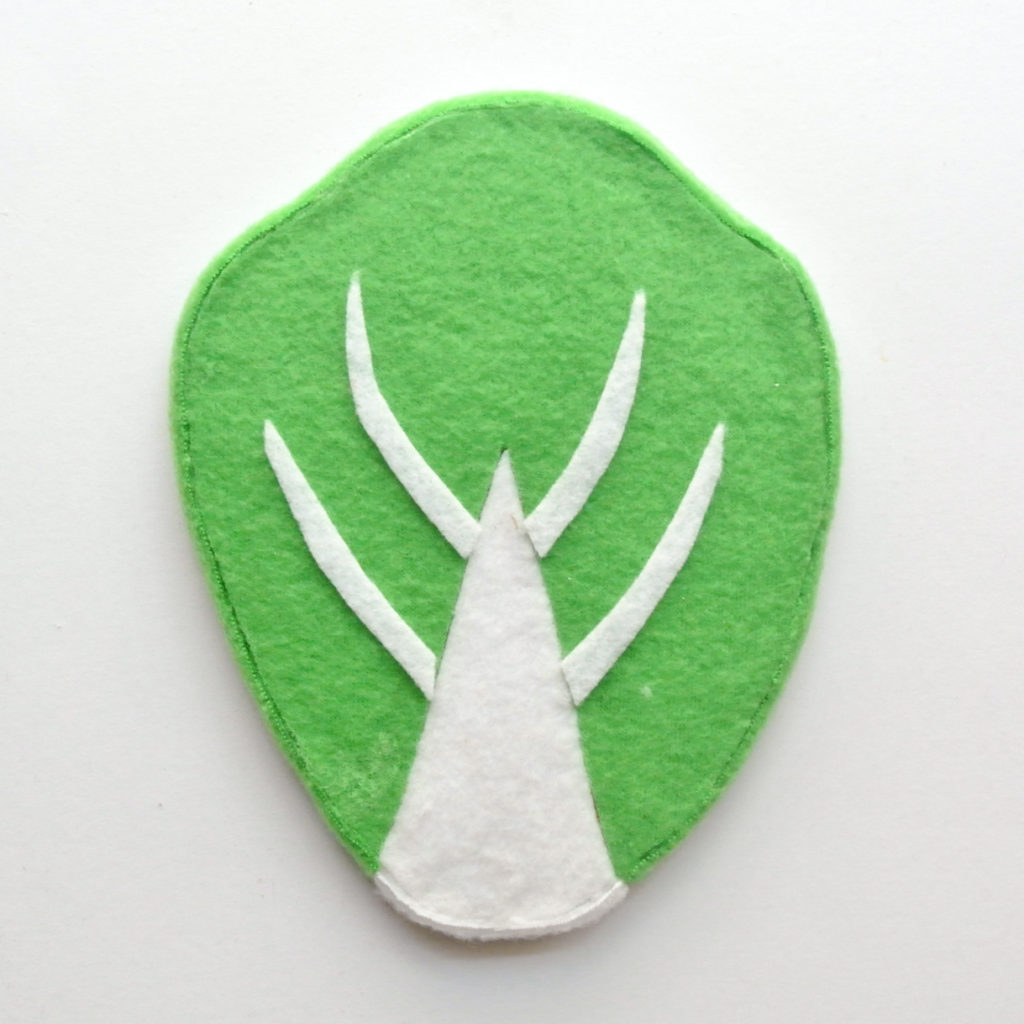
Glue white fabric of lettuce to cardboard and trim excess fabric.
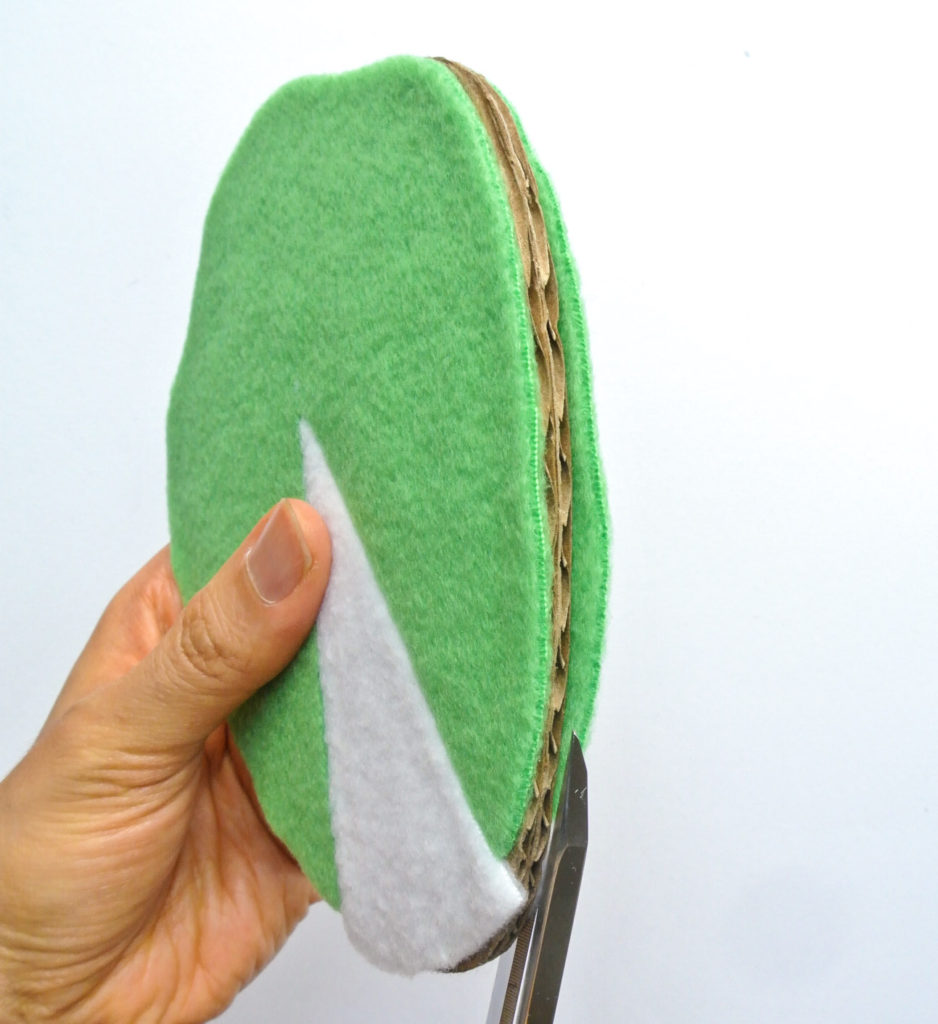
Next, glue green fabric strip to sides of cardboard where green portion of lettuce is. Glue white fabric strip to cardboard side where white portion of lettuce is. In the end I decided to add some extra white lettuce stems to make the lettuce look better.
HOW TO MAKE CARDBOARD FELT TOMATO:
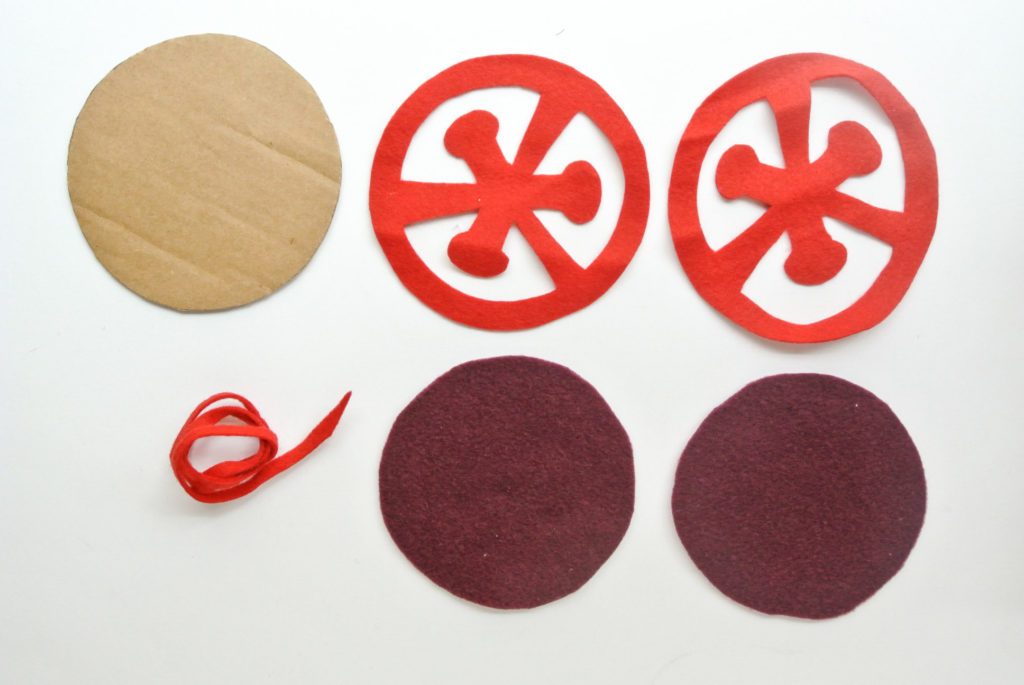
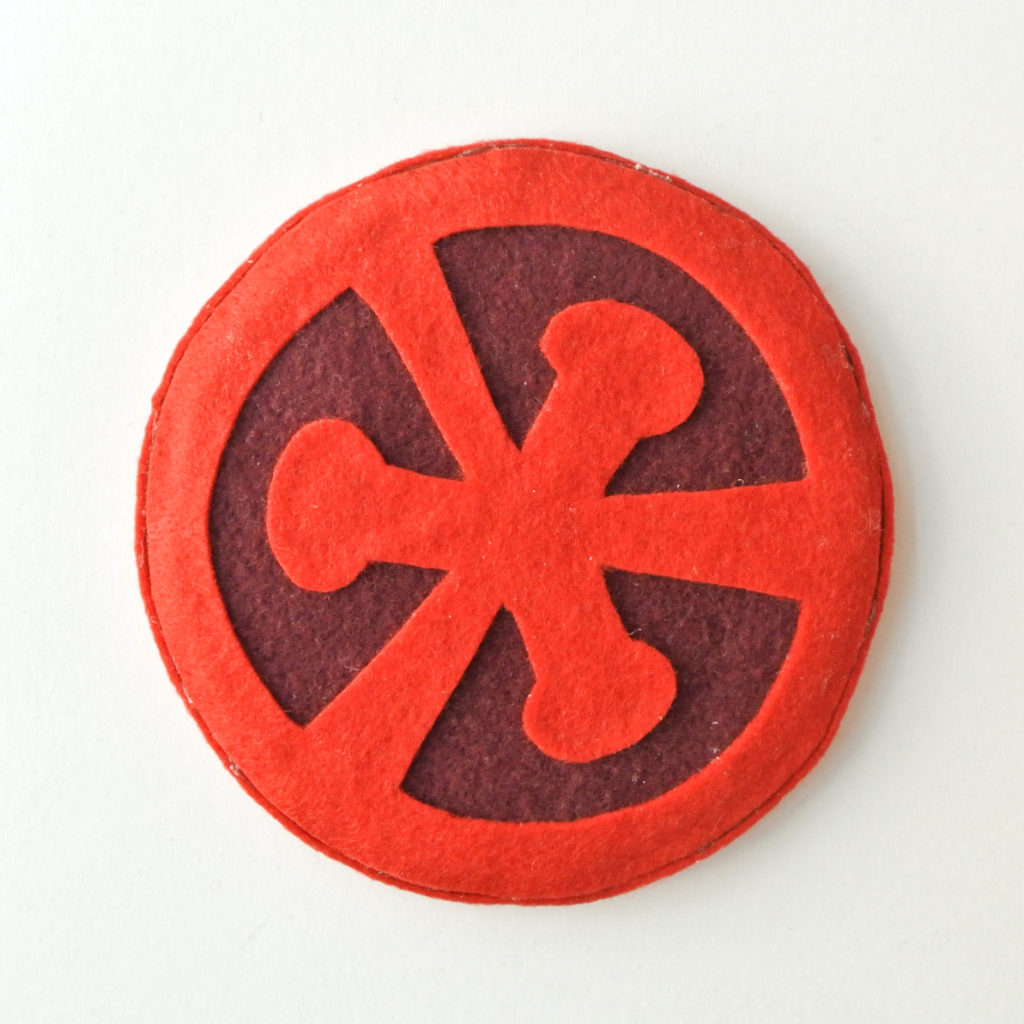
Cut out all pattern pieces of tomato on cardboard and fabric. For the tomatoes I only used one piece of cardboard for the tomato. Cut a long strip of red fabric that measures 1/2″ wide (exact width depends on thickness of cardboard, but always better to cut a little wider. You can trim down later). Make sure the strip is long enough to cover the entire perimeter of the tomato.


Apply craft bond, glue the dark red piece of tomato on first, then glue the red piece of tomato on.
Use hot glue to glue red fabric onto side of tomato and you are finished.
HOW TO MAKE CARDBOARD CHEESE AND HAM:
Repeat the instructions above to make the cheese and ham slices. I used two pieces of cardboard glued together to make the ham slice and the cheese slice just to give it excess thickness. However, you can use one piece of cardboard as well.
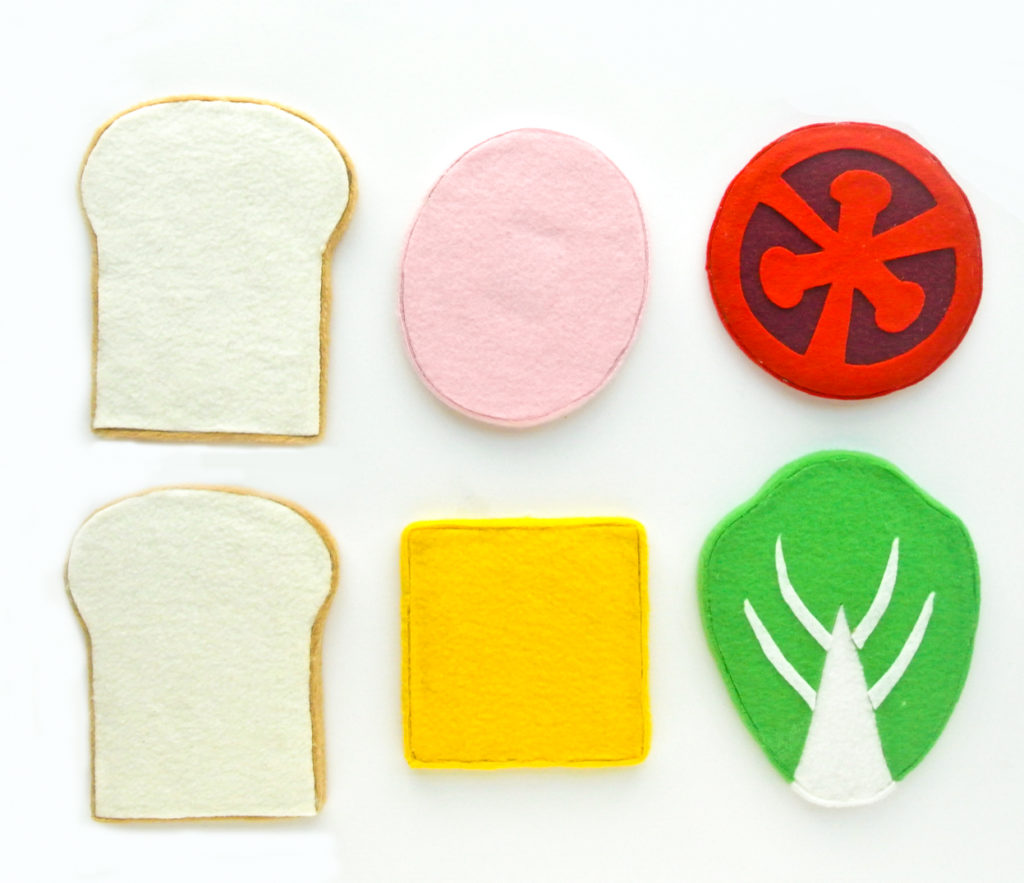

Finished! You now have your own set of cardboard foods for your children or to gift others. I love the sturdiness afforded by the cardboard, and seriously, who can guess they are made from cardboard?!
Let me know in the comments below if you made this. Happy Cardboard food making 🙂
Want more felt play foods tutorial? Check out the following posts:

