How to Make Your Own Magnetic Fishing Game for Kids | DIY Fishing Pole and Fish (free templates)
[updated 12/1/2020]
You can make this EASY DIY Magnetic Fishing game with just a a few simple materials. Perfect for snowy and raining days, this is a great stay at home kids’ activities. It’s also a fun way to practice hand-eye coordination as well as counting (fish) and naming colors.
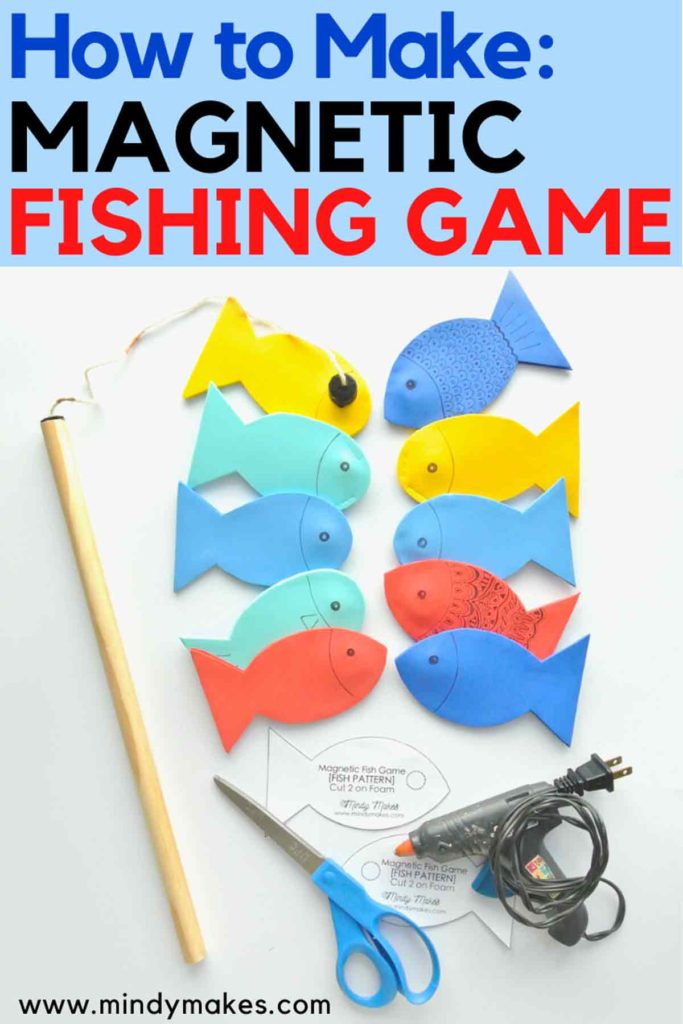
Let’s go fishing (a mini version) has been a childhood game that I used to play by myself (yes…the life of an only child). Now that I have a son, I was very excited and ready to play with him.
Unfortunately, at the ripe old age of 2, I’m pretty sure he’s not ready. I think he would enjoy seeing the opening and closing of the fish mouths, and then he would enjoy dumping all the fish out of the container. Plus, the box is labeled “4+”, so I will have to wait a few years.
While I was searching for the “Let’s go fishing” game online, I came across someone selling magnetic felt fish with a fishing rod on Etsy. What a great idea!
This was perfect because by making my own DIY magnetic fishing game, I could make big fish and use a thick pole. Great for motor skill development for little hands.
How do you make a Magnetic Fishing Game?
The original plan was to sew some felt fish, but I wanted this to be a quick and easy crafting project, therefore no-sew. After all…I was still skeptical as to whether my toddler would even like it (You know…toddlers). I didn’t want to sew some pretty looking fish for him to not be interested!
At the end I decided to use colored foam sheets and hot glue for the fish. I liked the bright colors of craft foam, and you get to decorate the fish with sharpie markers later on.
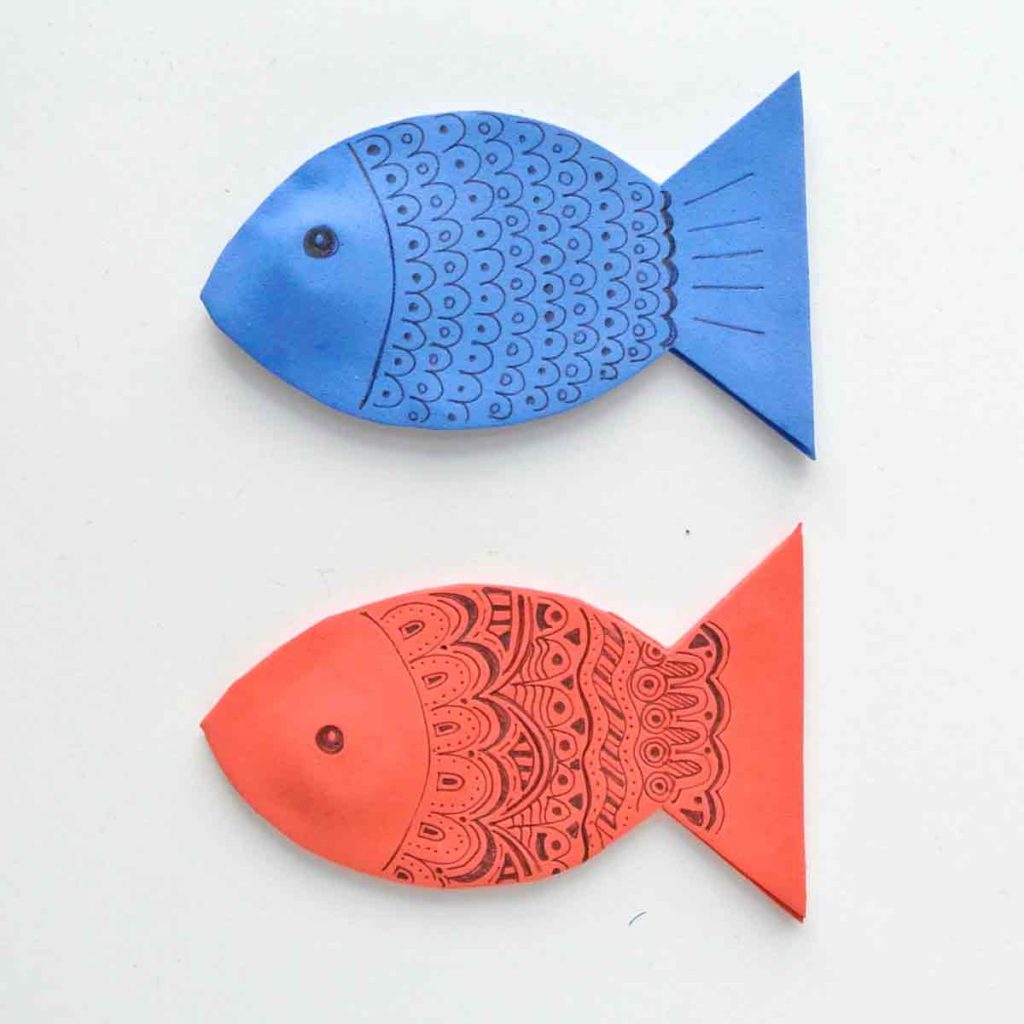
DIY Fishing Game Printable
Grab it here: My Free Foam Fish Template (available in my free resource library)
How do you Make a Kid’s Fishing Pole?
For the DIY magnetic fishing pole, I used a 1/2”rod from home depot. You can find 1/2” wooden rods from craft stores as well, but at home depot they will cut it for you to the desired length. “First two cuts are free then 50cents per cut after”, was the home depot sign.
They also have a self service saw with unlimited cuts. A nice customer actually offered to cut my rod for me (pretty sure I looked clueless…which isn’t far from the truth), and I was extremely grateful. Although, this clueless looking lady has taken wood shop back in the 6th grade…so…I’m sure I can saw a 1/2″ rod!
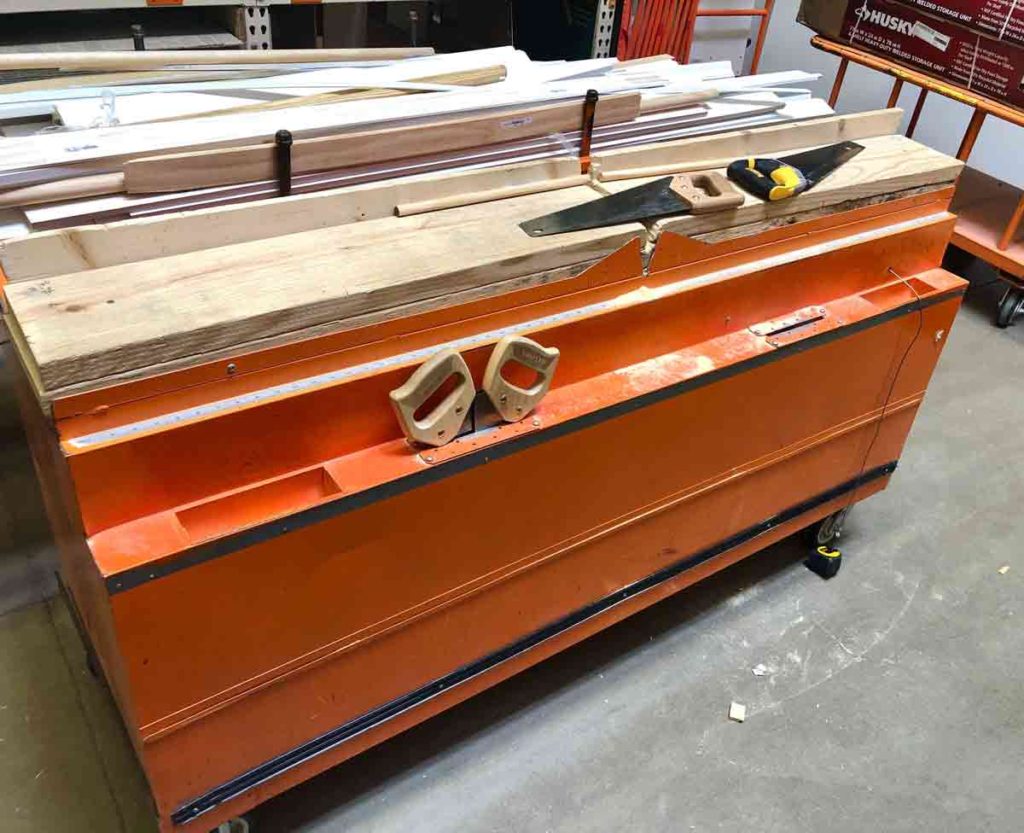
Home Depot self-service sawing table.
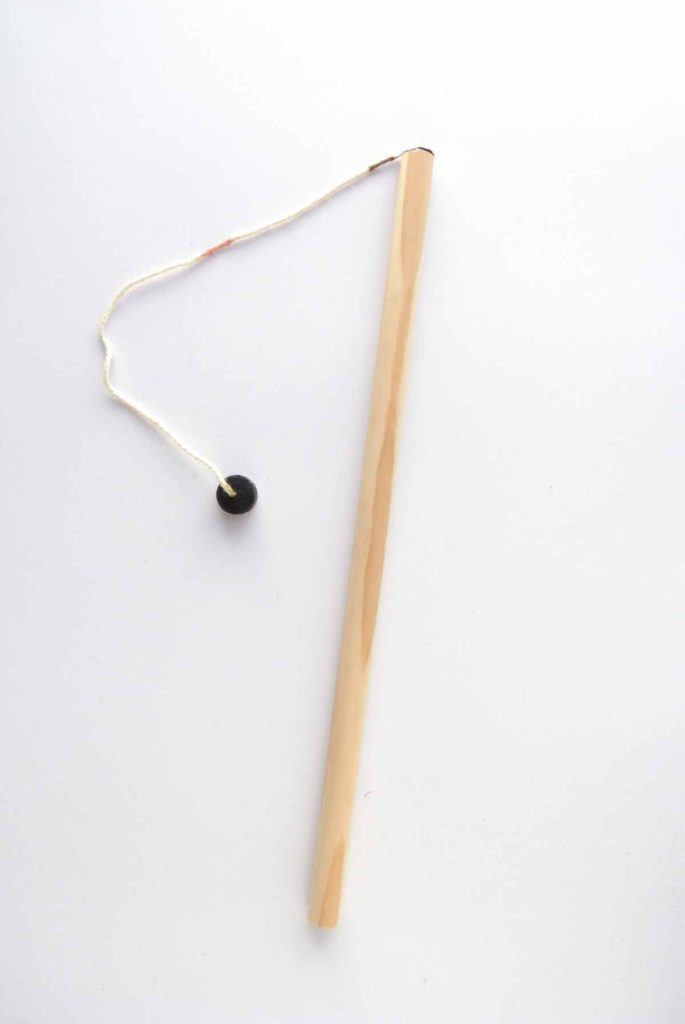
Kid’s fishing pole made by gluing yard to the end of the wooden rod.
In this tutorial I will show you how make a magnetic fishing pole by gluing the yarn to the rod. However, if you have a power drill, you can definitely drill a hole through the rod and just thread the yarn through and tie a knot at the end. Both options work equally well!
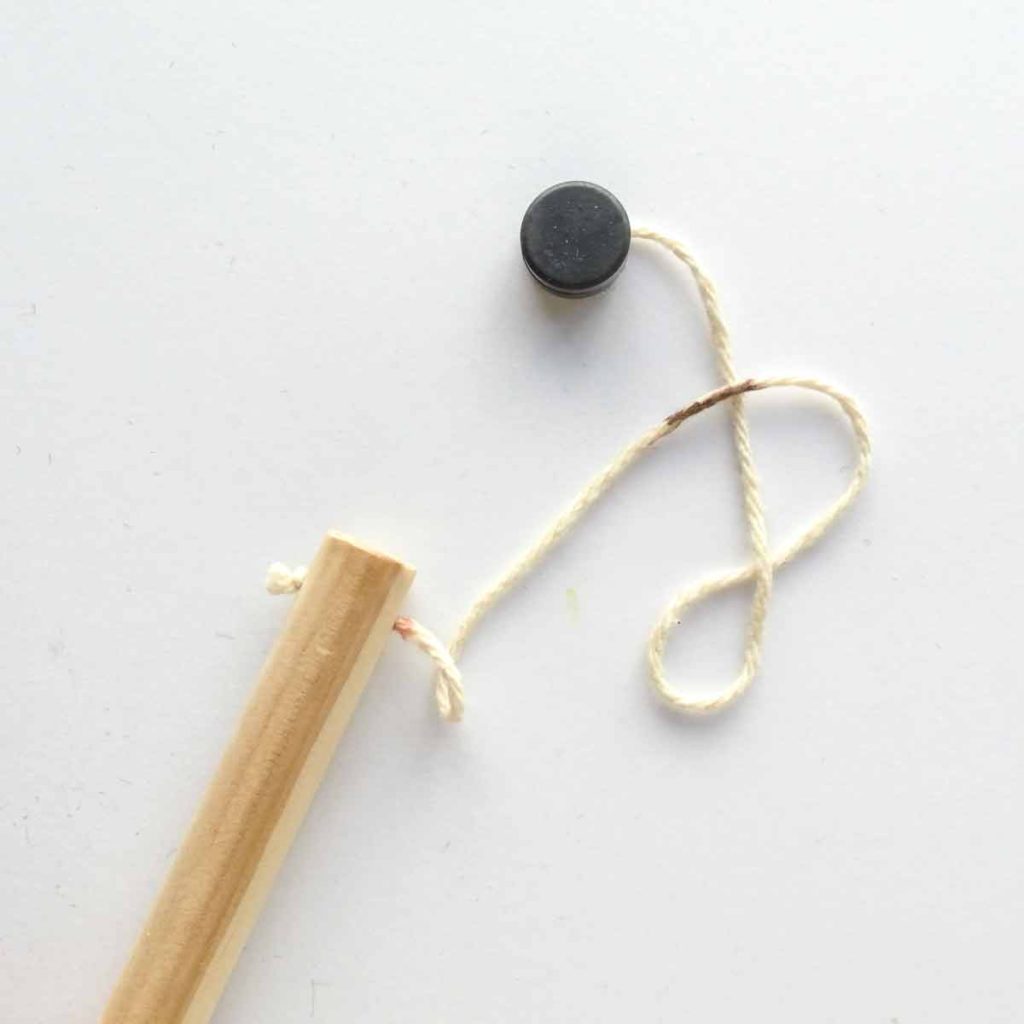
Kid’s fishing pole made with yarn attached through the pole.
Are there Other Materials I can use for Making Homemade Fishing Game?
Absolutely! You can use felt or card stock to make the DIY magnetic fish.
- FELT: You can either glue the felt fish together or sew them together. To sew the felt fish, first hot glue the magnet on, then sew the fish together at 1/4″ from the edge. Since felt doesn’t fray, there’s no need to invert the fish to hide the seam allowance.
- CARD STOCK: Follow the tutorial and use in place of foam.
- Patterned card stock would be another great option to create colorful and beautiful fish that is appealing to the eye.
- Glittered card stock would also be excellent to add some “bling! Bling!” However, note that glittered card stock tends to shed a lot of glitter over time.
For the fishing pole, you can use an empty paper towel roll for the rod instead of a wooden pole.
Ready? Let’s get started!
MATERIALS:
- Craft Foam Sheets – I got a few different colored 12”x 18 sheets from Michaels. If you don’t have a Michaels nearby, you will find them at craft stores or even the dollar store. Otherwise, you can get a pack of assorted colors from Amazon, which will be great to have for all types of kid’s crafts)
- 1/2” Wooden Pole, cut to 16”
- 3/4” Round Magnets
- Piece of yarn
- Sandpaper or nail filer
- Optional – Sharpie/Markers for decorating the fish
- My Free Foam Fish Template (available in my free resource library)
TOOLS:
- Glue Gun
- Scissors
- Optional – Power Drill
HOW TO MAKE MAGNETIC FOAM FISH:
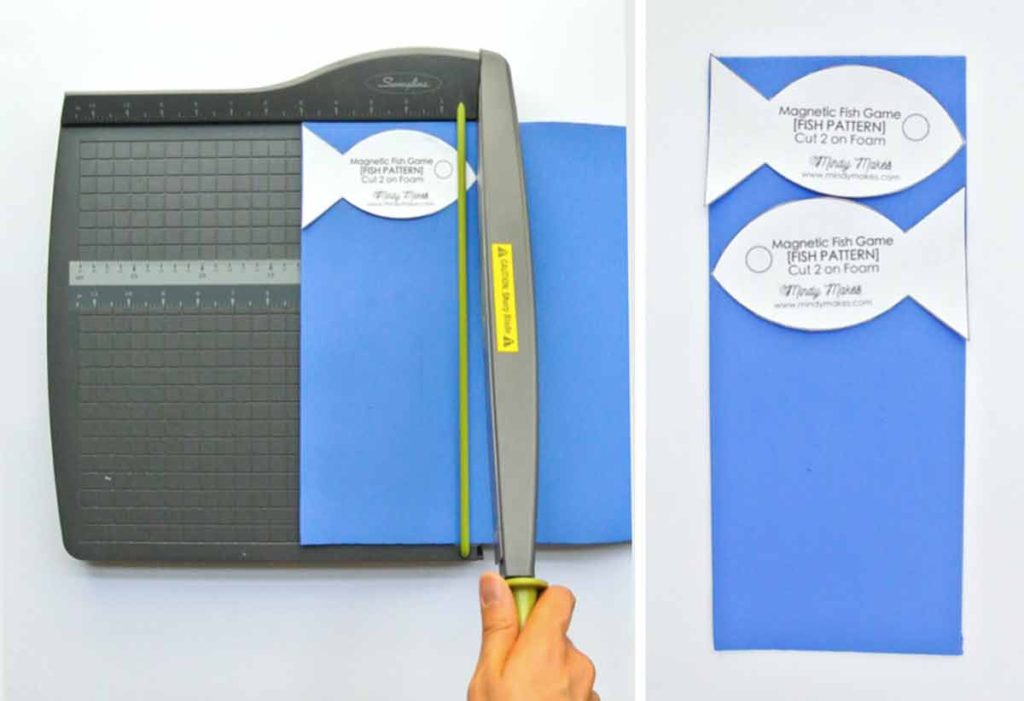
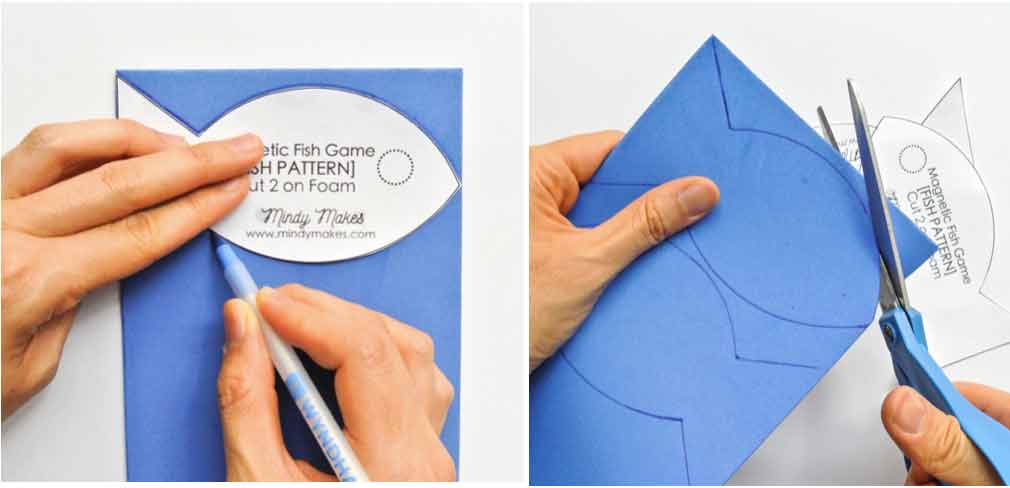
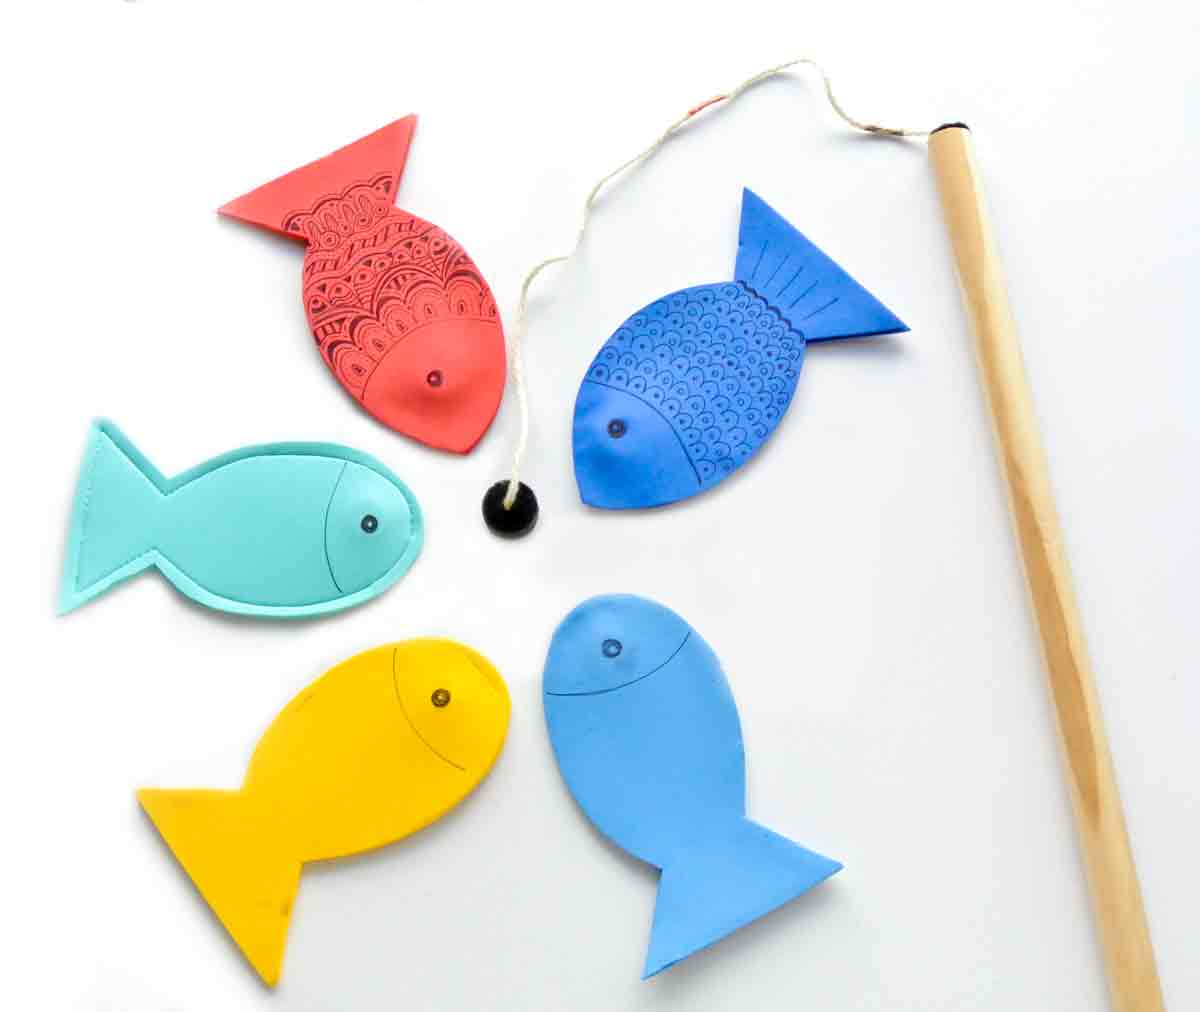
Print Fish Pattern and cut them out. Cut a piece of foam about 5″ wide (I used paper cutter). Just make sure it’s slightly wider than the fish. Trace fish pattern and cut out.
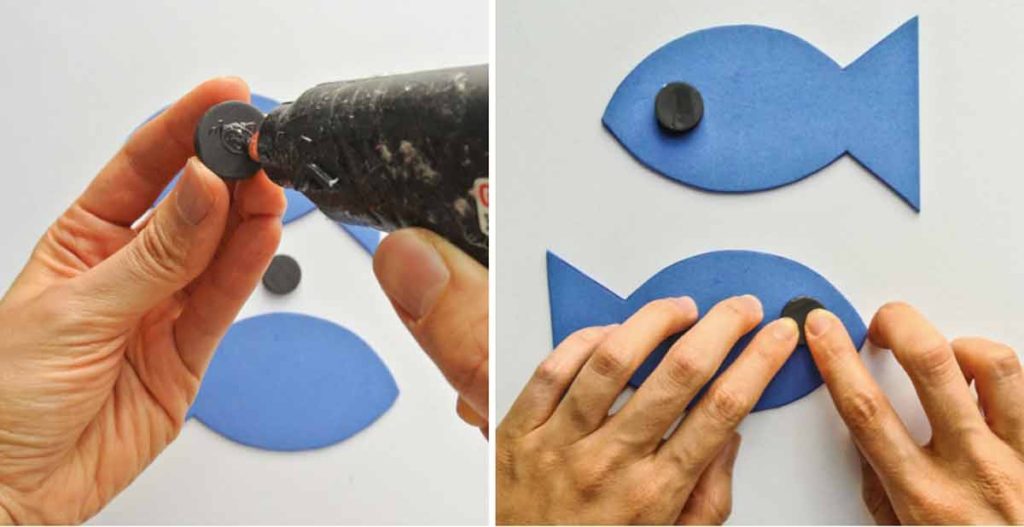
Glue magnets onto foam fish (place around center front of fish).
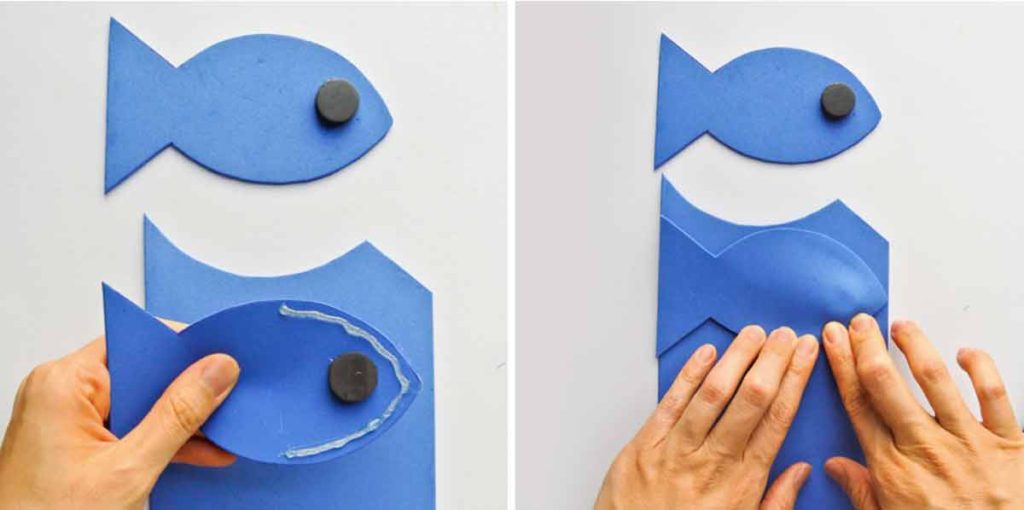
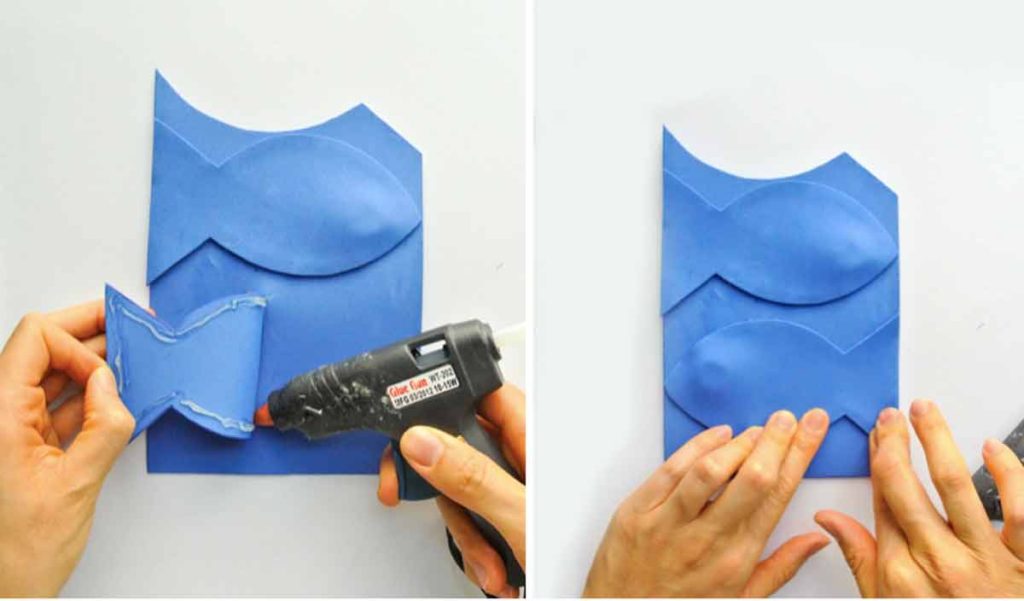
Place glue on front half of fish and press down on foam. Then place glue on the back of fish and press down.
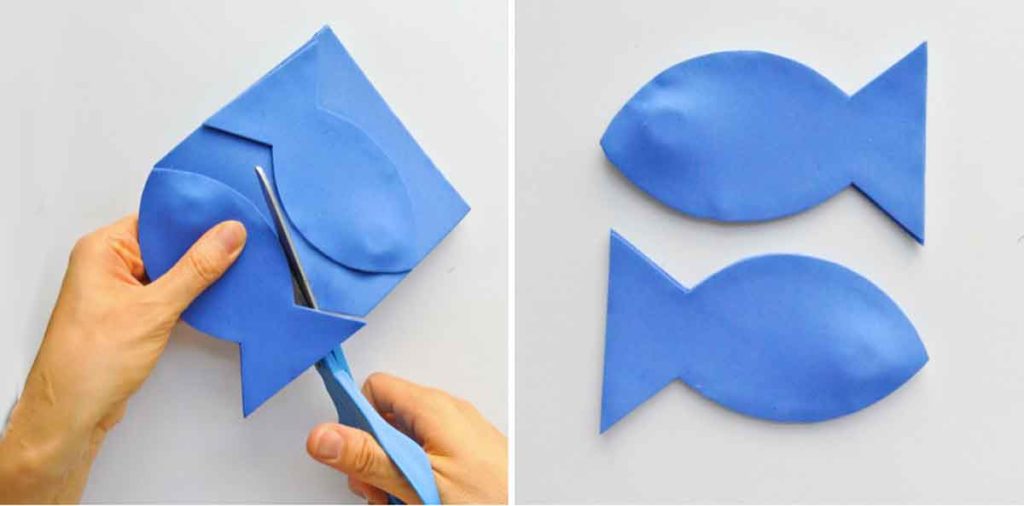
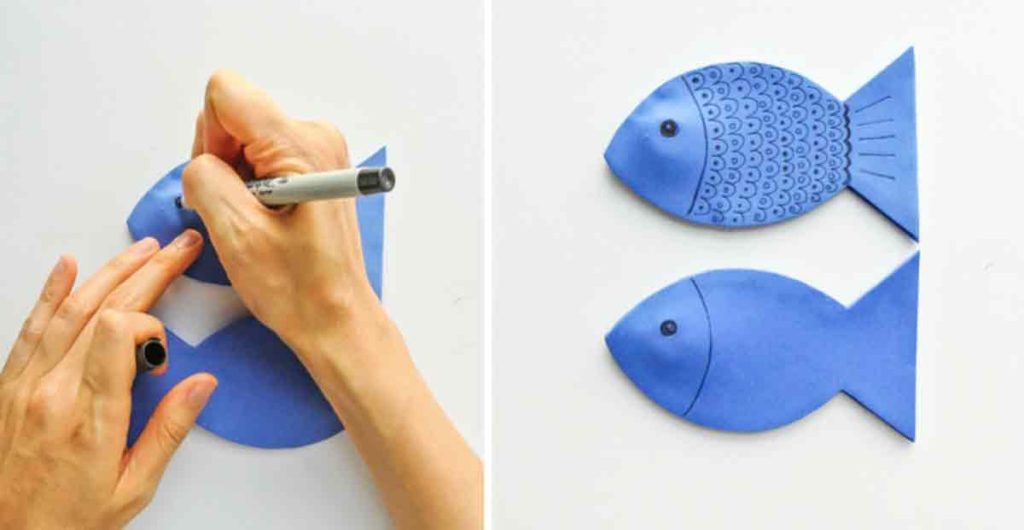
Cut out fish and draw eyes and scales if you like. I generally try to draw the eyes around the magnets to indicate where to catch the fish.
HOW TO MAKE MAGNETIC FISHING ROD:
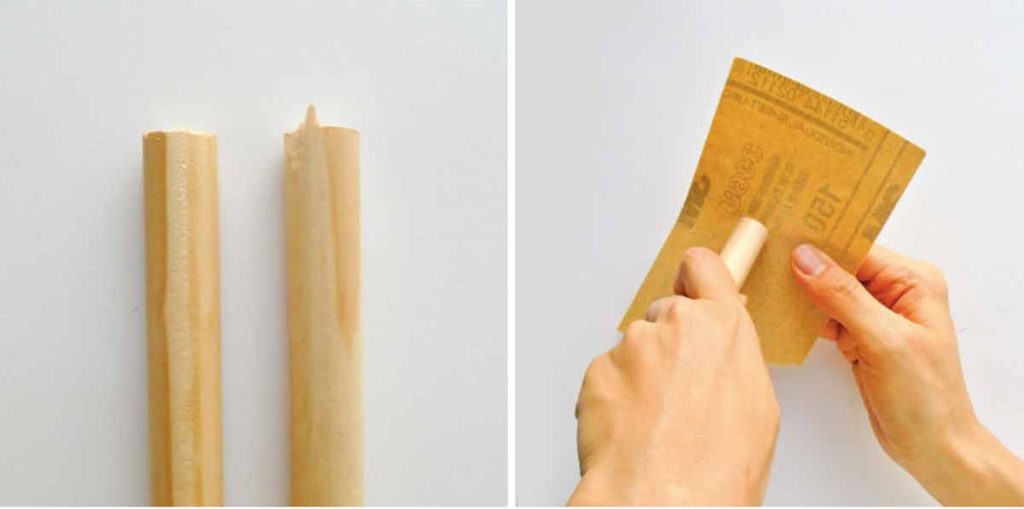
As you can see, the ends of where the rod was sawed in half was quite rough. Prep the fishing rods by sanding down the edges until smooth.
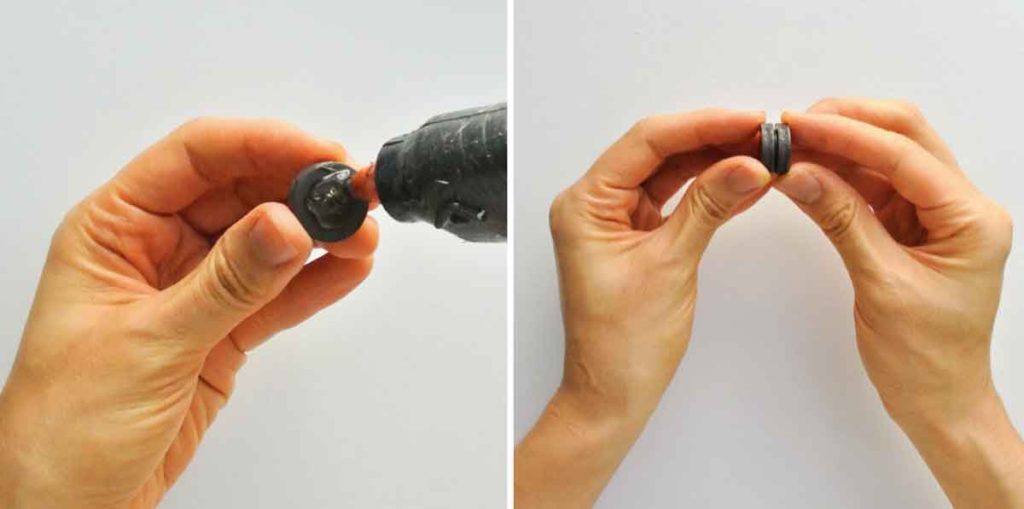
Glue two magnets together
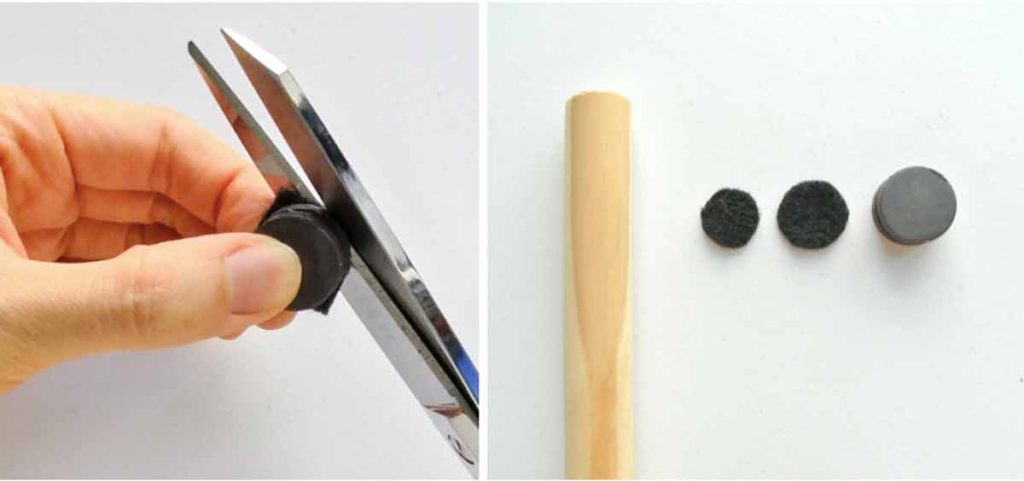
Take a piece of black felt and cut out a 3/4″ circle. I usually do this by laying the felt on top of the magnet then cutting out the felt around the magnet. Cut out another piece of felt in the same way for the rod (1/2″ circle)
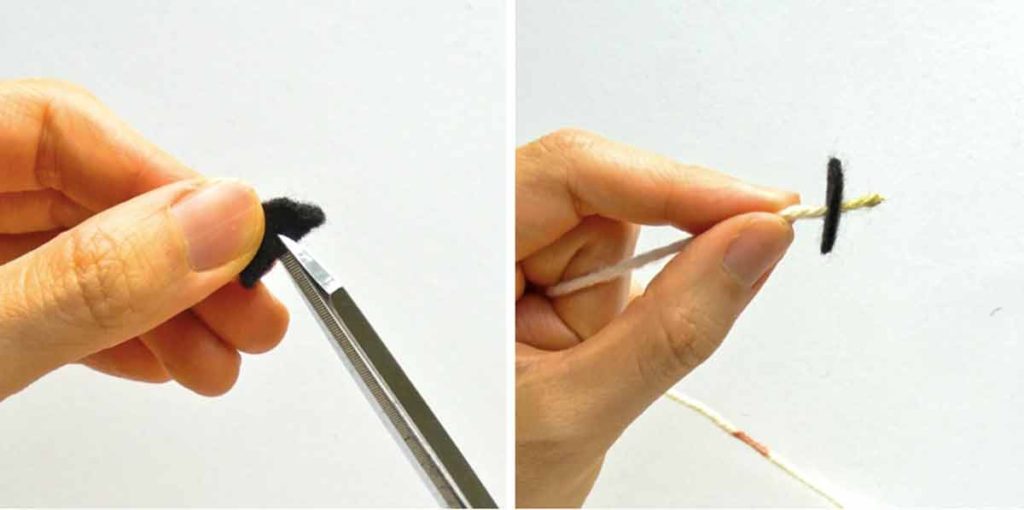
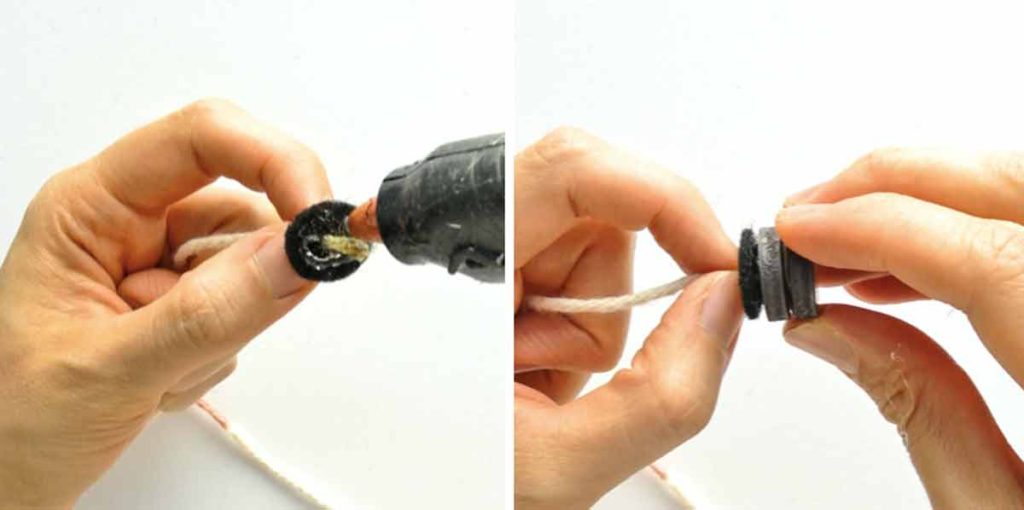
Make a small snip in the middle of the 3/4″ circle. Thread a piece of yarn through, leaving an extra 1/2″ piece of yarn. Place glue over the felt and yarn and stick to the magnets.
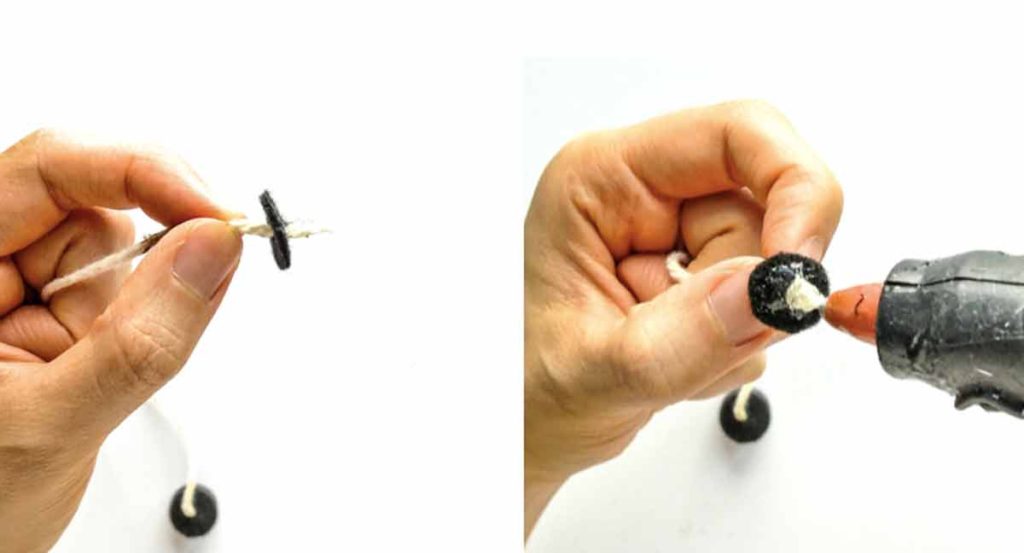
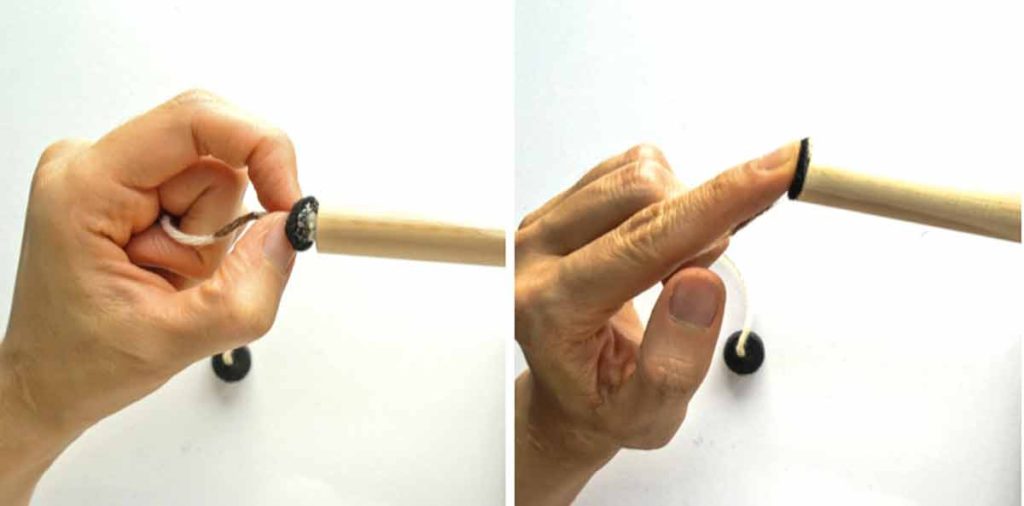
Repeat the same process with the 1/2″ diameter felt and stick it on the end of the fishing rod.
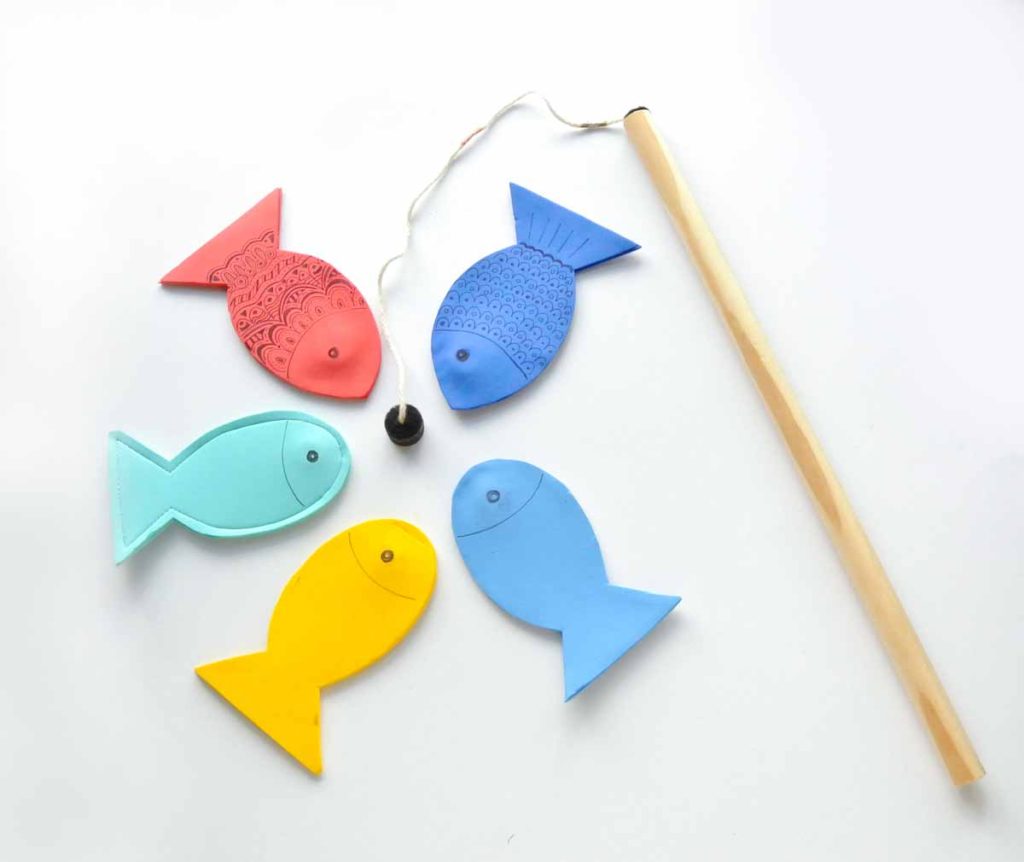
Finished! Wasn’t that easy? Make as many fish in as many colors as you would like.
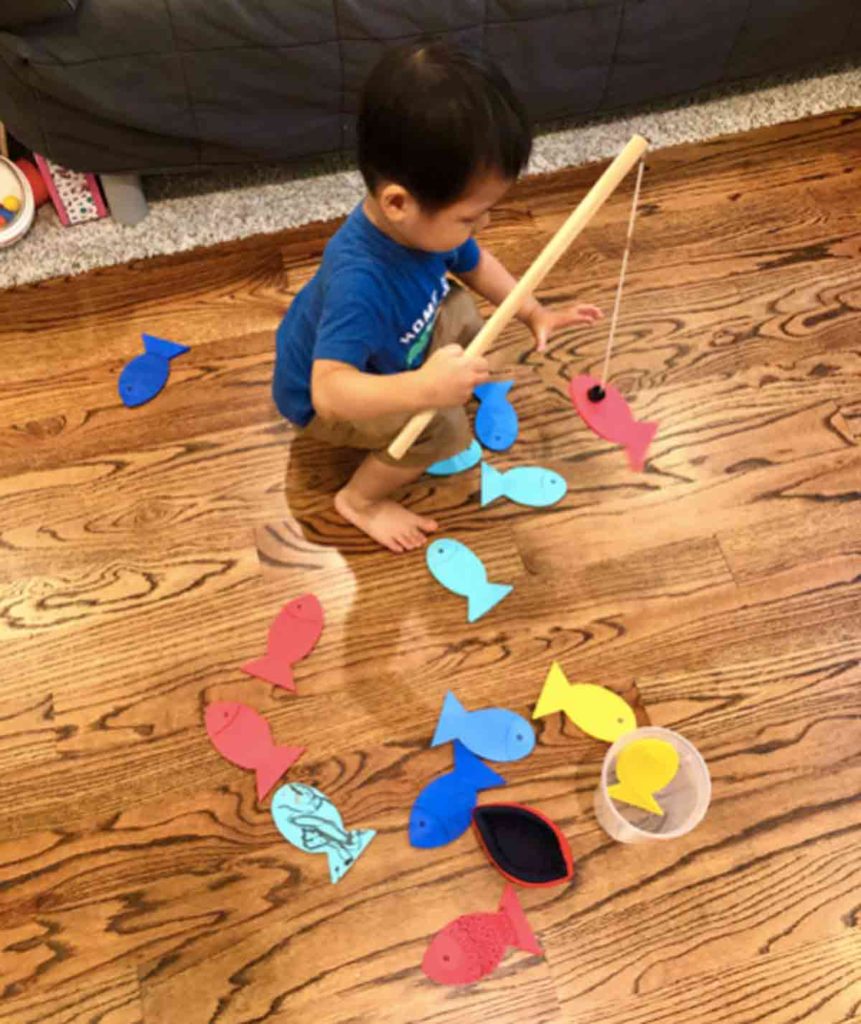
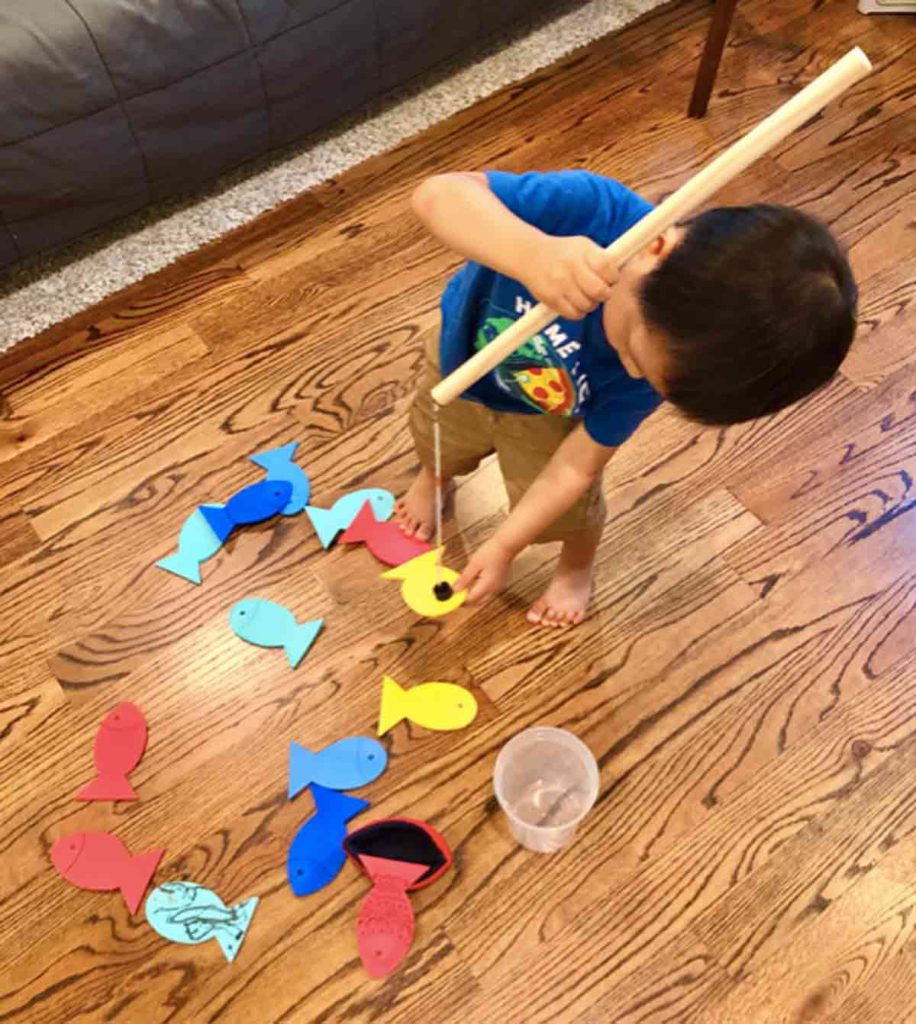
In the end, my toddler wasn’t very into his magnetic fishing game. He did spend a good 15 minutes catching the fish and trying to swing them into the bucket though; However, after the newness wore off, he didn’t want to fish anymore.
Nevertheless, I’m very hopeful that this game will grow on him. I actually think this game will be very fun for preschool kids, or even an older group of kids if you make A TON of fish. Then everyone gets a rod and compete to see who catches the most fish.
Or you can use smaller magnets for certain colored fish, making it harder to catch and thus worth more points. It could be a good carnival game too. The possibilities are endless!
For now, I will let my toddler enjoy dumping all this fish out the bucket (while I pick up after him…life of a toddler mom)
Let me know in the comments below if your child(dren) enjoyed this game in the comments below. Happy crafting 🙂
Want more Toddler Activities? Check out the following posts:

If you use felt you can Velcro layers ,shapes or small pictures of items cut in half for them to fish for the item that goes together. Also a spinner so the have to spin to try and catch that item . Just a thought I the child is learning letters shapes or matching.
Hi Michelle!
That’s an excellent idea! I like the spinner idea too. Now you got me thinking…I have some foam numbers that I can stick velcro/magnets on and then make a spinner that has those numbers for my toddler to “fish”. How fun! Thanks for the tip 🙂
This is great, i did add my twist to it and add a yoga poses on the back of each fish. to get them moving.
so fun. for kids that cant read just read it to them and do the yoga poses
Hi Mishleen,
Wow!Such a creative idea! And also a great way to sneak in some exercising into a fishing activity, who would’ve thought! Thanks for sharing 🙂