How to Make French Knot Embroidery Stitch – Step-by-Step Beginner Tutorial
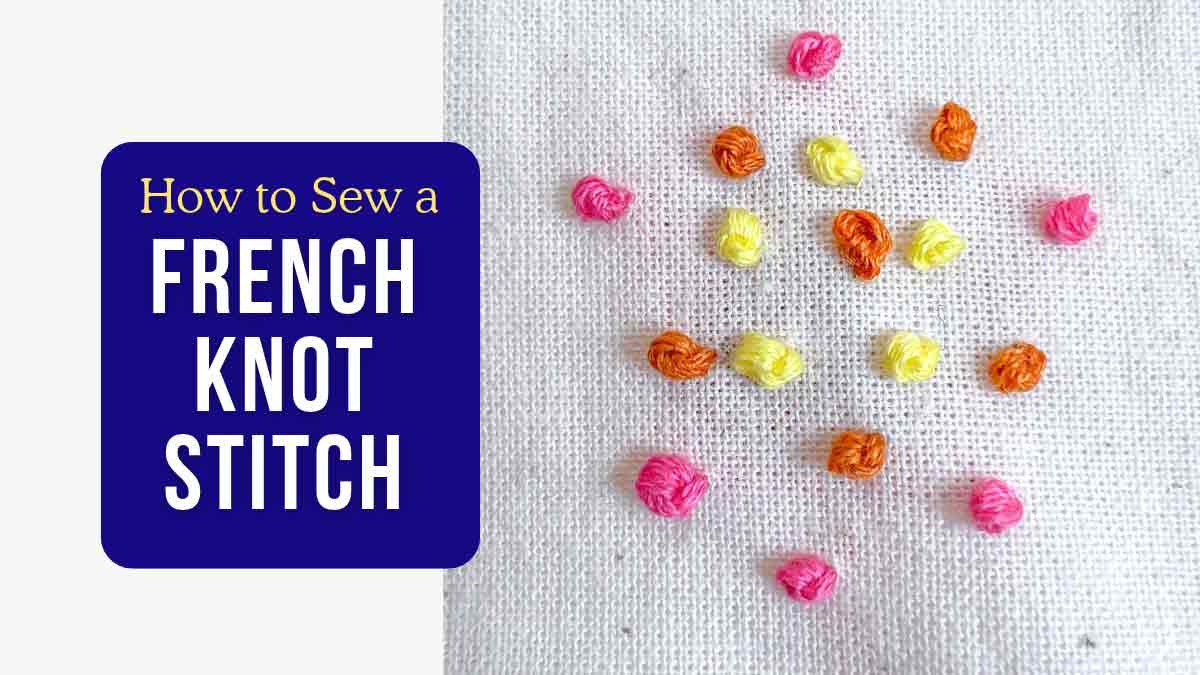
French knots are one of the prettiest and most versatile embroidery stitches. They add a beautiful, raised texture to fabric and are perfect for adding small details to embroidery projects.
This post may contain affiliate links. Please read my disclosure policy for details. As an Amazon Associate, I earn from qualifying purchases.
Whether you’re making flowers, adding texture to a design, or creating tiny decorative accents, French knots are a simple stitch worth learning.
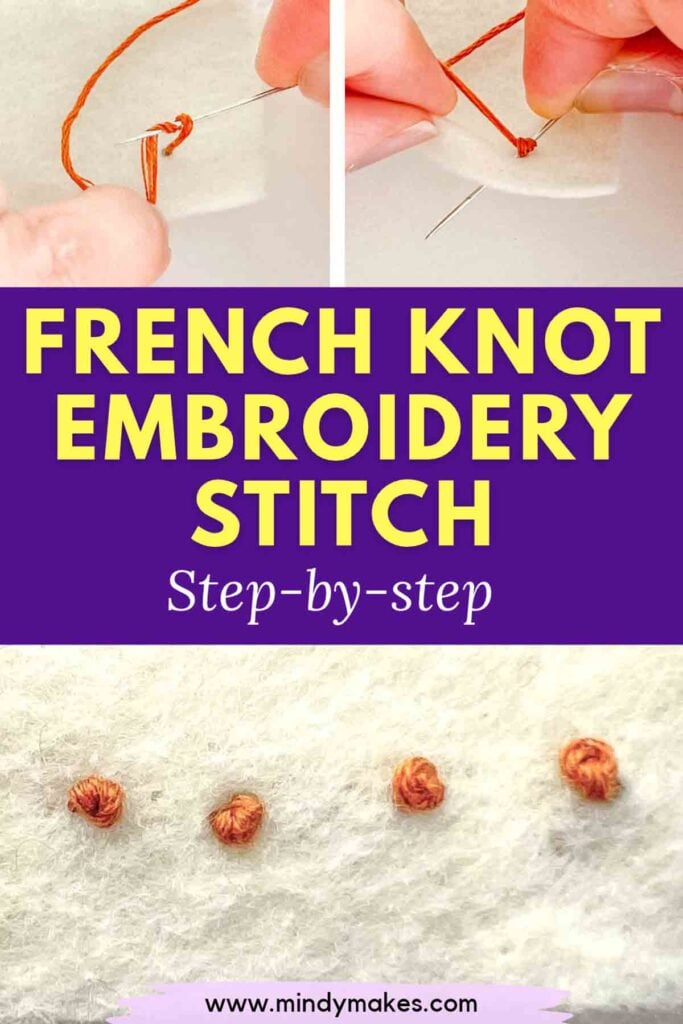
If you’ve ever tried making a French knot and ended up with a tangled mess of thread on the back of your fabric, don’t worry! With a little practice and the right technique, you’ll be making neat, beautiful French knots in no time.
In this tutorial, I’ll show you how to sew French knots step by step, including what supplies you’ll need, how to wrap your embroidery floss around the needle, and how to pull the thread through to create a perfect little knot.
What is a French Knot
A French knot is a decorative embroidery stitch that creates a small, raised knot on the surface of your fabric. It is made by wrapping embroidery floss around a needle and pulling the needle back through the fabric close to where the thread originally came up.
The finished stitch looks like a tiny dot or bead on the fabric. You can make French knots in different sizes by changing the number of times you wrap the thread around the needle or by using a different number of embroidery floss strands.
French knots are commonly used for:
- Flower centers and flower petals.
- Small dots and decorative accents.
- Adding texture to embroidery designs.
- Creating eyes on embroidered animals.
- Adding details to leaves, plants, and nature-inspired designs.
- Filling in larger areas with textured stitches.
Supplies You will Need
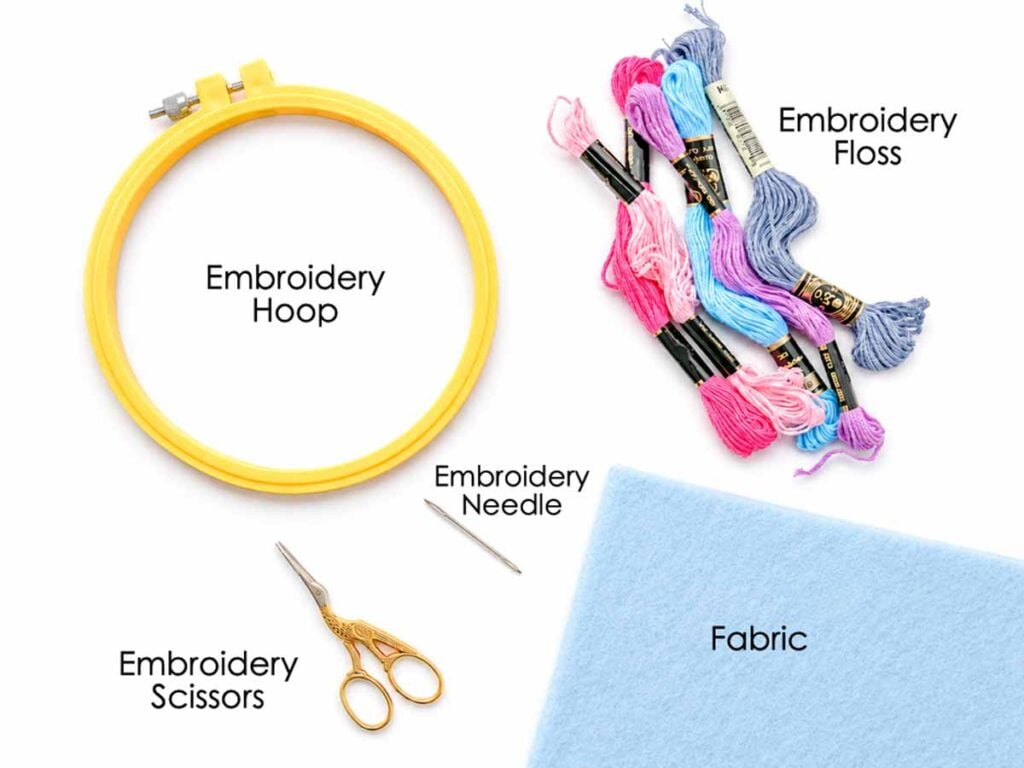
- EMBROIDERY FLOSS: Choose your favorite color of embroidery thread. Six-strand embroidery floss is commonly used.
- EMBROIDERY NEEDLE: An embroidery needle with a sharp point and an eye large enough to accommodate your floss.
- FABRIC: Cotton, linen, or another fabric suitable for hand embroidery.
- EMBROIDERY HOOP: optional – Helps keep your fabric taut while stitching.
- EMBROIDERY SCISSORS: For cutting your embroidery floss.
How to Sew French Knots Step-by-Step
Now let’s get started! Follow these simple steps to make your first French knot.
Step 1: Thread Your Needle
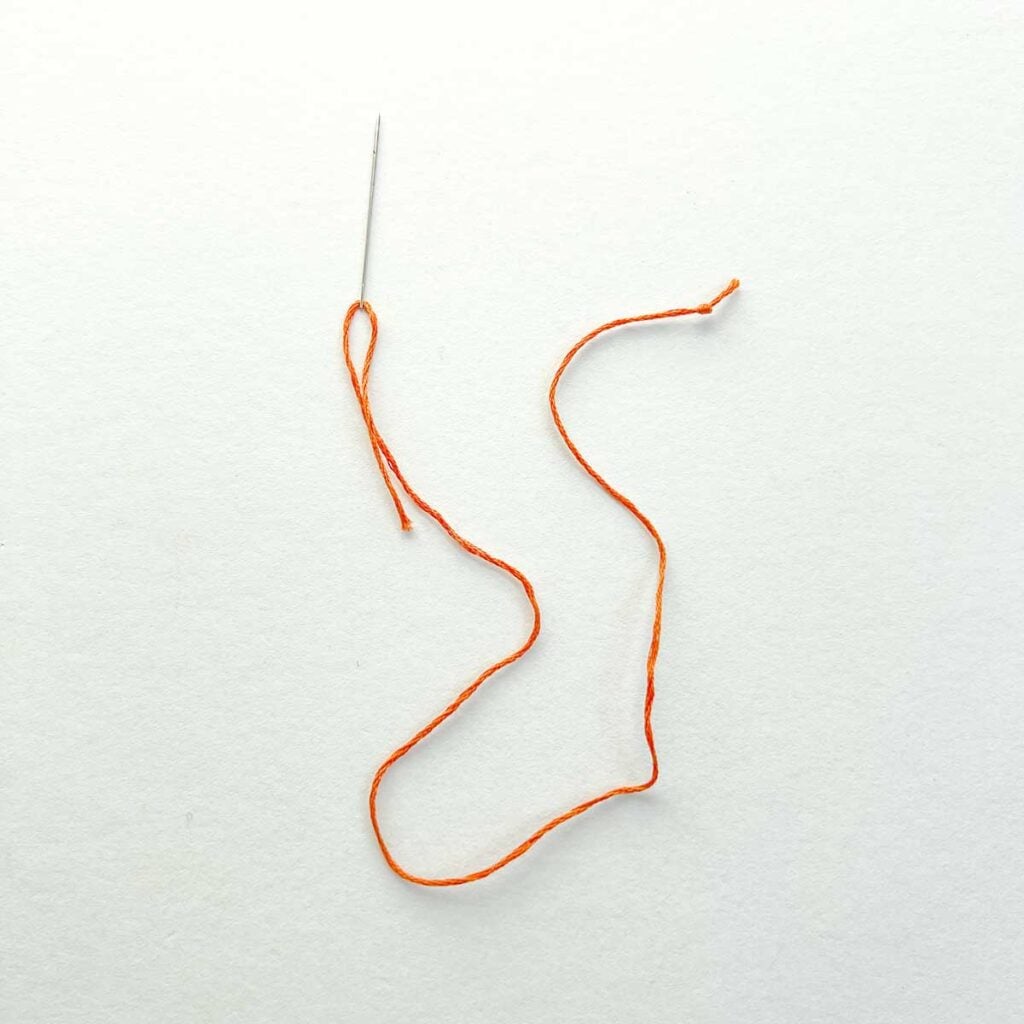
Cut a length of embroidery floss approximately 18–24 inches long. Separate the strands if desired, depending on how large you want your French knot to be. In this example, I am using the full 6 strands of embroidery floss.
Thread your embroidery needle and tie a small knot at the end of your floss.
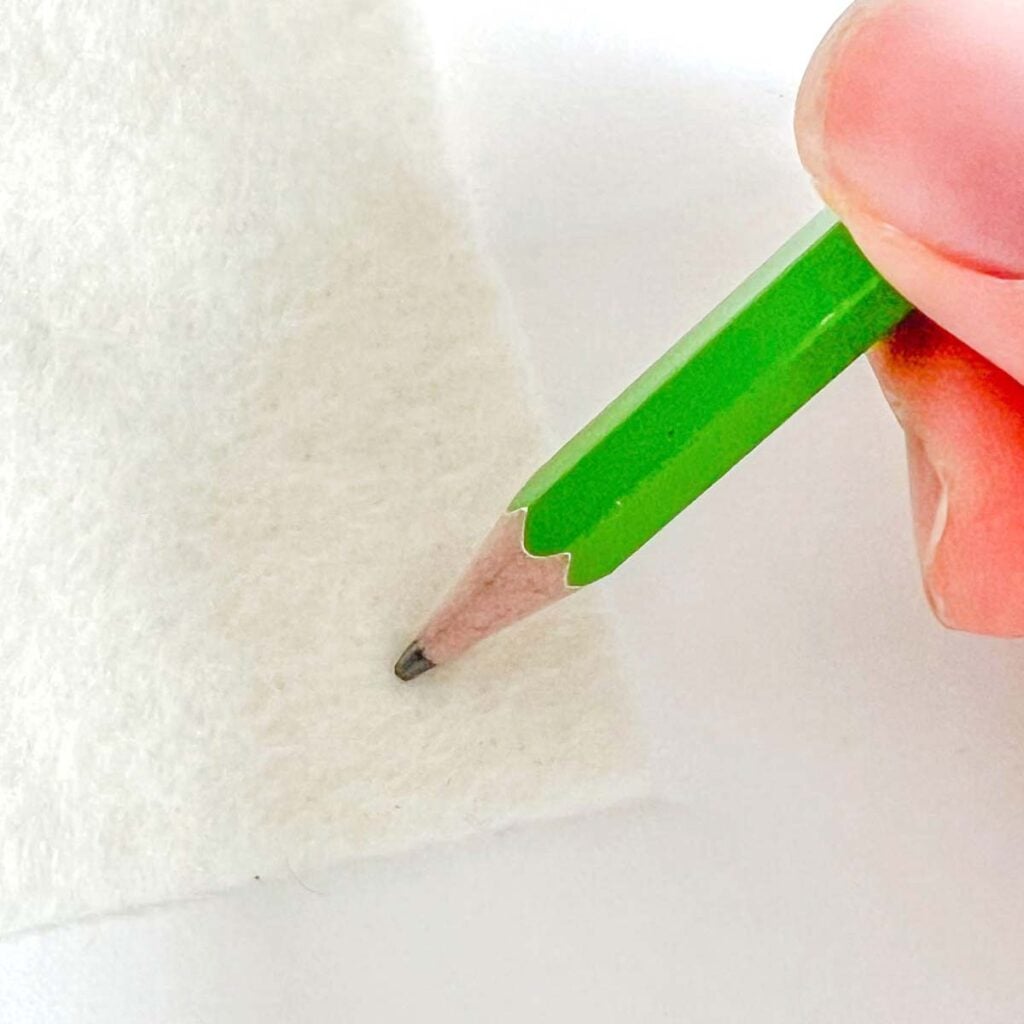
Next, make a mark where you want to place your French knot.
Step 2: Bring Your Needle Up Through the Fabric
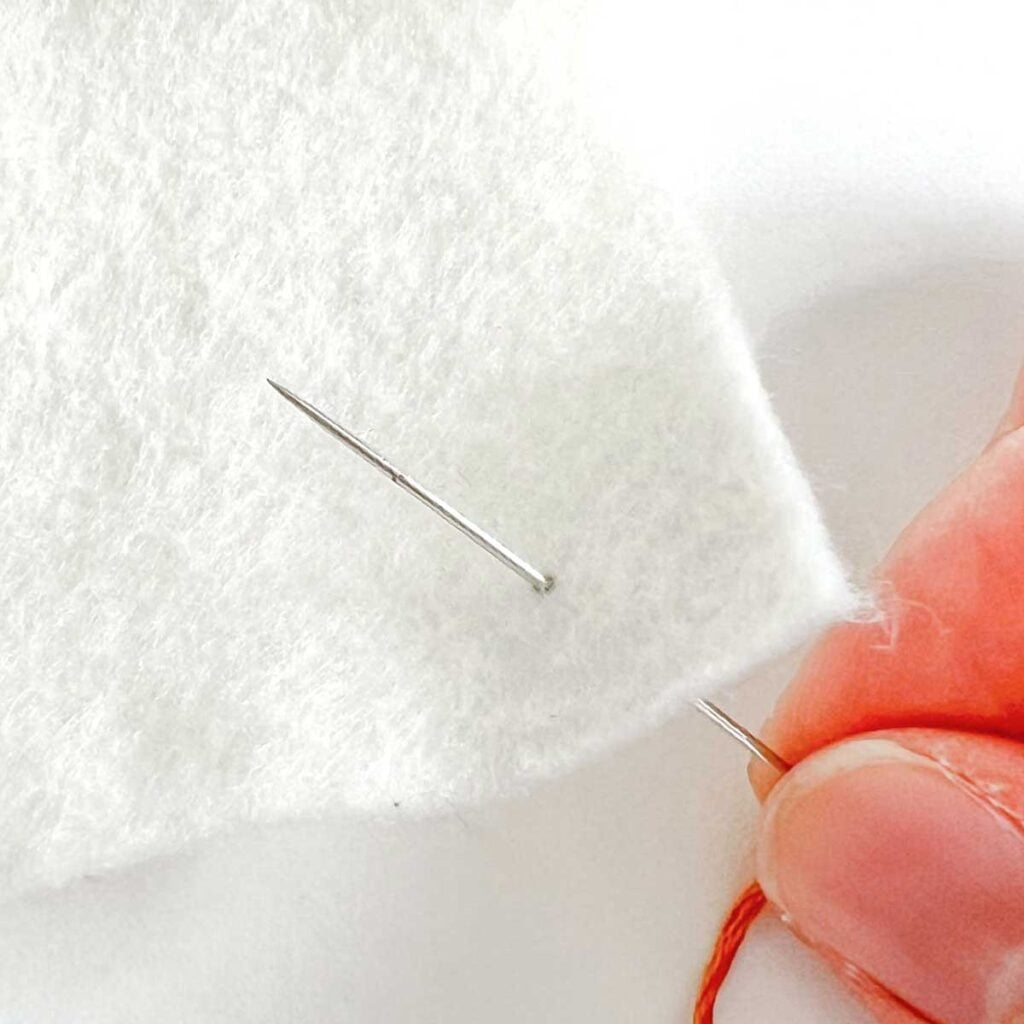
Push your needle from the back of the fabric to the front at the spot where you want your French knot to appear.
Pull the thread all the way through until the knot at the end of your floss catches against the back of the fabric.
Keep your working thread straight and gently hold it with your non-dominant hand.
Step 3: Wrap the Thread Around Your Needle
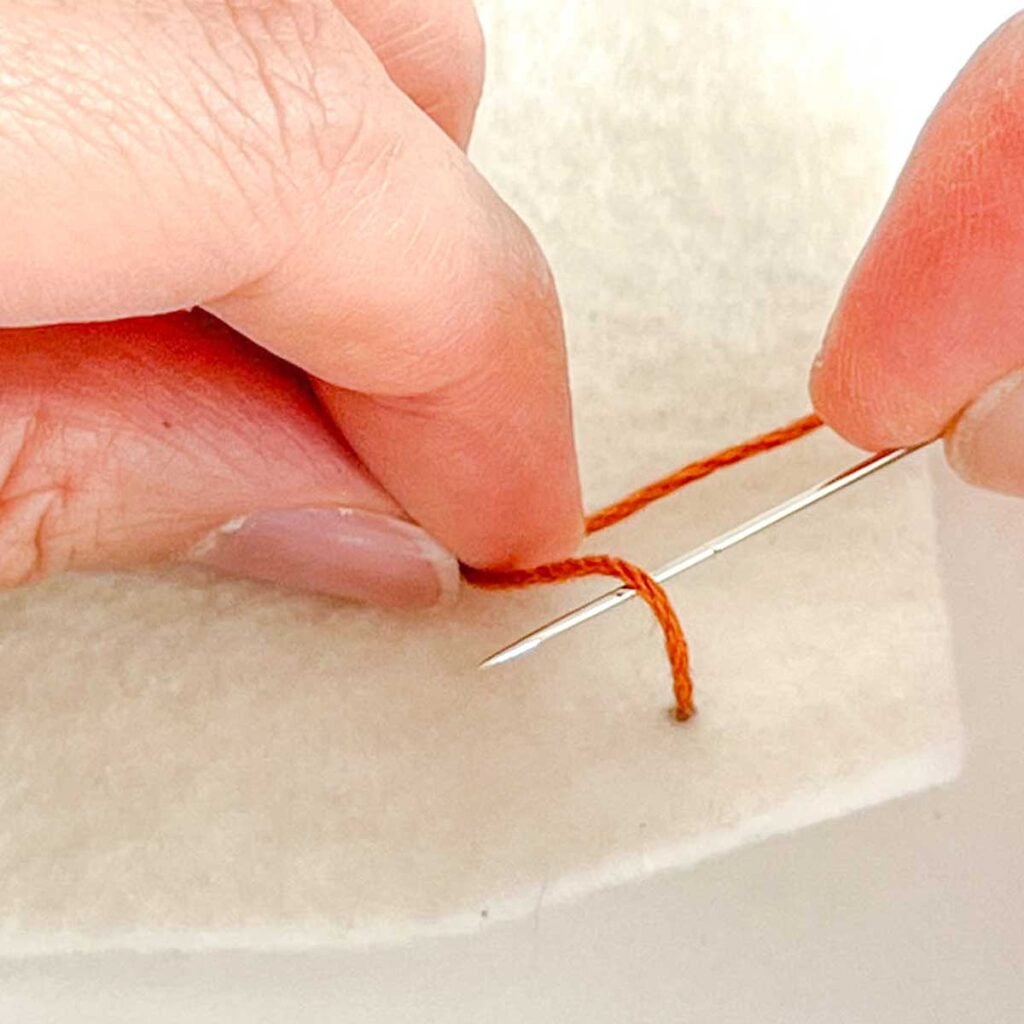
Next, holding the needle with one hand, wrap the thread over the needle.
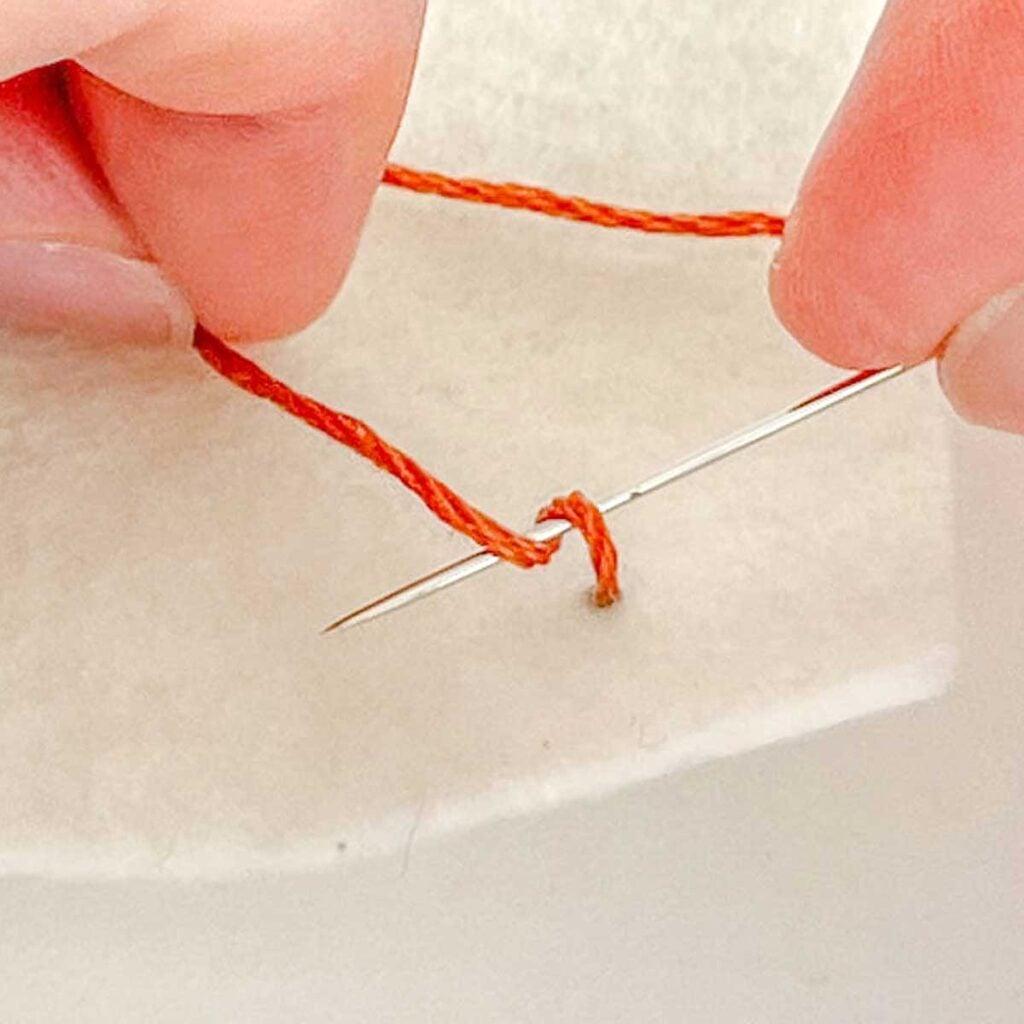
Now pull the thread under and over the needle and wrap around the needle a second time.
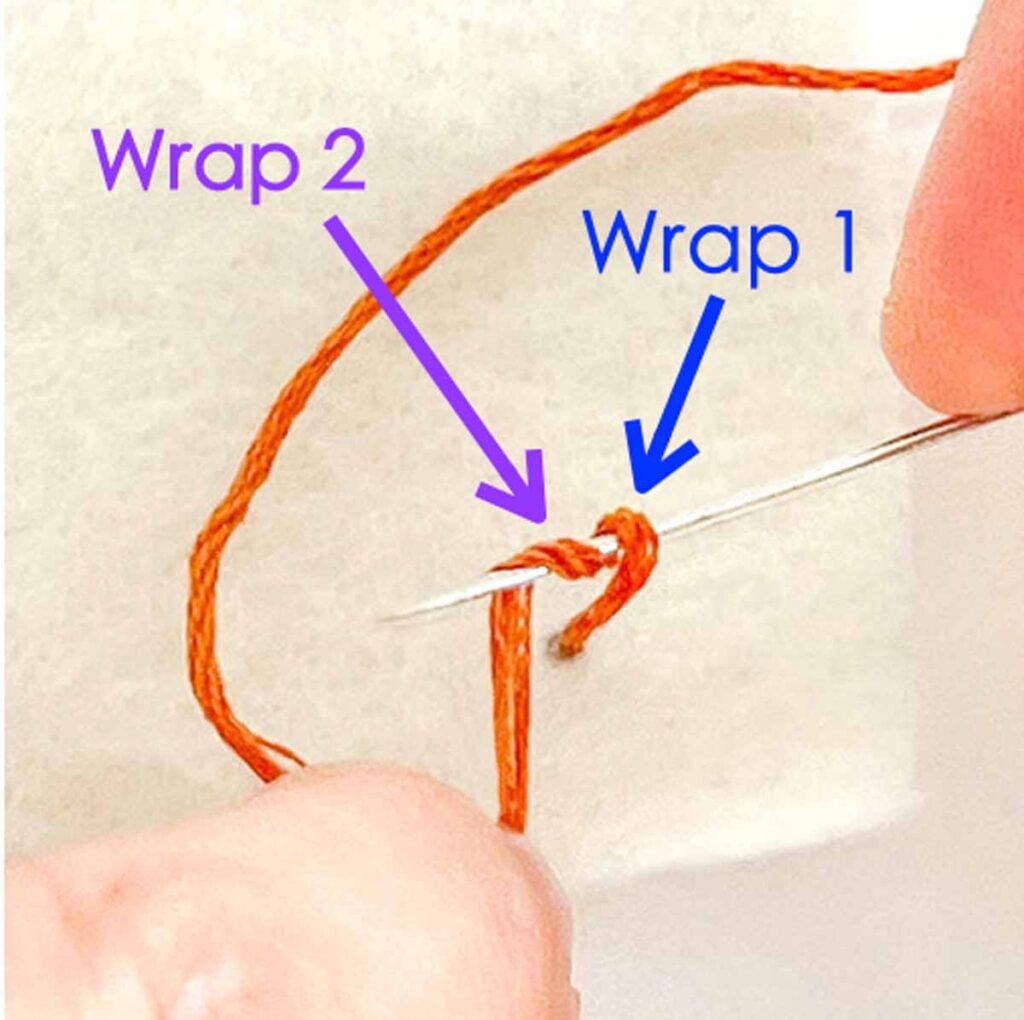
Then, pull the thread behind the needle. You now have two wraps over the needle.
Step 4: Insert Your Needle Back Into the Fabric
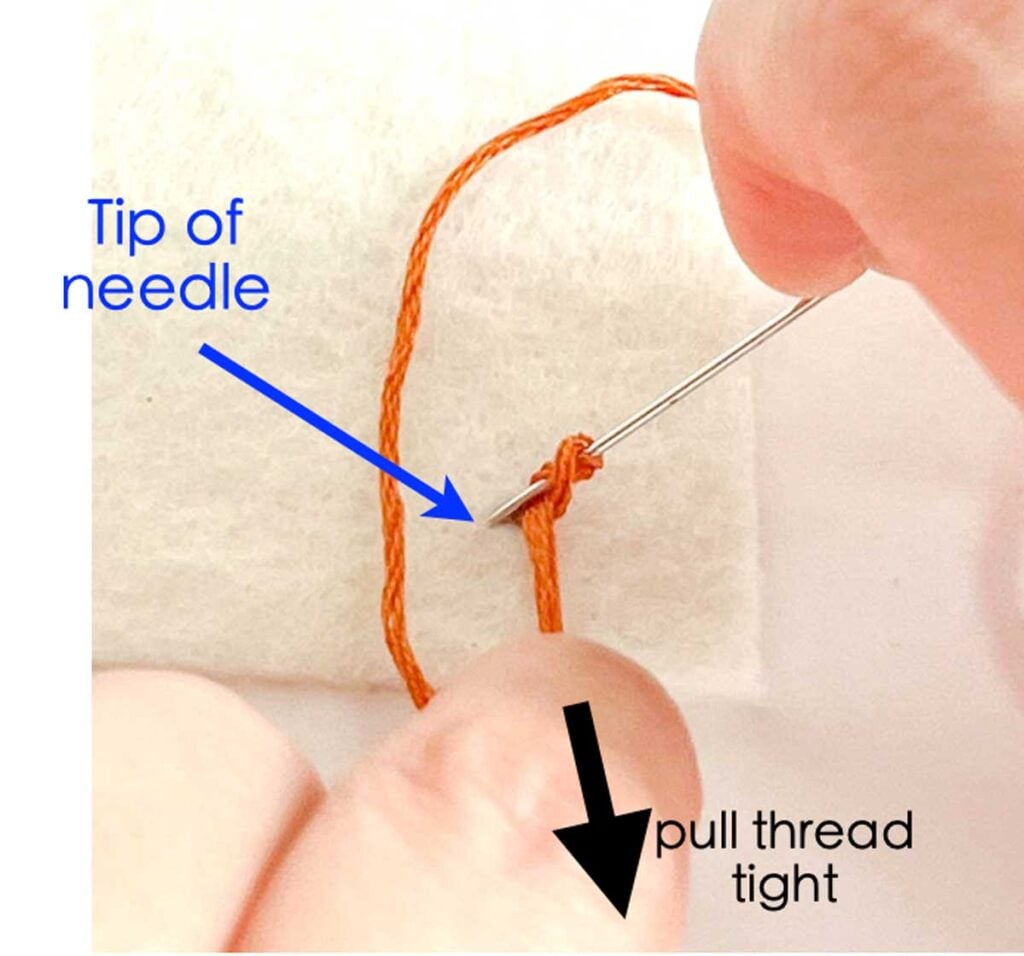
Now pull the thread tight (so the wraps hug the needle) and bring your needle back into the fabric a small distance (1/16th inch or 1.5mm) to the left of where the thread initially came out.
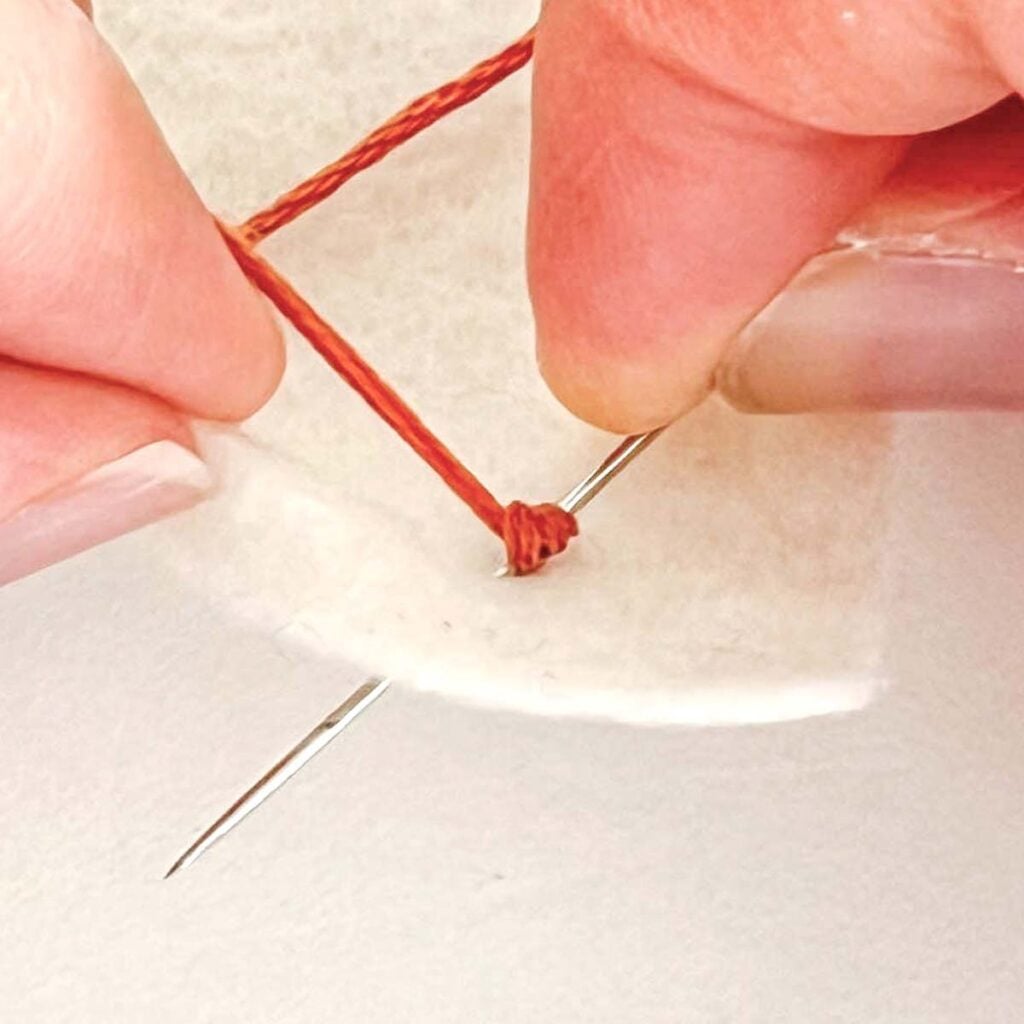
Continue pushing needle through fabric while holding the thread tight.
Step 5: Pull the Needle Through to Complete Your French Knot
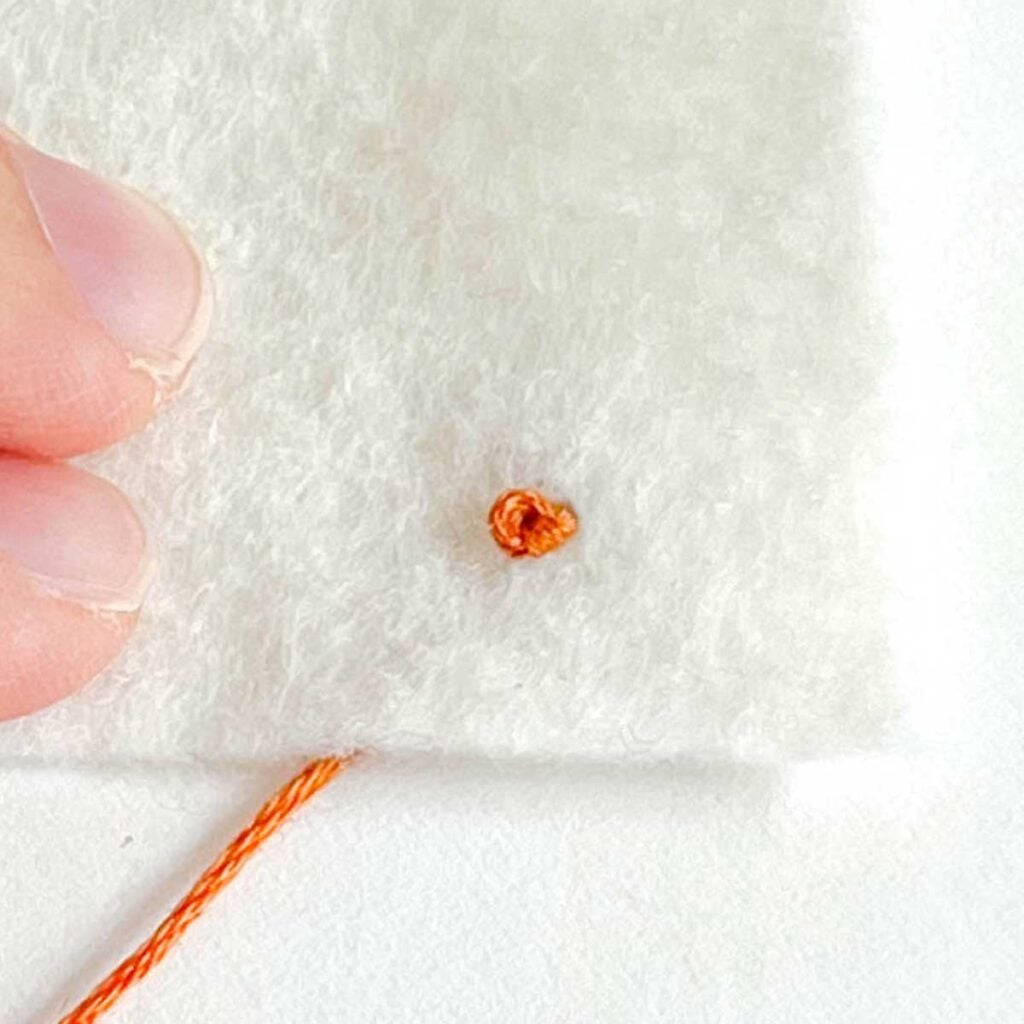
Finally, pull thread through and your french knot is done!
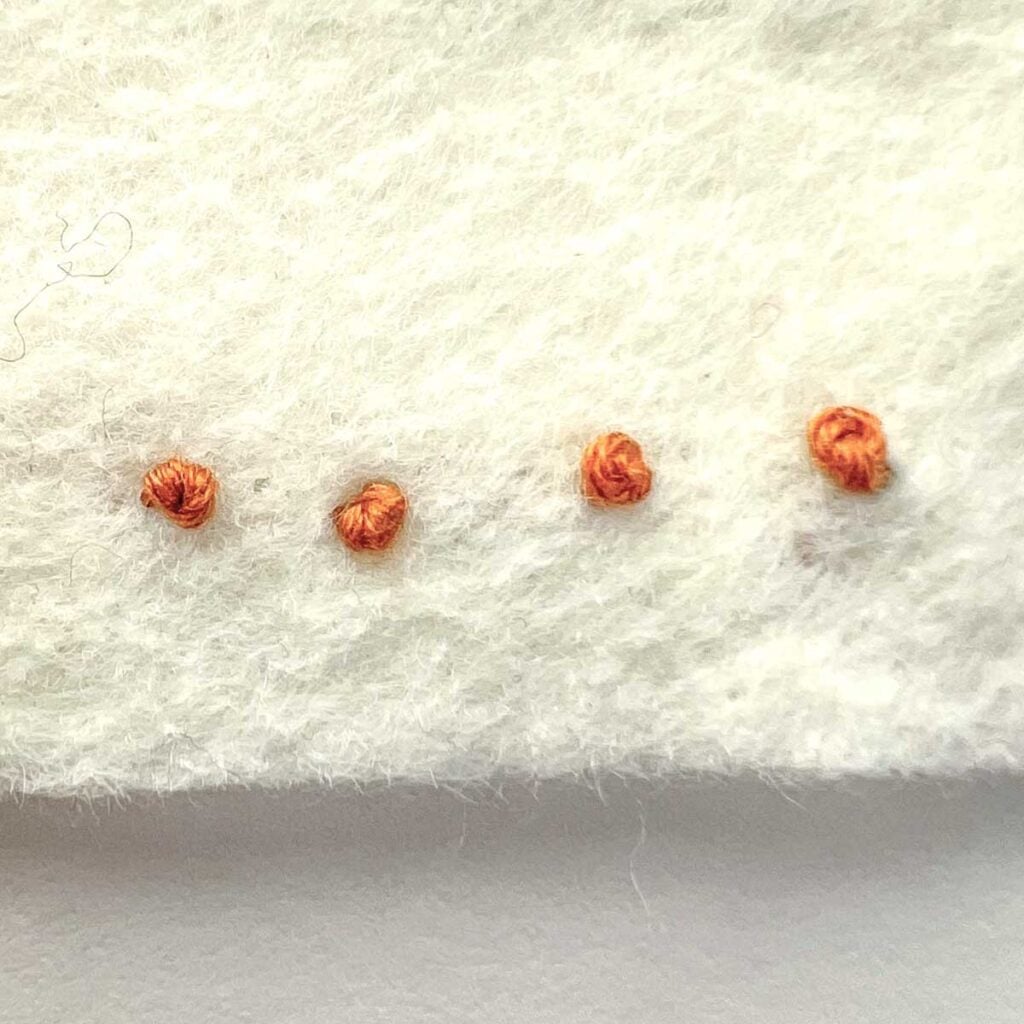
Continue making French knots as desired, or tie off (next section).
Step 5: Tying Off French Knot
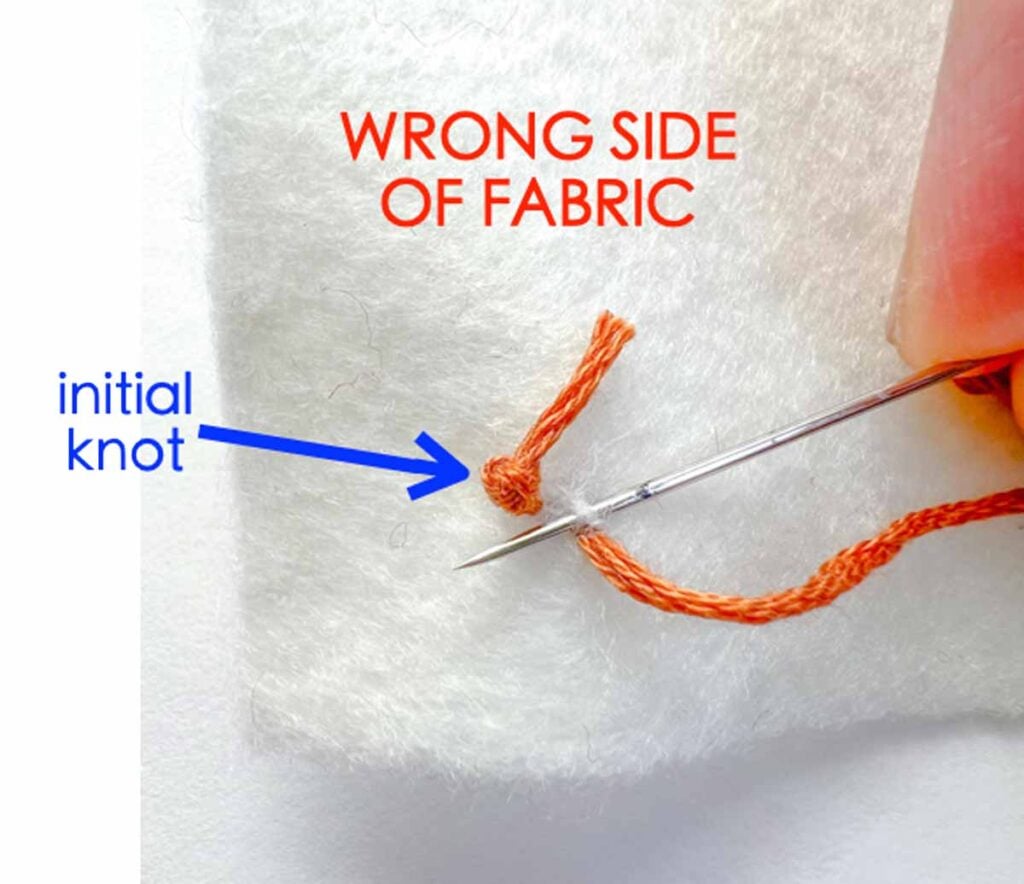
First, take a small stitch of fabric right next to where thread comes out of the fabric.
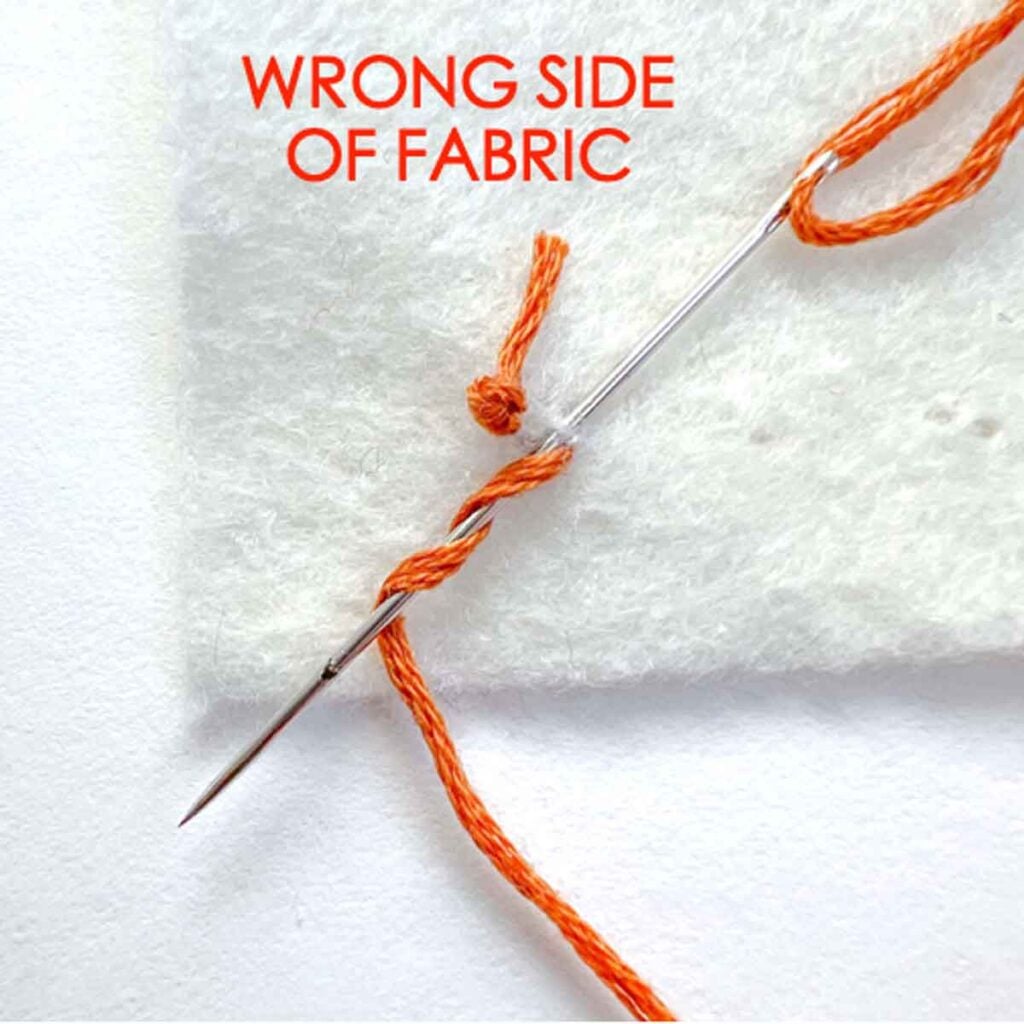
Next, wrap thread around the needle twice (this is exactly to what you just did to make the French knot!)
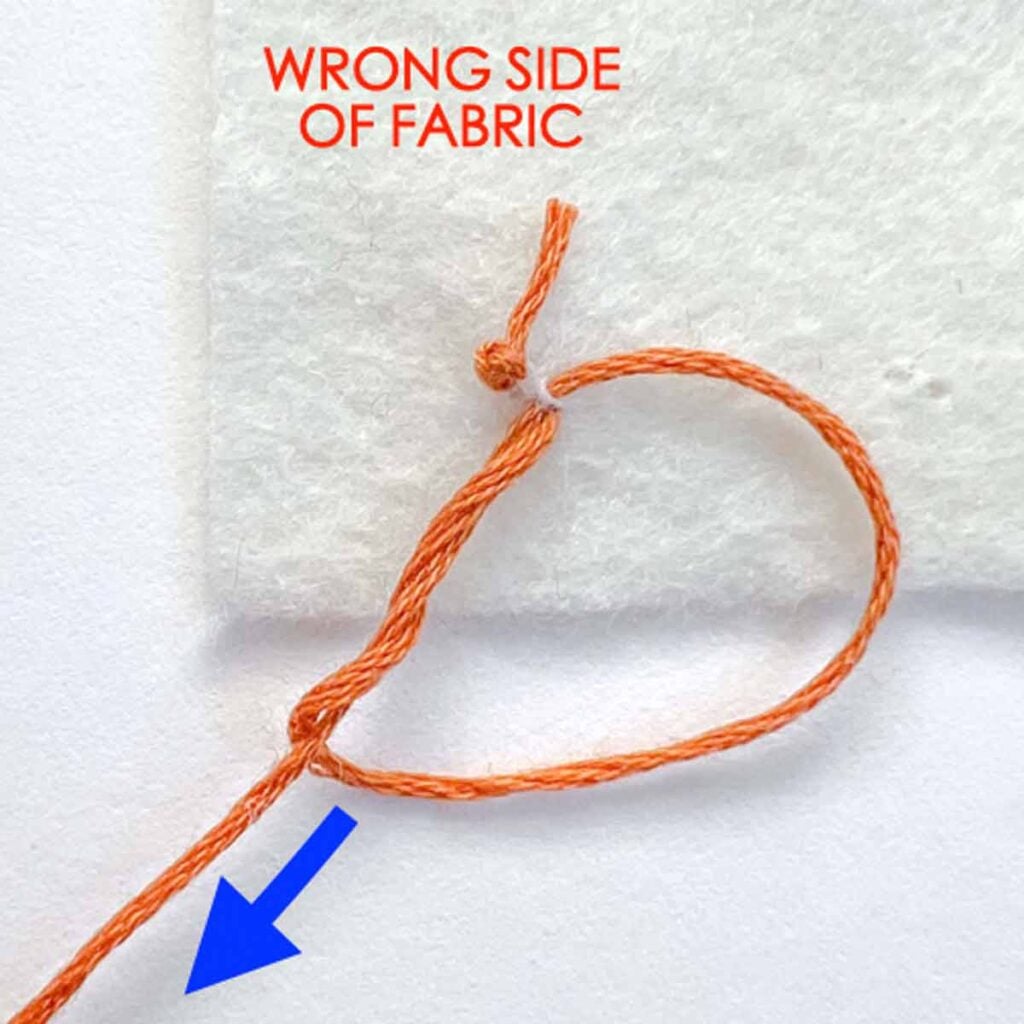
Now pull thread through (blue arrow).
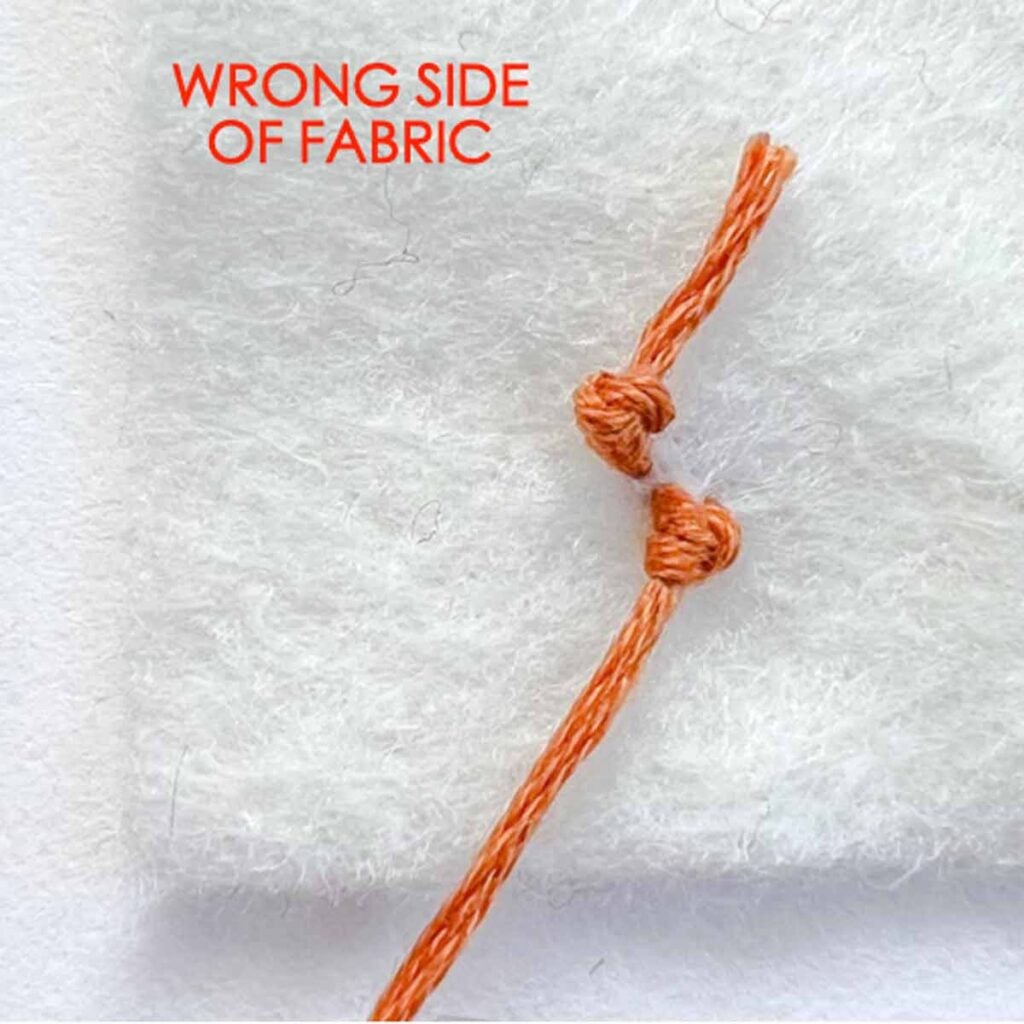
You have just tied a knot!
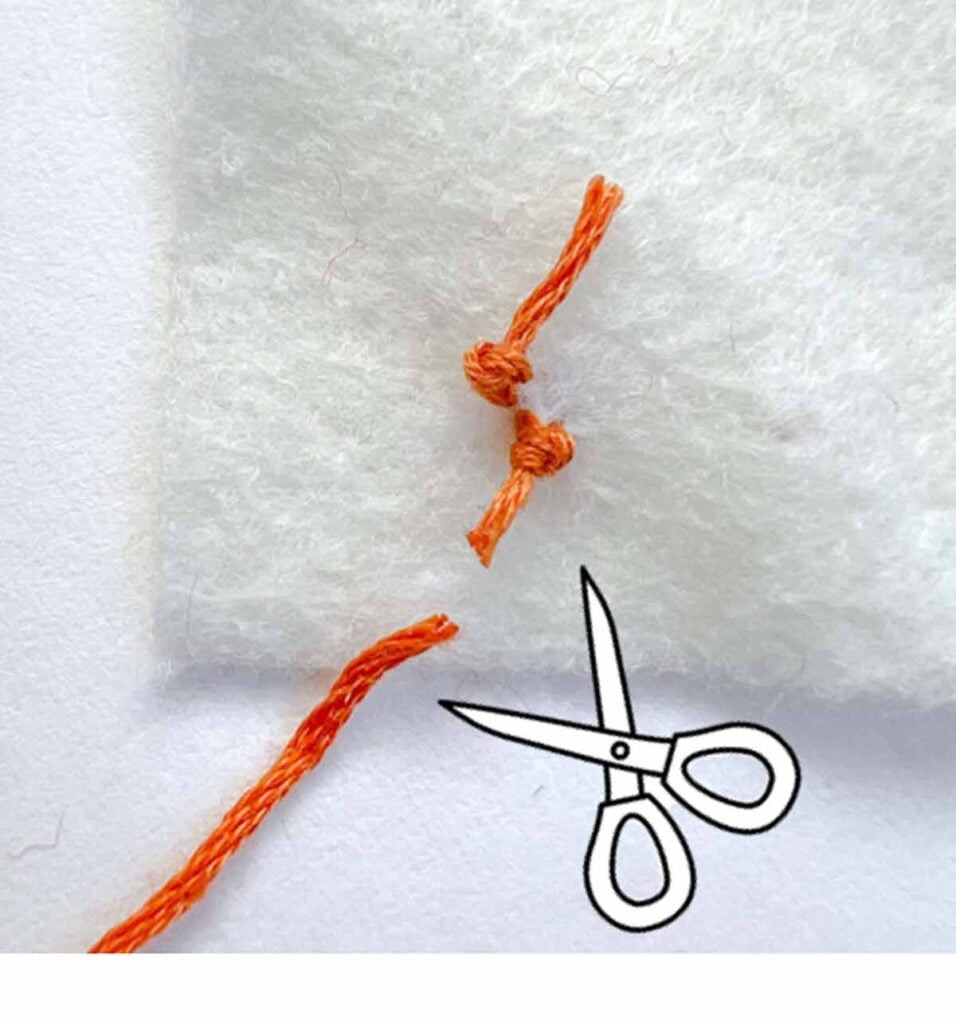
Finally, cut off excess thread a small distance away from the knot, ¼ – ½ inch (6mm -12 mm) is good.
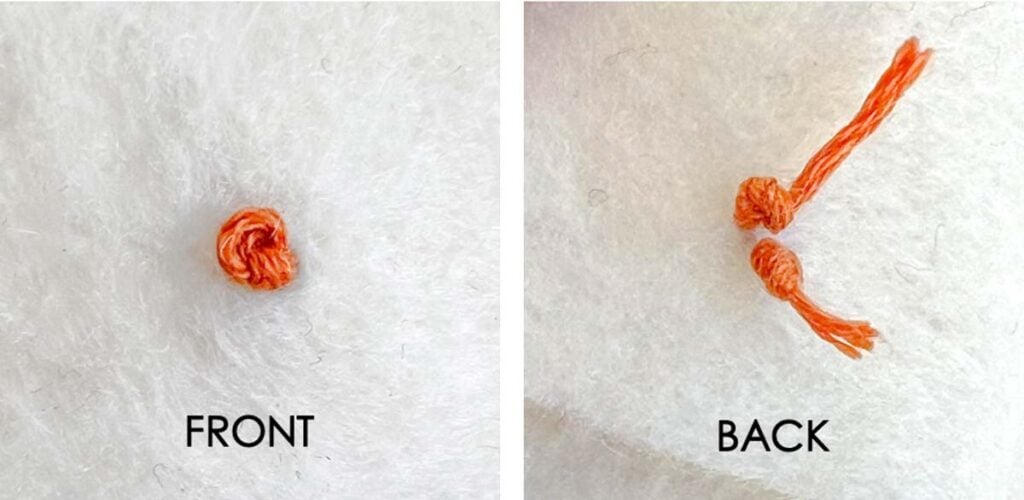
Front and back view of French Knot.
Tips for Making Perfect French Knots
French knots can take a little practice, but these tips will help you get consistent results.
1. Keep your fabric taut.
Using an embroidery hoop helps keep your fabric from shifting while you’re stitching. It also makes it easier to control your thread tension.
2. Don’t pull your thread too tightly.
Keep your thread snug while wrapping it around the needle, but avoid pulling it so tightly that the wraps become difficult to slide down the needle.
3. Insert your needle close to the original hole.
Your needle should go back into the fabric very close to where it came up, but not through the exact same hole. This helps keep the knot on the surface of the fabric.
4. Keep consistent tension.
Maintaining gentle tension on the working thread while pulling your needle through will help create neat, uniform knots.
5. Practice with two strands of embroidery floss.
Two strands are a great starting point for beginners. Once you’re comfortable with the technique, experiment with different strand counts to create different-sized knots.
How Many Times Should You Wrap a French Knot?
The number of times you wrap your embroidery floss around the needle determines the size and appearance of your French knot.
Here is a simple guide:
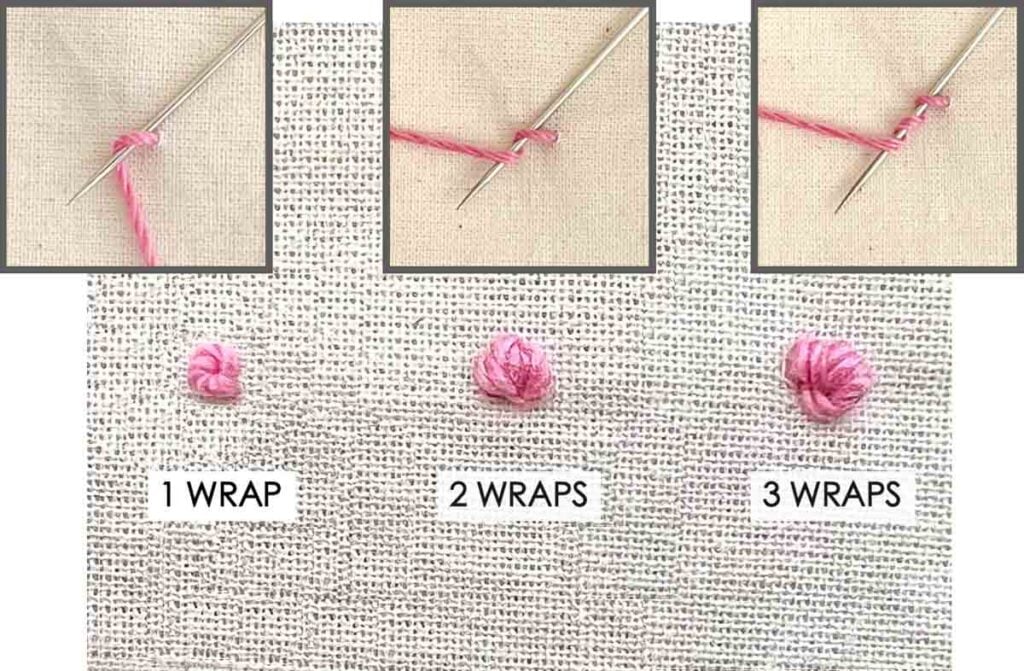
| Number of wraps | Appearance |
|---|---|
| 1 wrap | Small, delicate knot |
| 2 wraps | Classic French knot |
| 3 wraps | Larger, more textured knot |
For most embroidery projects, two wraps are a great place to start. Keep in mind that the number of strands of embroidery floss you use will also affect the size of your finished knot.
Common French Knot Problems and How to Fix Them
If your French knots aren’t turning out quite right, here are a few common problems and how to fix them.
Why does my French knot keep pulling through the fabric?
This usually happens when you insert your needle back through the exact same hole where your thread originally came up. Try inserting your needle just beside the original hole instead.
Why does my French knot look like a straight stitch instead of a knot?
You may not be wrapping the thread around your needle enough times, or your wraps may be too loose. Try wrapping your thread twice around the needle and holding it gently in place as you pull through.
Why is my French knot messy or tangled?
This can happen if your working thread becomes loose while pulling the needle through. Keep gentle tension on the thread and pull your needle through slowly.
Why are my French knots different sizes?
Inconsistent thread tension, different numbers of wraps, and varying numbers of embroidery floss strands can all affect the size of your knots. Try using the same number of strands and wraps for each stitch.
Frequently Asked Questions About French Knots
Are French knots difficult for beginners?
No! French knots are very easy to learn once you understand how to wrap the embroidery floss around your needle. They may take a little practice to get consistent, but they are a great embroidery stitch for beginners.
How many strands of embroidery floss should I use for French knots?
It depends on the type of project you are working on and the finished look you want to achieve. Photo below shows the difference in using 1 to 6 strands of embroidery floss:
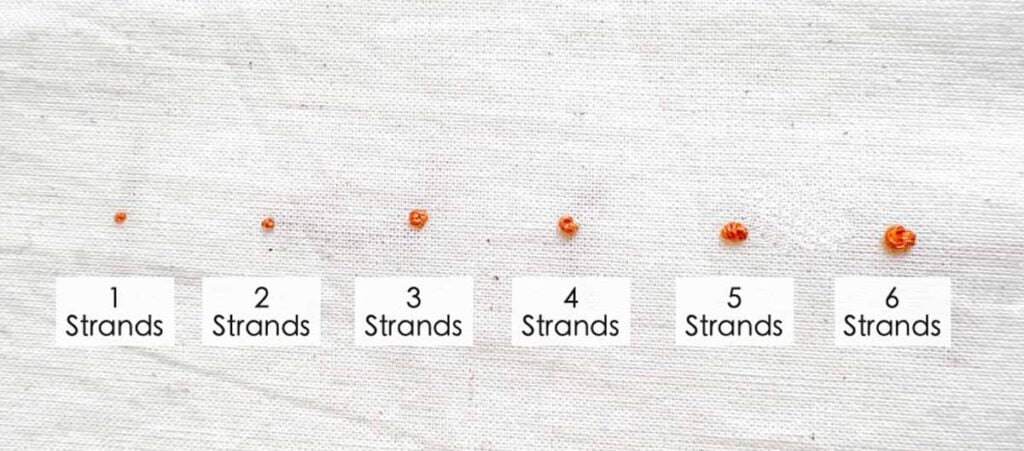
Use 1 strand to make tiny, subtle points. Perfect for creating fine details like pistils of flowers or delicate facial features.
2 to 3 strands: The most common, traditional standard for hand embroidery and cross stitch, offering a clean, balanced size.
4 to 6 strands: Produces a big, bold, nubby knot. This is ideal for flower centers, animal eyes, or raised textures.
Why does my French knot keep coming undone?
Make sure you secure your embroidery thread properly on the back of your fabric before starting. Also, keep gentle tension on your thread while forming the knot so it tightens properly.
Can I make French knots without an embroidery hoop?
Yes! An embroidery hoop is helpful because it keeps the fabric taut, but you can make French knots without one. Just make sure to hold your fabric securely while stitching.
What size needle should I use for French knots?
An embroidery needle with a sharp point and an eye large enough for your chosen number of floss strands works well. The needle should be slim enough to pass through the fabric easily without creating an unnecessarily large hole.
Can I use French knots with a sewing machine?
French knots are traditionally made by hand embroidery rather than machine stitching. They are created by wrapping embroidery floss around a hand needle to form a raised knot.
Final Thoughts
French knots are a beautiful embroidery stitch that can add so much detail and texture to handmade projects. Although they might seem a little tricky at first, once you get the hang of wrapping your embroidery floss around the needle and pulling it through the fabric, they become much easier.
Start by practicing a few knots on a scrap piece of fabric. Experiment with different thread colors, strand counts, and wraps to see what you like best.
Once you’ve mastered the French knot, you’ll have a new embroidery technique you can use in all kinds of sewing and embroidery projects!
Happy stitching!
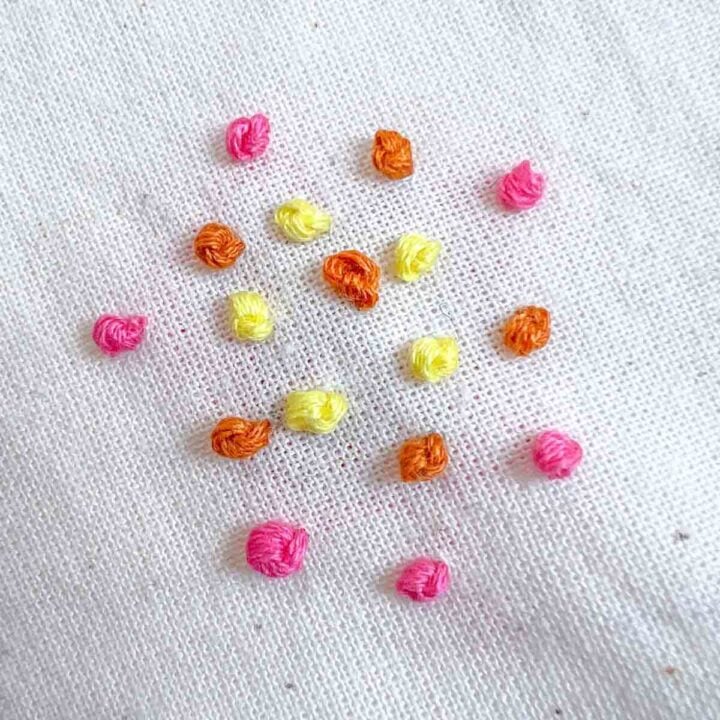
How to Make French Knots
Materials
- EMBROIDERY FLOSS
- EMBROIDERY NEEDLE
- FABRIC
- EMBROIDERY HOOP - optional, keeps fabric taut while stitching
- EMBROIDERY SCISSORS
Instructions
- Thread your needle. Cut a piece of embroidery floss and thread your embroidery needle. (see note 1 for difference in number of floss strands)
- Bring the needle through the fabric. Starting from the back of your fabric, bring your needle up through the spot where you want your French knot to appear.
- Wrap the thread around the needle. Hold the working thread taut and wrap it around your needle two times. (see note 2 for the difference in number of wraps).
- Insert the needle back into the fabric. Keeping the thread wrapped around the needle, insert the needle back into the fabric very close to where it originally came up. Avoid using the exact same hole.
- Pull the needle through. Gently pull the needle through the fabric while keeping tension on the working thread. This will tighten the wrapped thread into a small knot.
- Tighten the French knot. Continue pulling the thread until the knot sits neatly on top of the fabric. Be careful not to pull too tightly, or the knot may disappear through the fabric.
- Repeat the process. Continue repeating these steps to create additional French knots for your embroidery design.
- Tying off French Knot. Once you are done with making French knots, tie the thread with a knot (on wrong side of fabric) and trim thread down to ¼" - ½" (6mm - 12mm)
How to Make a French Knot Embroidery Stitch: Step-by-Step
Tip: Keep your embroidery thread slightly taut while wrapping and pulling the needle through the fabric. This will help create neat, consistent French knots!
Notes
NOTE 1:
- 1 strand: creates tiny, subtle points. Perfect for creating fine details like pistils of flowers or delicate facial features.
- 2 to 3 strands: The most common, traditional standard for hand embroidery and cross stitch, offering a clean, balanced size.
- 4 to 6 strands: Produces a big, bold, nubby knot. This is ideal for flower centers, animal eyes, or raised textures.
NOTE 2:
- Use 1 wrap for small, delicate knot
- Use 2 wraps to create a classic French knot
- Use 3 wraps to create a larger, more textured knot