How to Hand Sew a Simple Back Stitch Step-By-Step
The backstitch is a basic hand sewing stitch that all beginners will learn. It is incredibly sturdy and resilient, making it especially good for sewing seams in areas that will go through a lot of wear-and-tear. It is also a frequently used embroidery stitch to create outlines and shapes.
Why is it Called a Back Stitch?
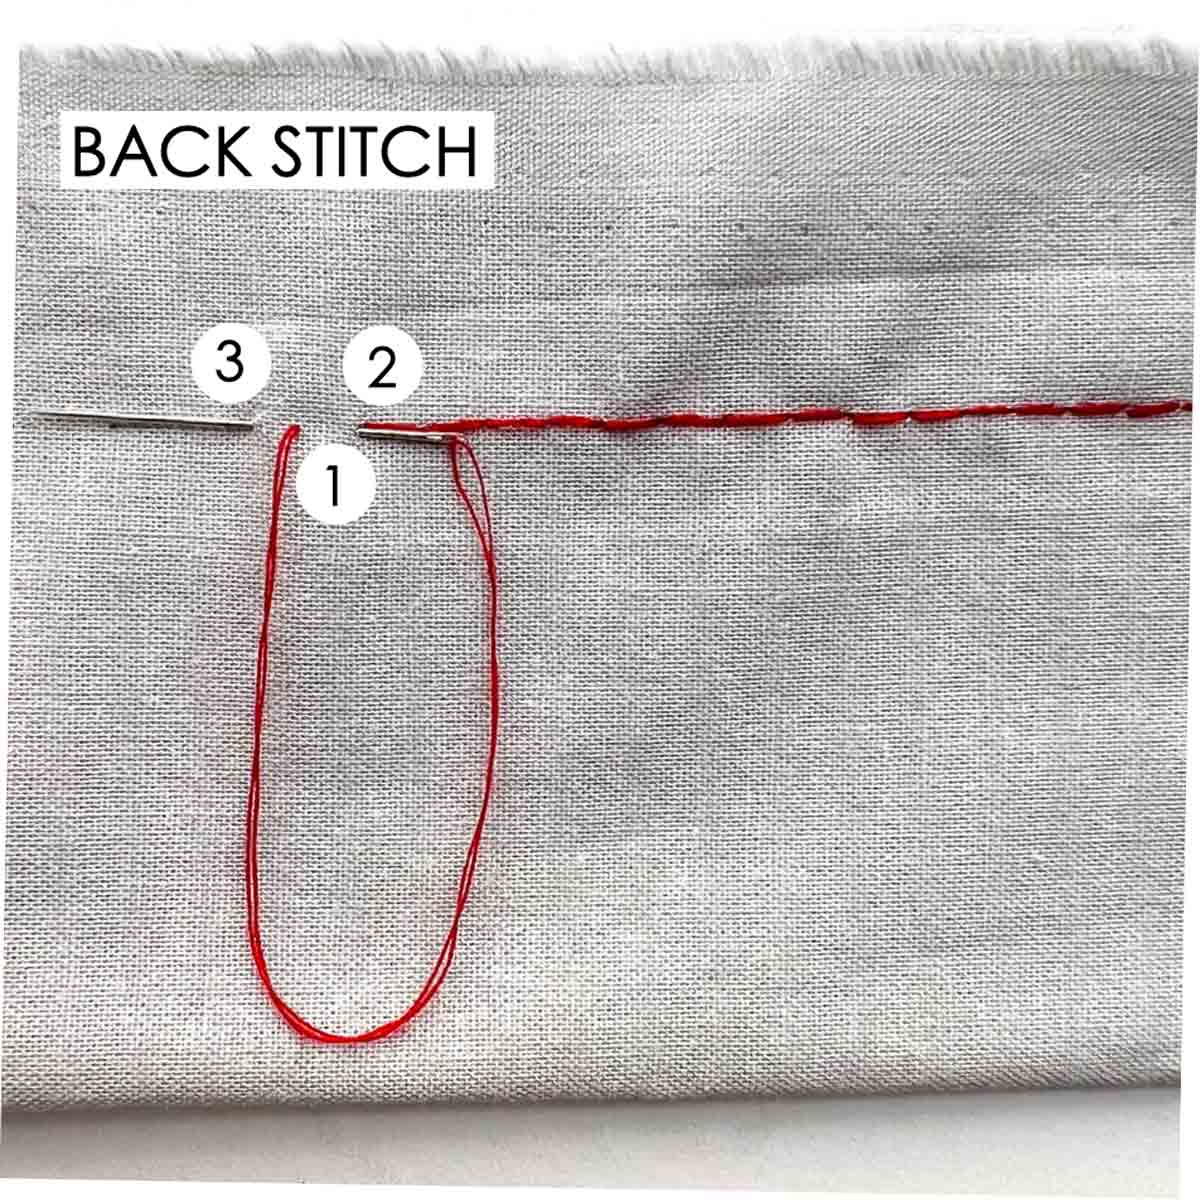
This popular hand stitch is so named because you take a new stitch behind your previous stitch before pulling it out in front of the previous stitch. As a result, it appears that your next stitch is “going backwards” as you make each succeeding stitch. Hence the name backstitch.
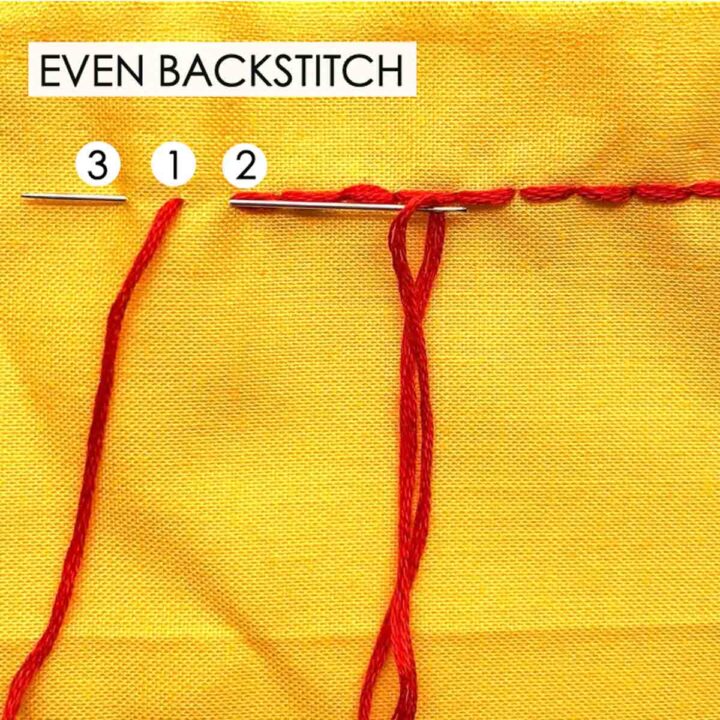
The most basic backstitch (also known as even backstitch) creates small stitches that touch each other without gaps in between. As a result, this creates the look of a continuous thread line when in fact it is made up of a series of small stitches.
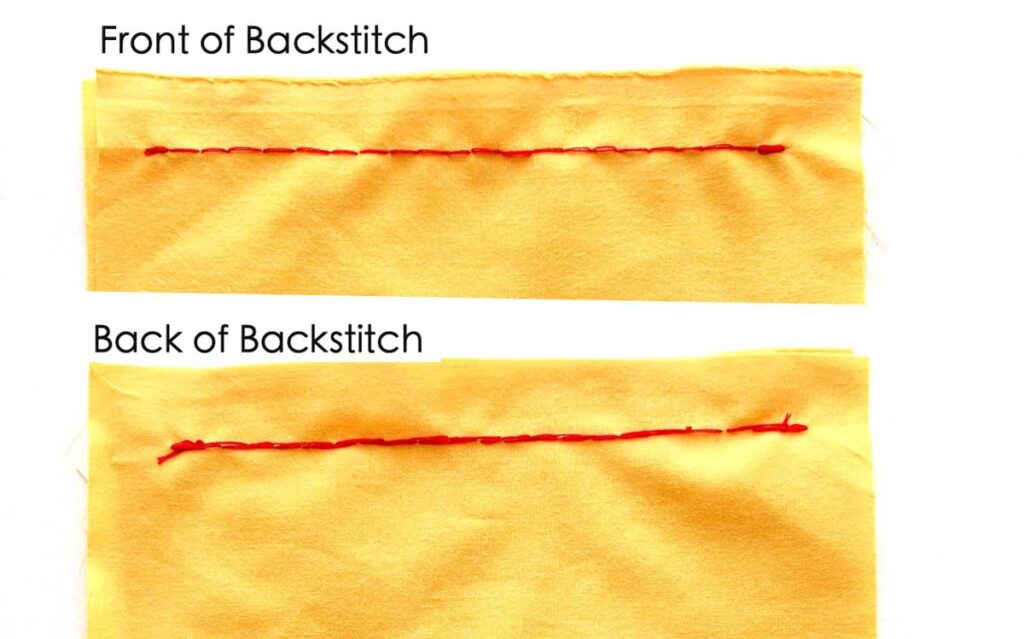
As you can see from the photo, the front side of the stitch resembles a row of consecutive small stitches with barely any gaps in between. On the back side, the continuous line of thread appears thicker than the front, due to the overlap of consecutive stitches.
Did you notice that the thread makes loops around both the front and back of the fabric? For this reason, you will use up thread a lot faster than when making a basic straight stitch (running stitch).
What is the Strongest Stitch by Hand?
The backstitch is the strongest hand sewing stitch out there. The backward and forward sequence creates thread loops around the front and back of the fabric every time a stitch is made. As a result, you end up with a sturdy stitch that will reliably hold your seams together.
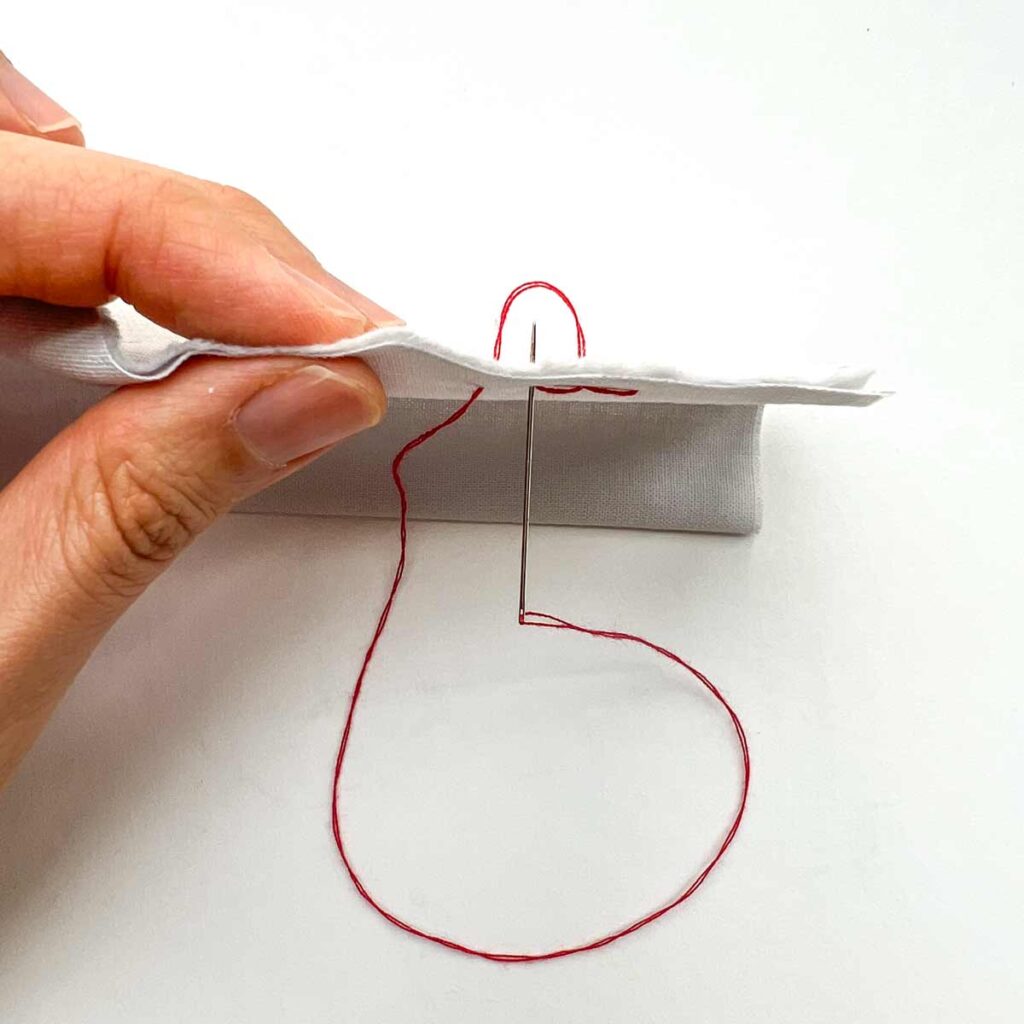
See how the thread loops behind the fabric to form each succeeding stitch.
You can also double thread your needle, or use multiple strands of thread (embroidery floss) for increased durability.
What is a Back Stitch Used For?
One of the main reasons to use the backstitch is when you need to create long-lasting stitches without a sewing machine. It is more durable than a simple running stitch for seams, and only takes a tiny bit more time. This handy stitch is also good for a variety of sewing needs, including:
- At the start and finish of a seam for extra reinforcement so the stitches don’t unravel.
- Hand sewing seams in garments – especially for securing areas that undergo extra wear-and-tear (i.e crotch seams)
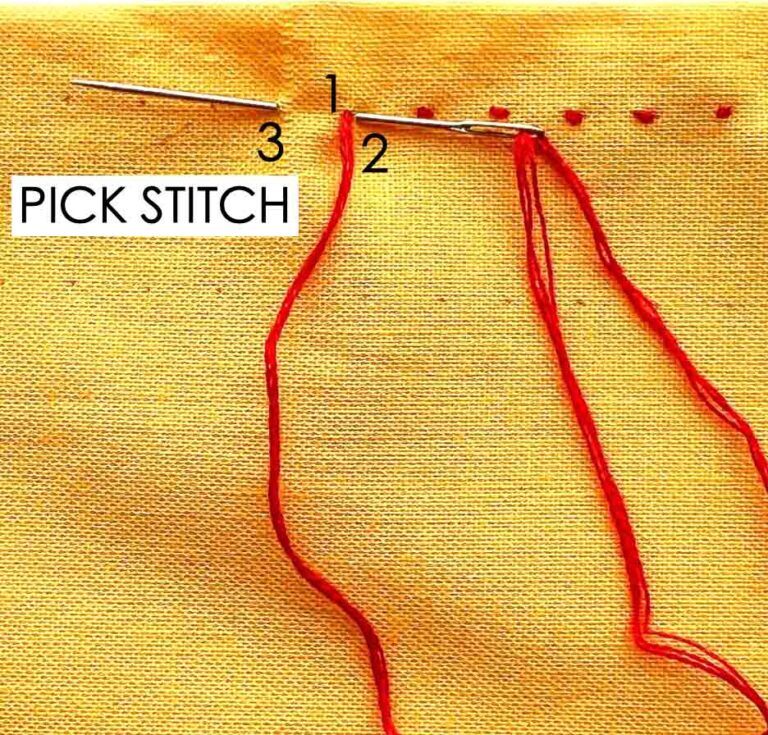
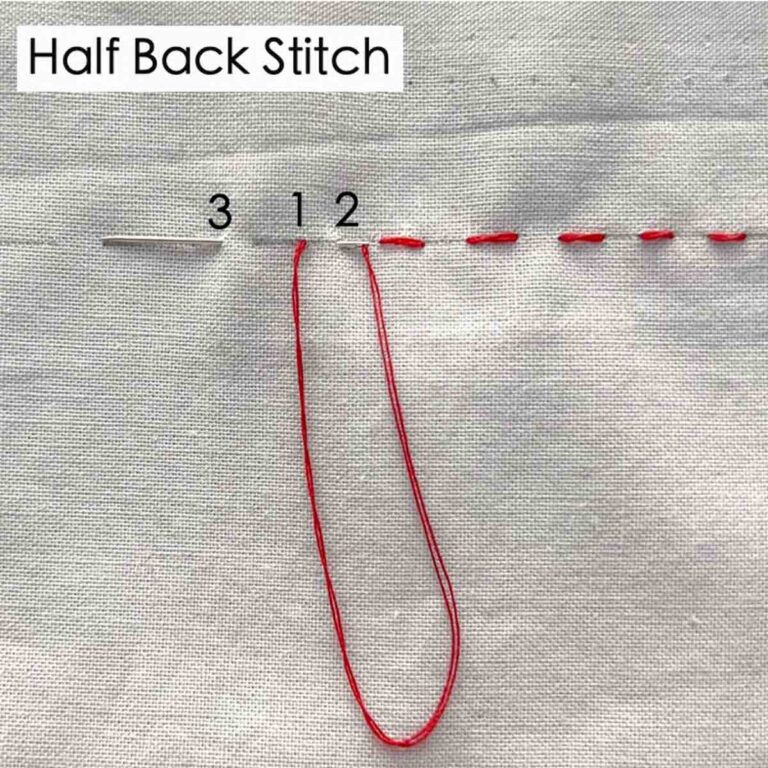
- A variation (prick stitch) is used to hand sew zippers to garments.
- Creating thin lines (embroidery)
- Making outlines of patterns and shapes in embroidery
- To fill in designs and patterns (embroidery)
materials/tools
- HAND SEWING NEEDLES
- THREAD – Polyester or Cotton
- FABRIC
- SMALL SHARP SCISSORS
- PENCIL or FABRIC CHALK
How Do you Do a Simple Back Stitch?
In a nutshell, the backstitch is done by bringing the thread behind the initial stitch, and then pulling it out in front of the initial stitch.
Follow along the step-by-step tutorial to learn how to make this easy to do stitch!
How to Sew a Back Stitch
The back stitch is a very basic hand sewing stitch that is extremely strong and durable. It is great for sewing seams as well as creating outlines and decorative elements in embroidery.
Materials
- GOOD QUALITY THREAD - polyester or cotton
- COTTON FABRIC
Tools
- HAND SEWING NEEDLES
- SMALL SHARP SCISSORS
- PENCIL or FABRIC CHALK
Instructions
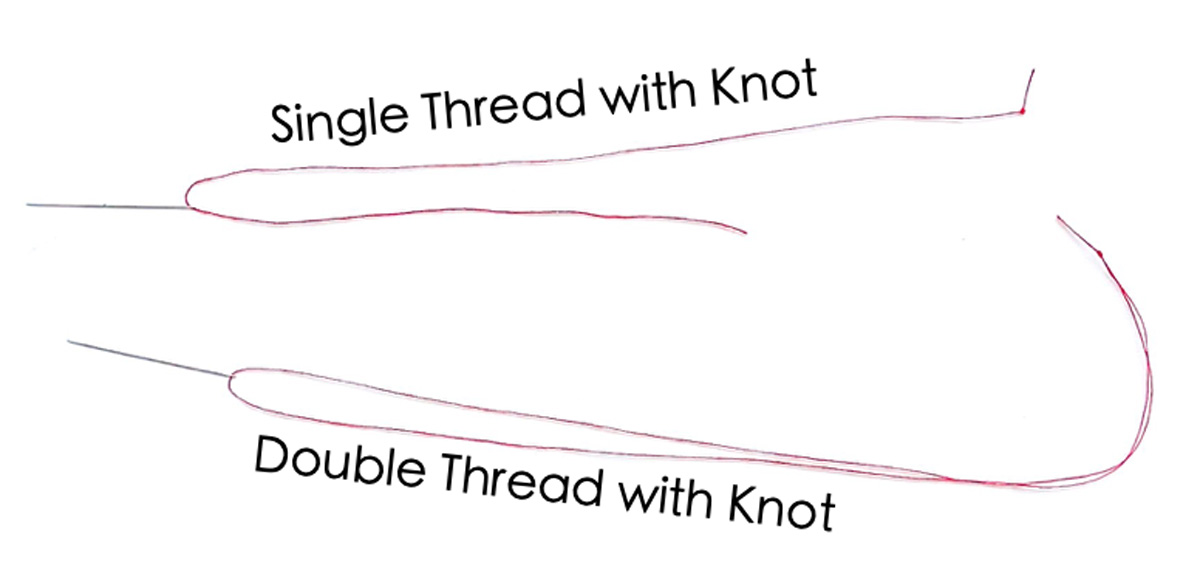 First, start by making a knot on your thread. You can either use a single thread or double thread. Double thread will make stronger stitches.
 Next, using a ruler and pencil (or fabric chalk), draw a straight line
 Poke knotted needle through fabric, a short distance away to the left of start of drawn line from step 2 and pull through (see note 1). Photos show sewing from right to left (for a right handed operator). For a left handed operator, you will sew from left to right.
 Poke needle to where drawn line start (b). This sample is 0.25" (6mm) to the right of where thread comes out (a). Then bring needle out of fabric from where thread comes out (a).
 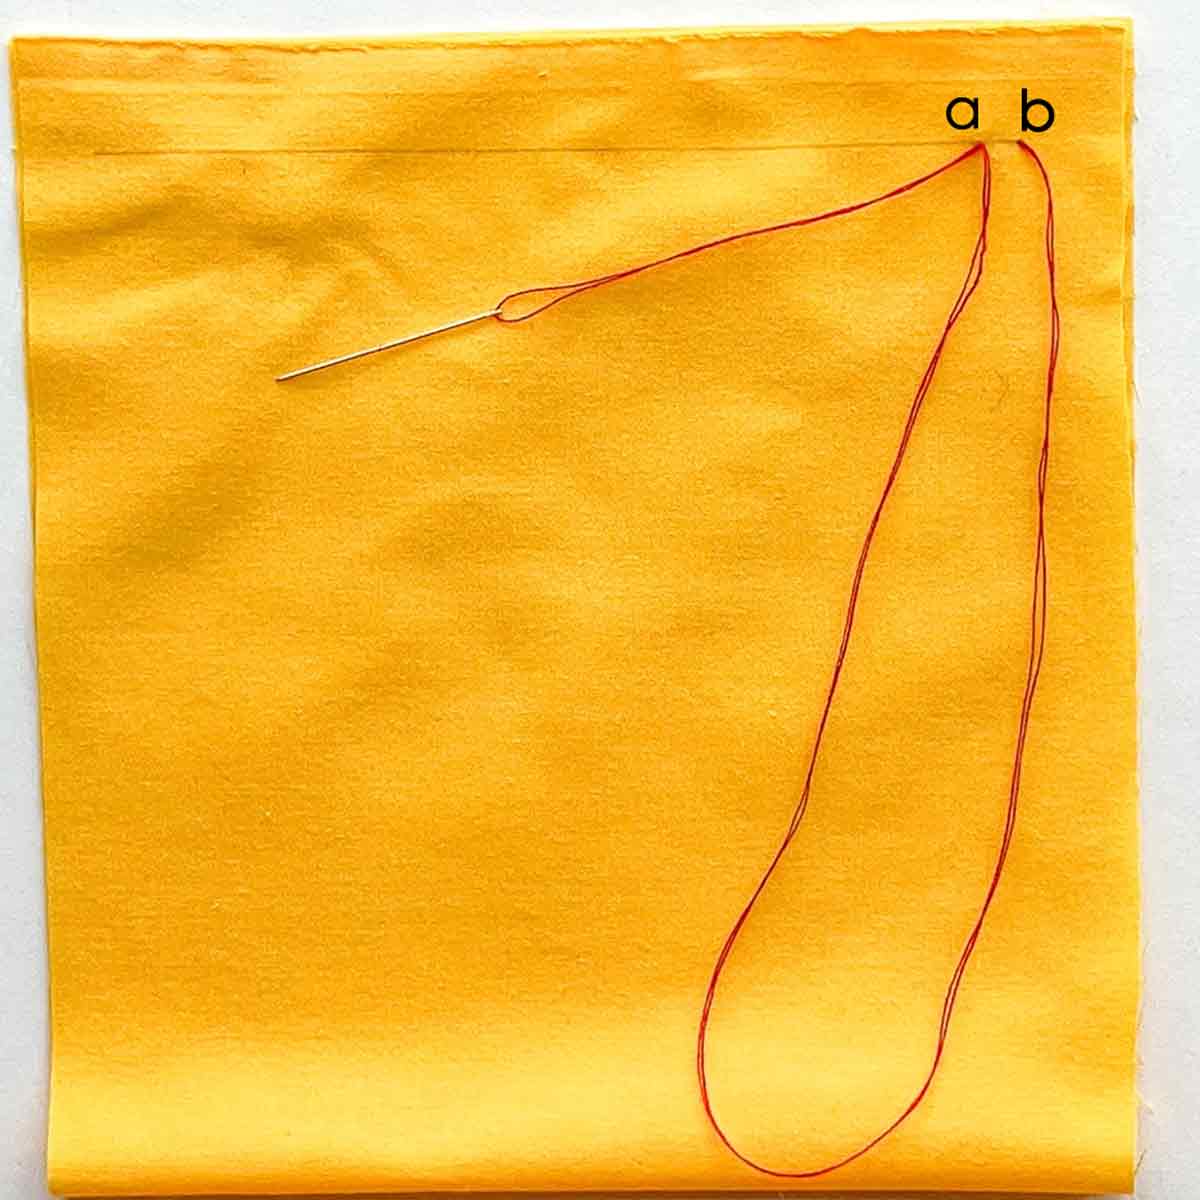 Pull thread through.
  This makes the first anchoring back stitch (see note 2).
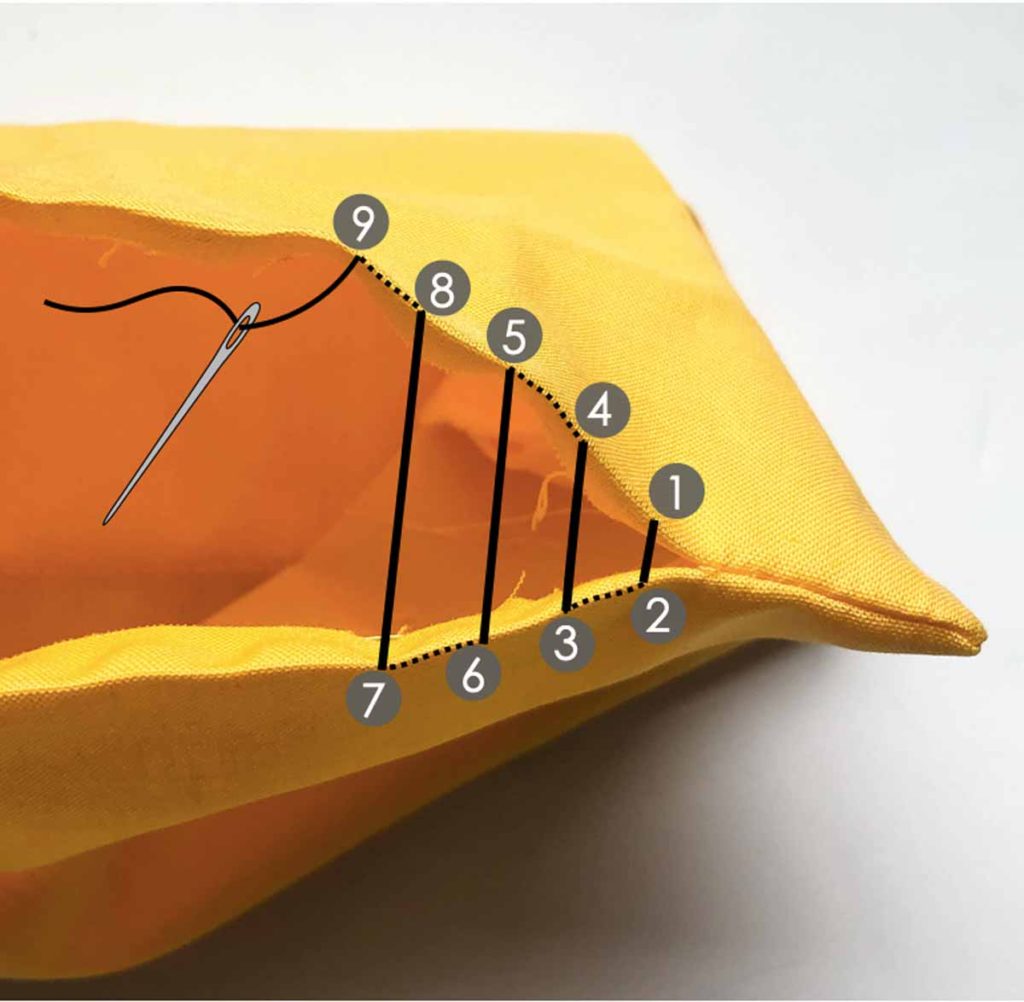
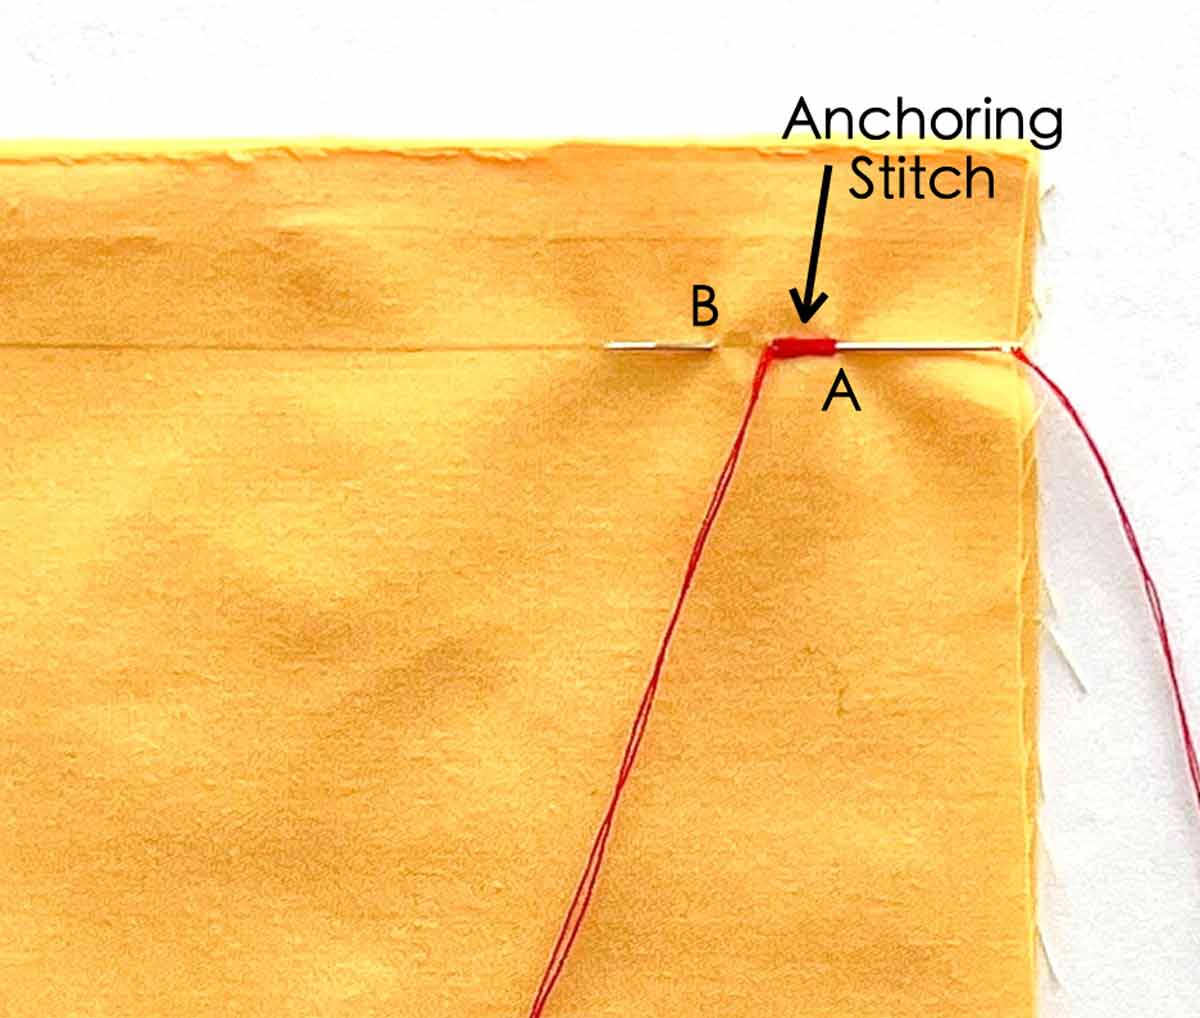 Poke needle through to the right of anchoring stitch (A). Next, bring needle up and out to front of fabric (B), 0.25" (6mm) away from where thread came out. (see note 3).
 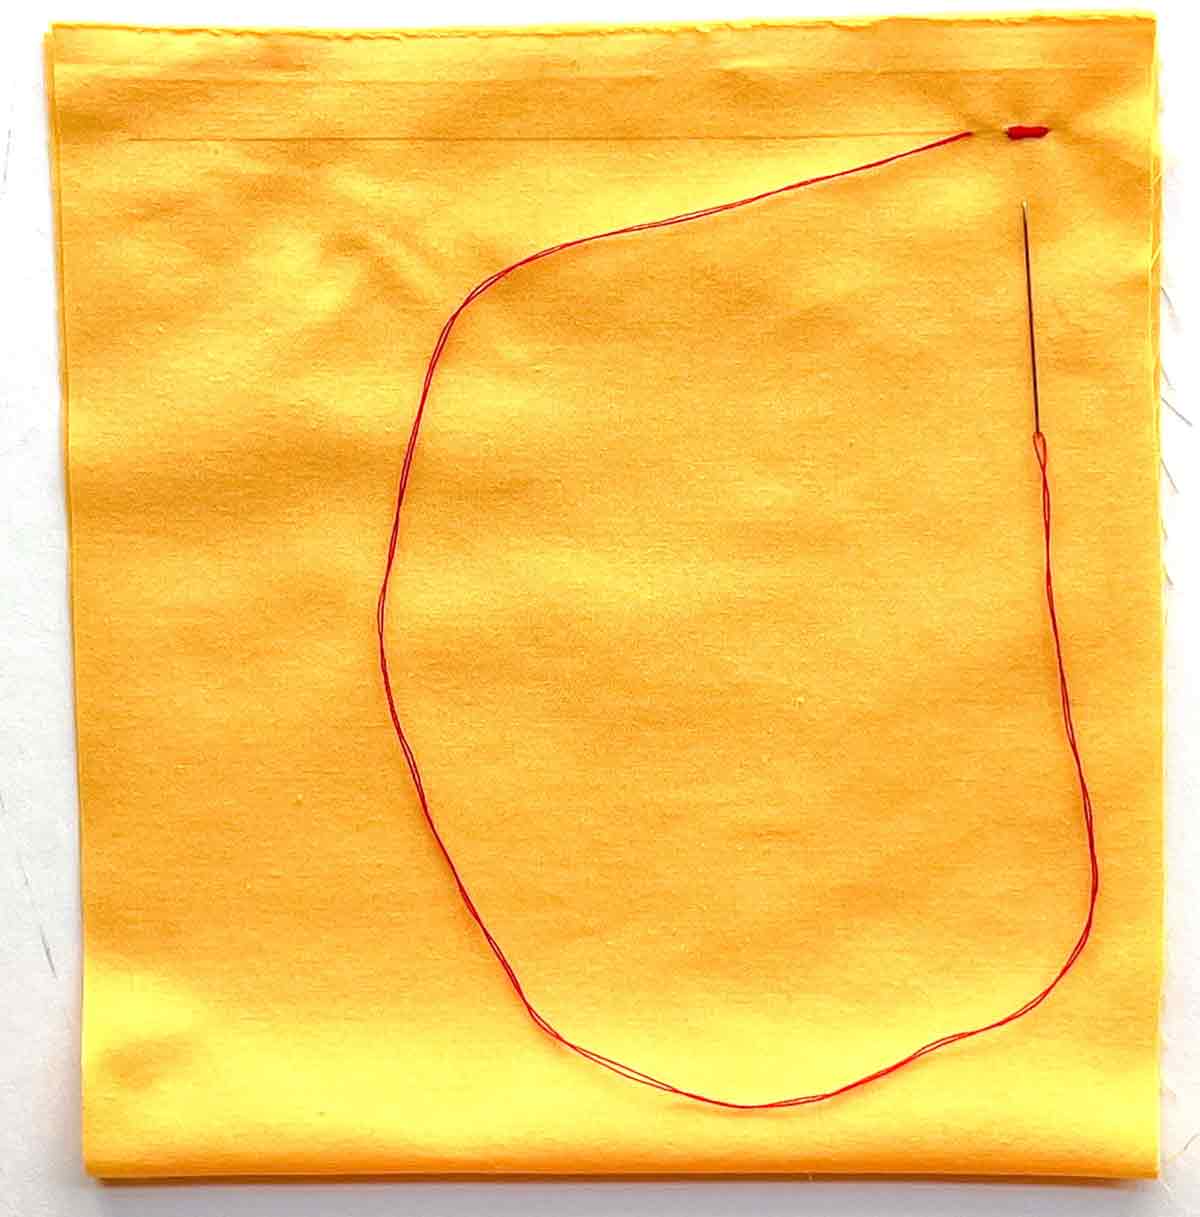 Pull stitch through.
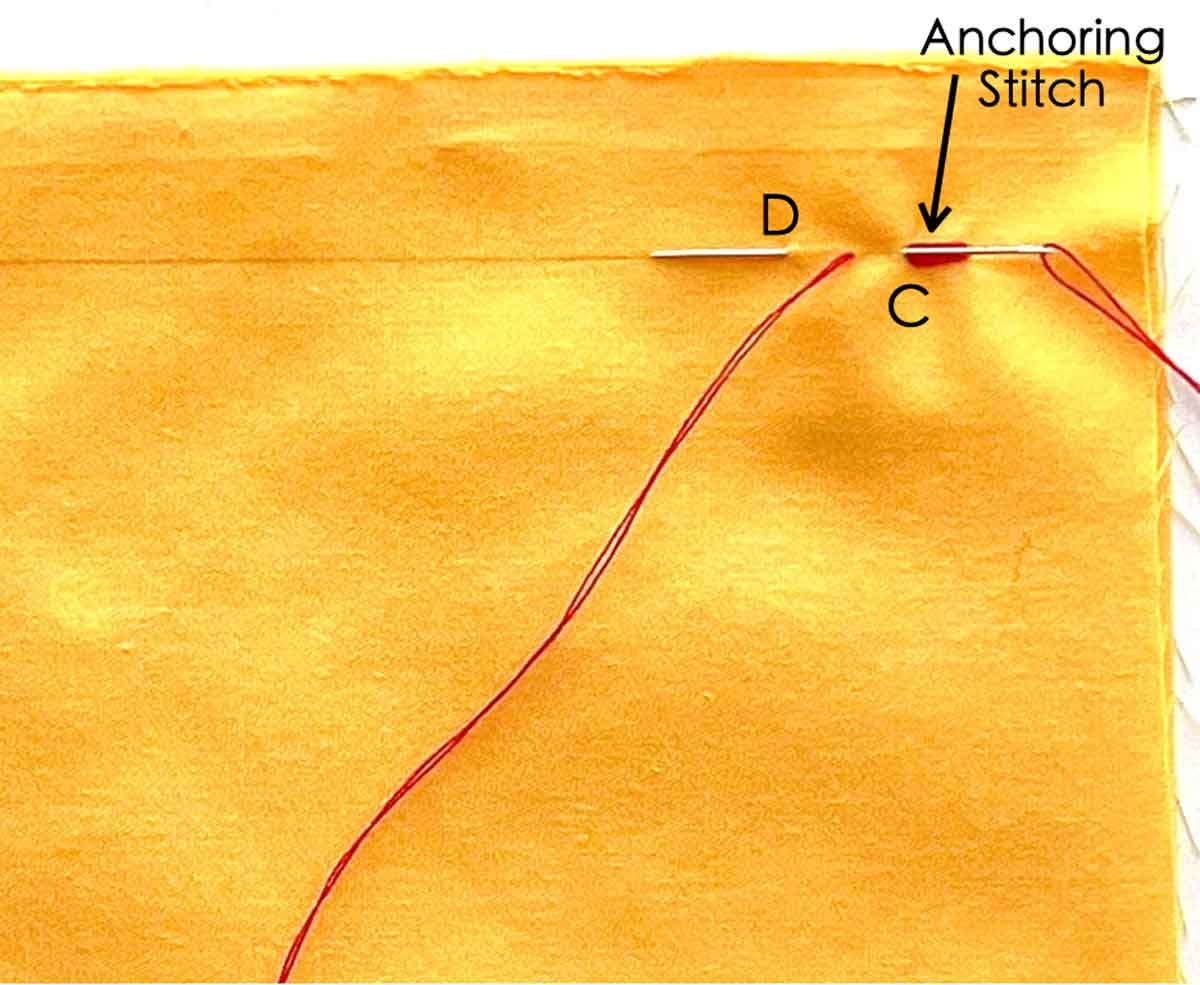 Poke needle through end of last stitch (C), and bring needle 0.25" (6mm) to the left of where thread came out from fabric (D).
  Pull thread through.
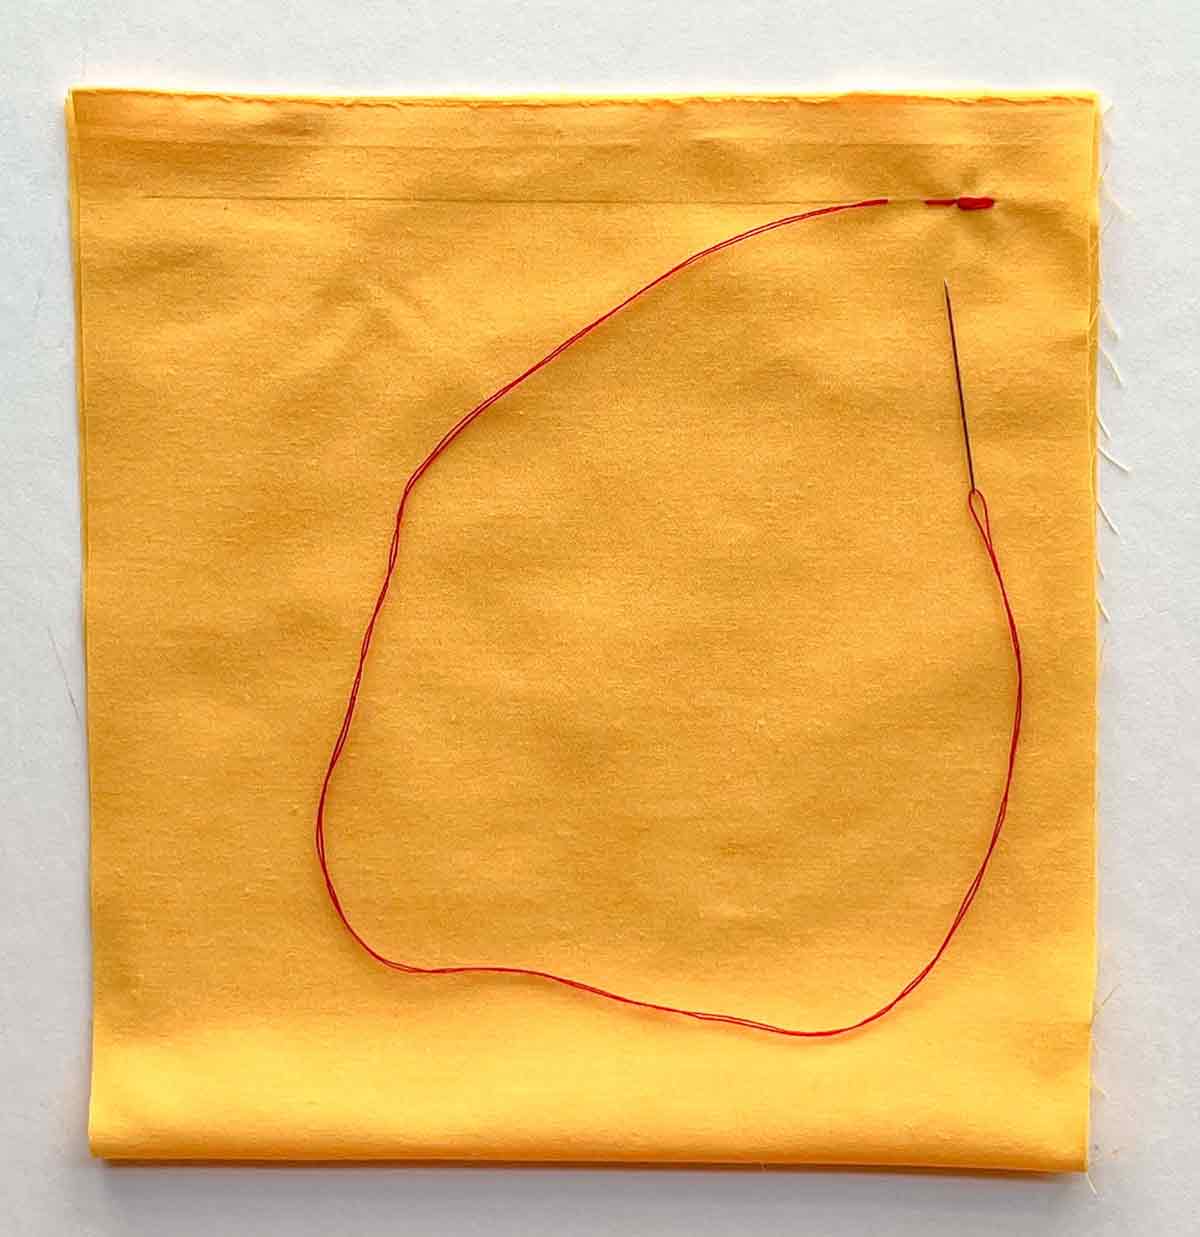 You now have your anchoring stitch and your first back stitch!
 Repeat this process by poking needle through end of last stitch (E) and bringing it out (F) to the left (in front) of where thread came out.
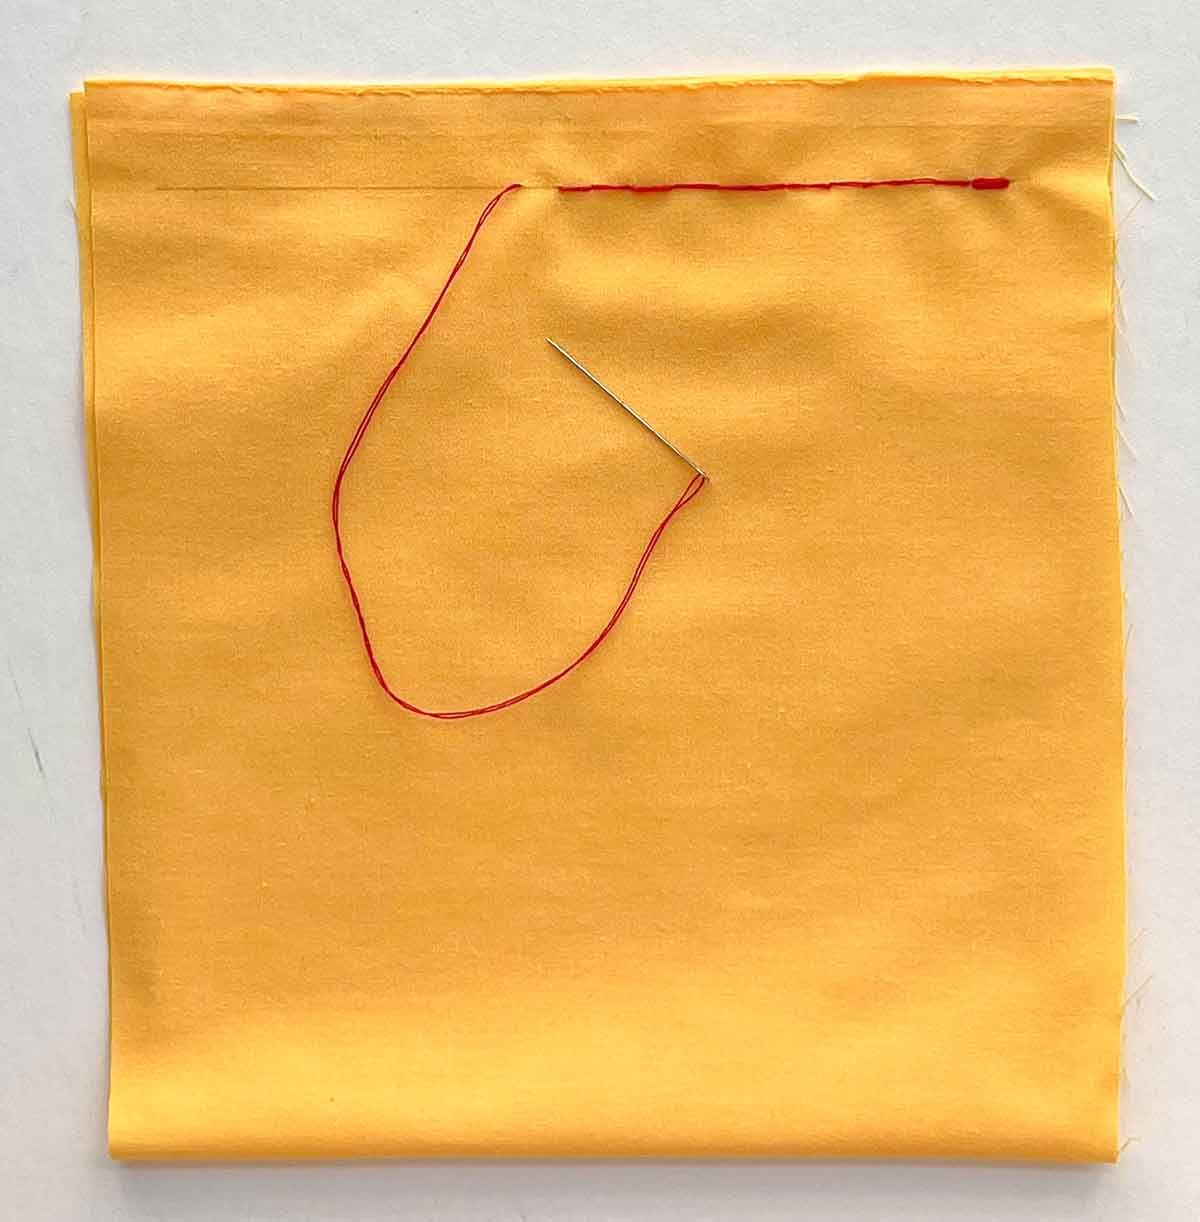 Continue taking back stitches, forming a row of stitches without any gaps in between. They will look like a straight line.
 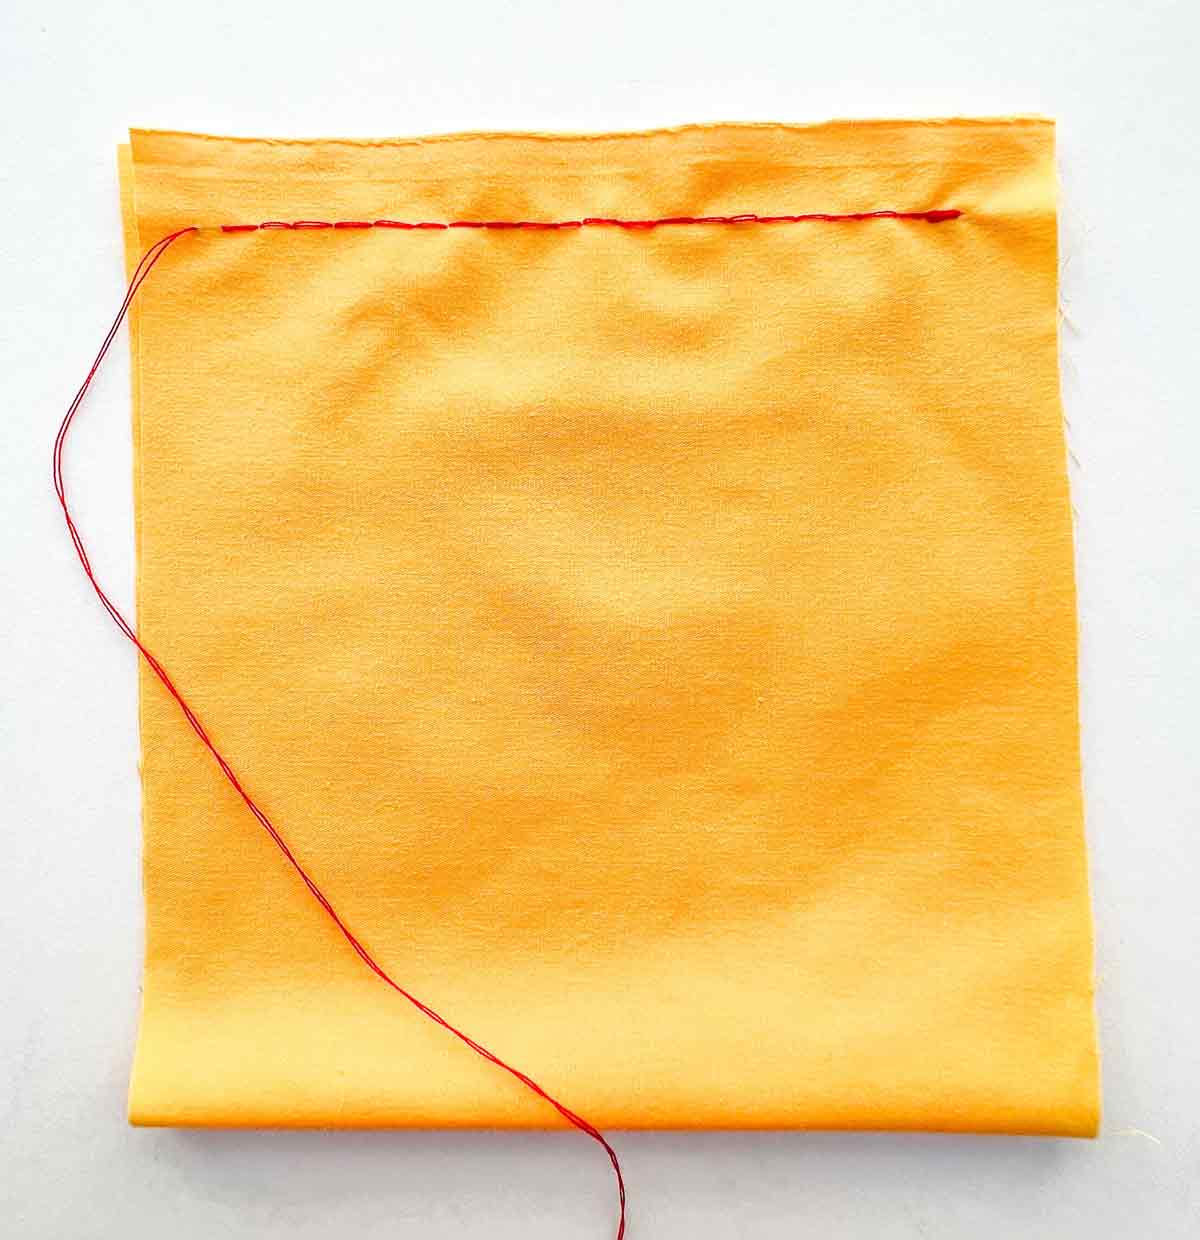 Repeat until you reach the end of your stitch
 Make an anchoring stitch like you did at the beginning
 Pull thread to the back of fabric.
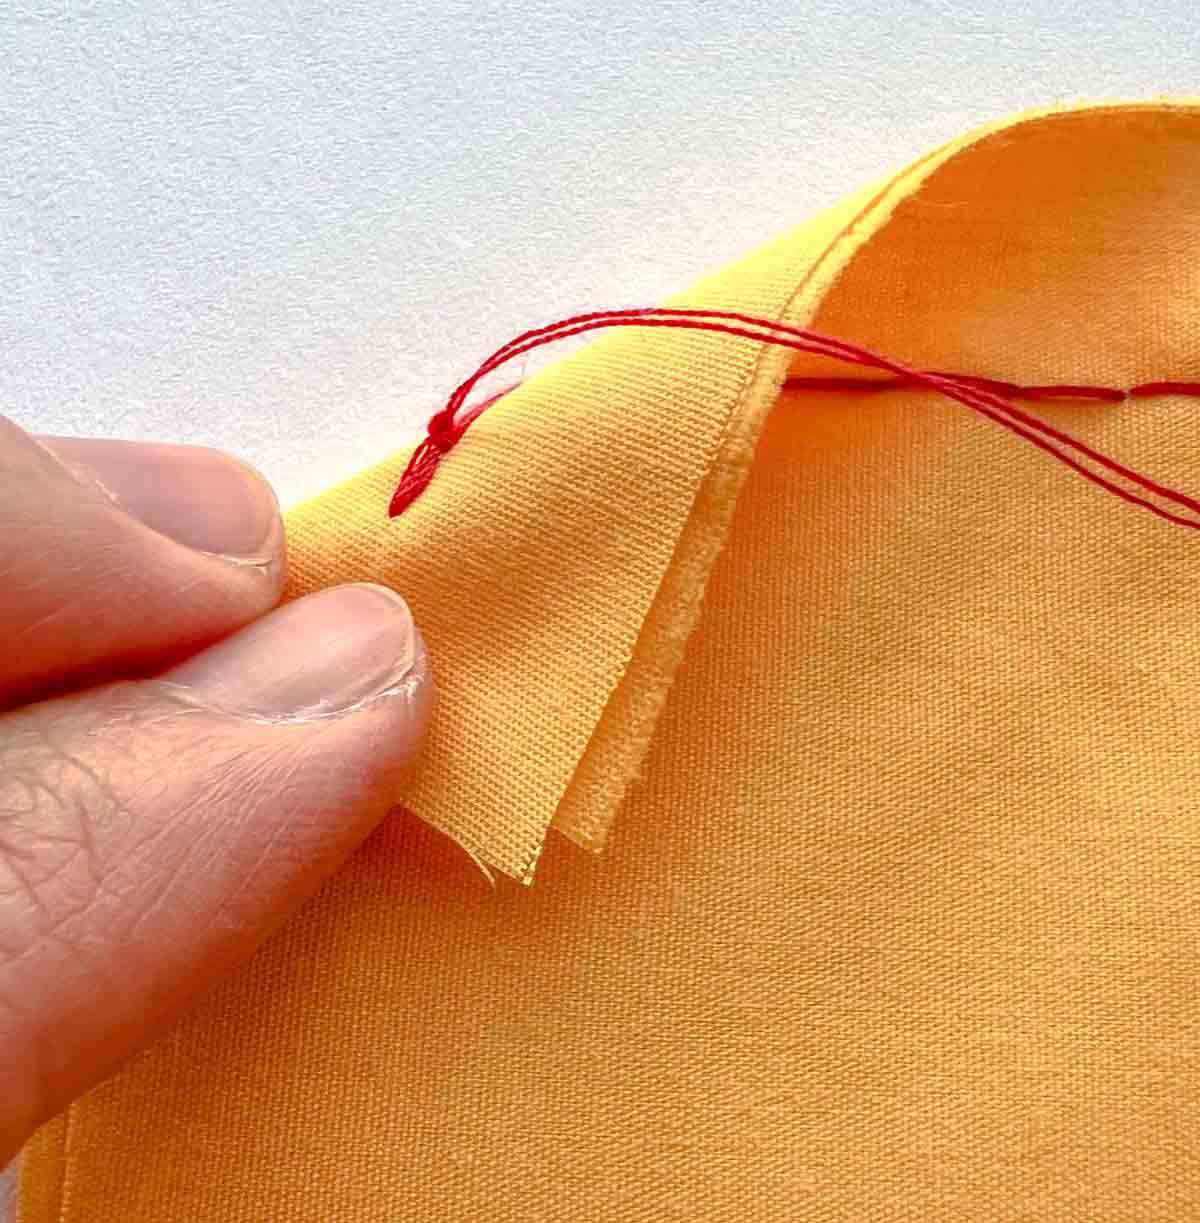 Tie a knot at on the back side of fabric.
 Finished!
Notes
- In this sample I started the thread 0.25" (6mm) to the left of the beginning of the drawn line. However, you can choose to do any length according to your sewing needs.
- You can also take a few more anchoring stitches for extra reinforcement at the beginning and end of the seam
- Feel feel to use any distance between where thread comes out and where you poke your needle out (B). Just remember to keep your stitch lengh the same for a uniform look.
Related Articles:
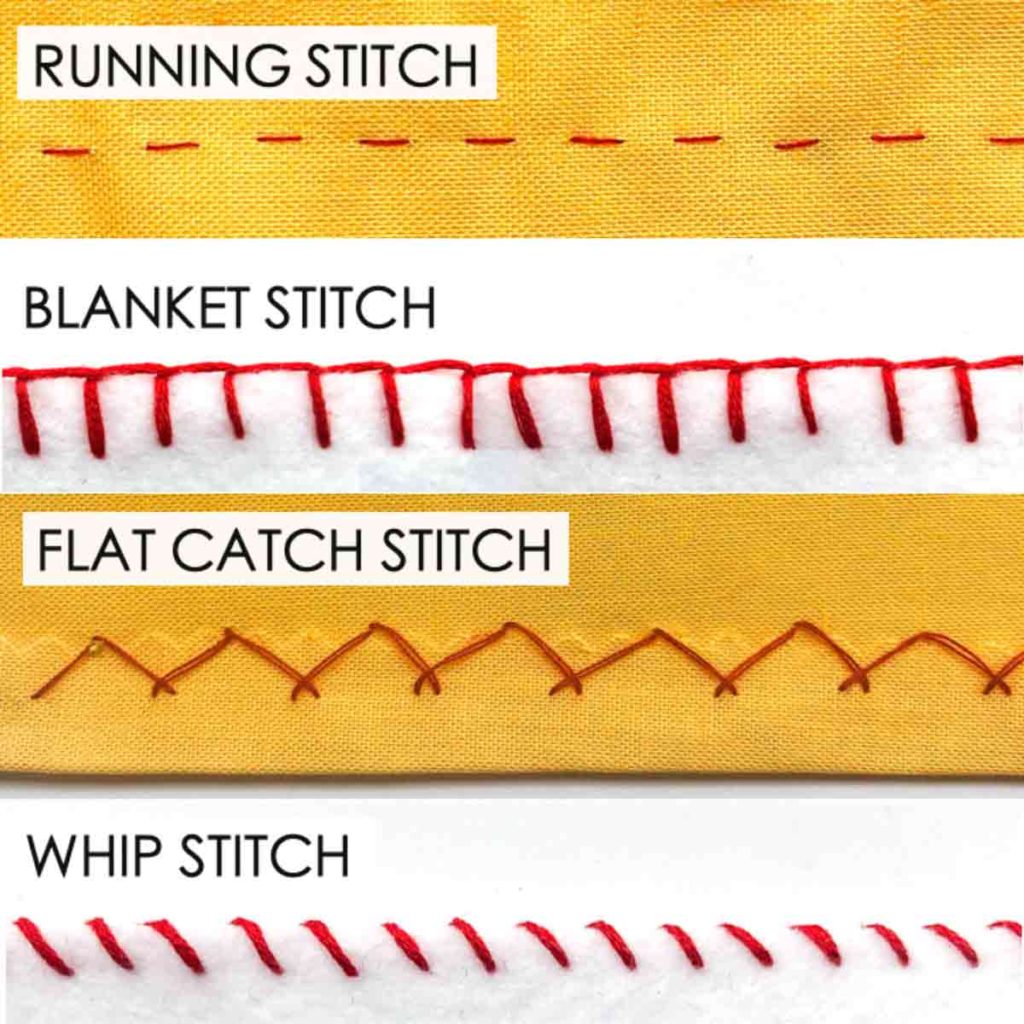
19 Essential Hand Sewing Stitches to Sew Just About Everything
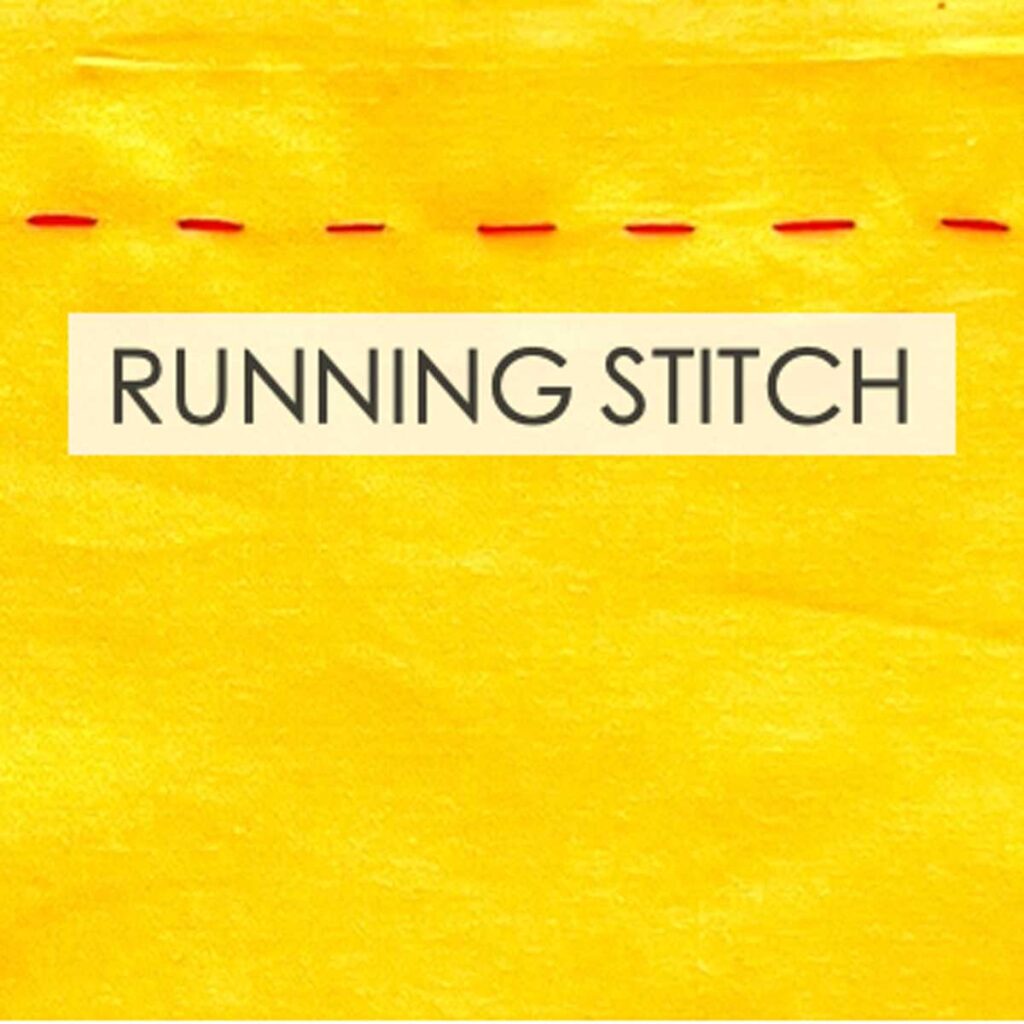
How to Sew A Running Stitch
How to Invisibly Close a Hole with the Ladder Stitch

This was so helpful! Thank you. 🙂
Glad that you found it helpful!
good explanation
Glad you found the tutorial helpful!