How to Sew a Running Stitch – A Simple Tutorial
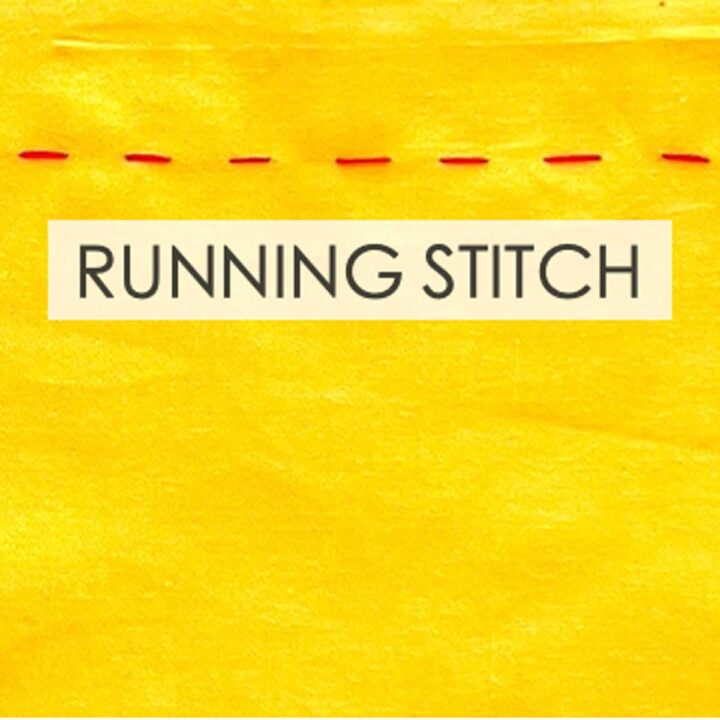
The running stitch, also known as a straight stitch, is a super simple and versatile stitch. This stitch is extremely easy to do and is usually of the first sewing stitches beginners will learn. It is multipurpose and so useful for sewing a plethora of things
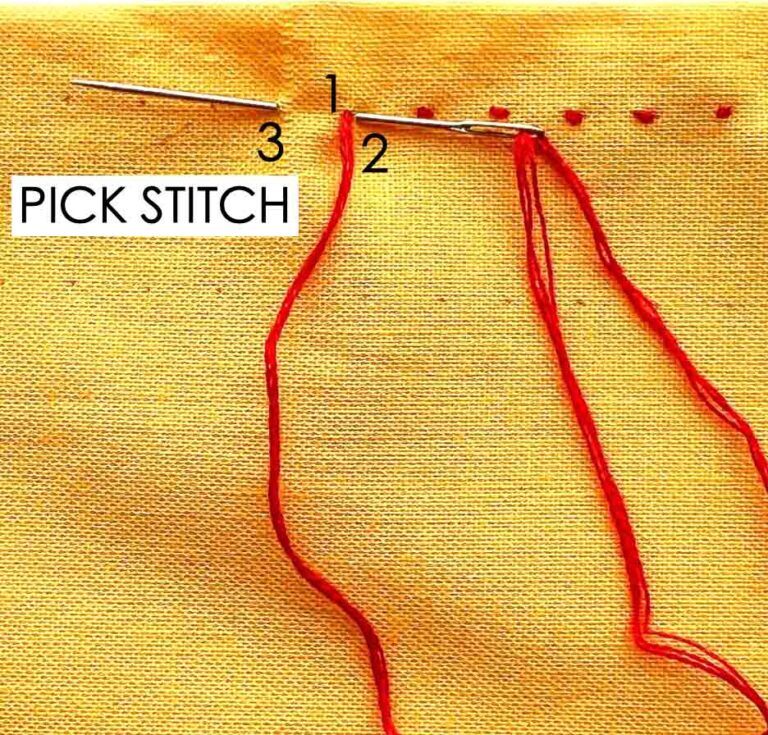
This easy stitch is formed by bringing the needle up and down the fabric in a repetitive pattern consisting of even, consistent stitches.
Usually the stitches made on the front side of the fabric are longer than the stitches behind.
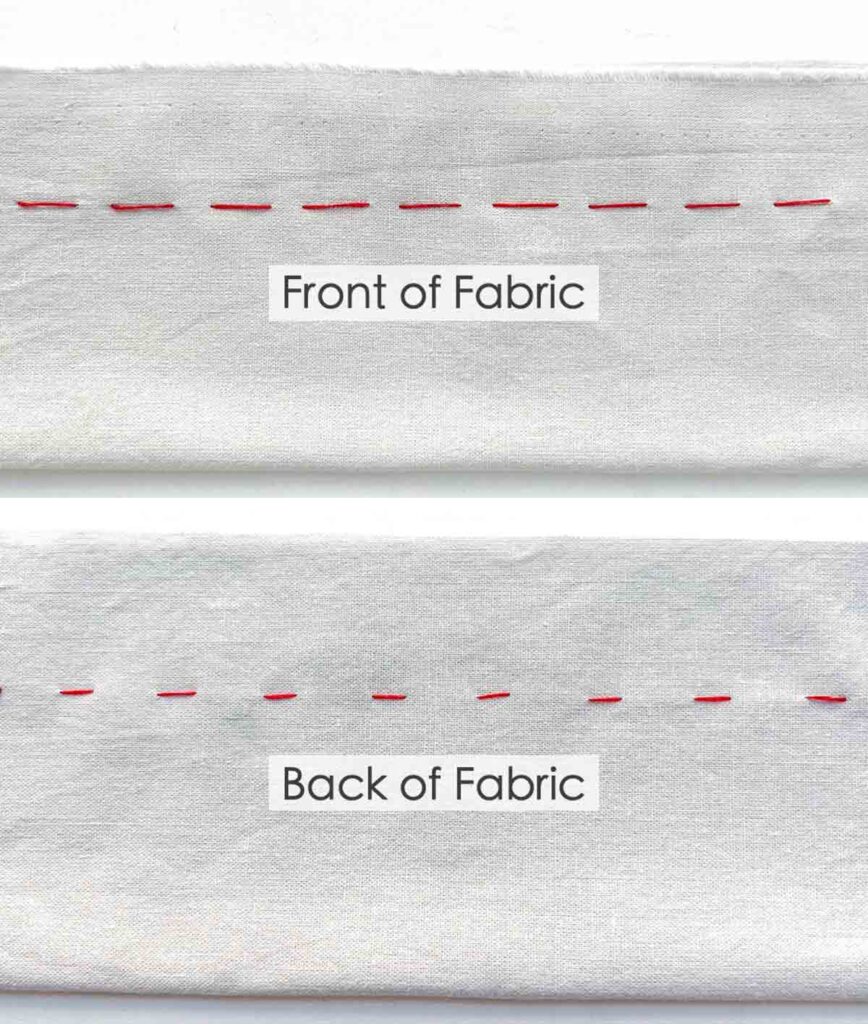
However, stitch length and spacing can be varied, depending on the purpose and intent.
Is a Running Stitch Strong?
When done in a certain way, the running stitch is a very strong and durable stitch that is difficult to break.
Small stitch length and tight spacing between stitches make for increased strength and durability. On the other hand, loose stitches (long length and wide spacing) creates weaker stitches. These are usually done on purpose for the intent of temporarily holding fabric pieces together, also known as basting stitches.
The type of thread you use will also affect stitch strength. Using a good quality polyester or cotton thread will help to strengthen the stitches. Additionally, a double threaded needle will create more durable stitches than a single threaded needle.
Is This the Easiest Stitch?
The running stitch is one of the easiest stitches to learn. It is is also very quick to do and super versatile. You can pretty much sew anything if you just know this one stitch!
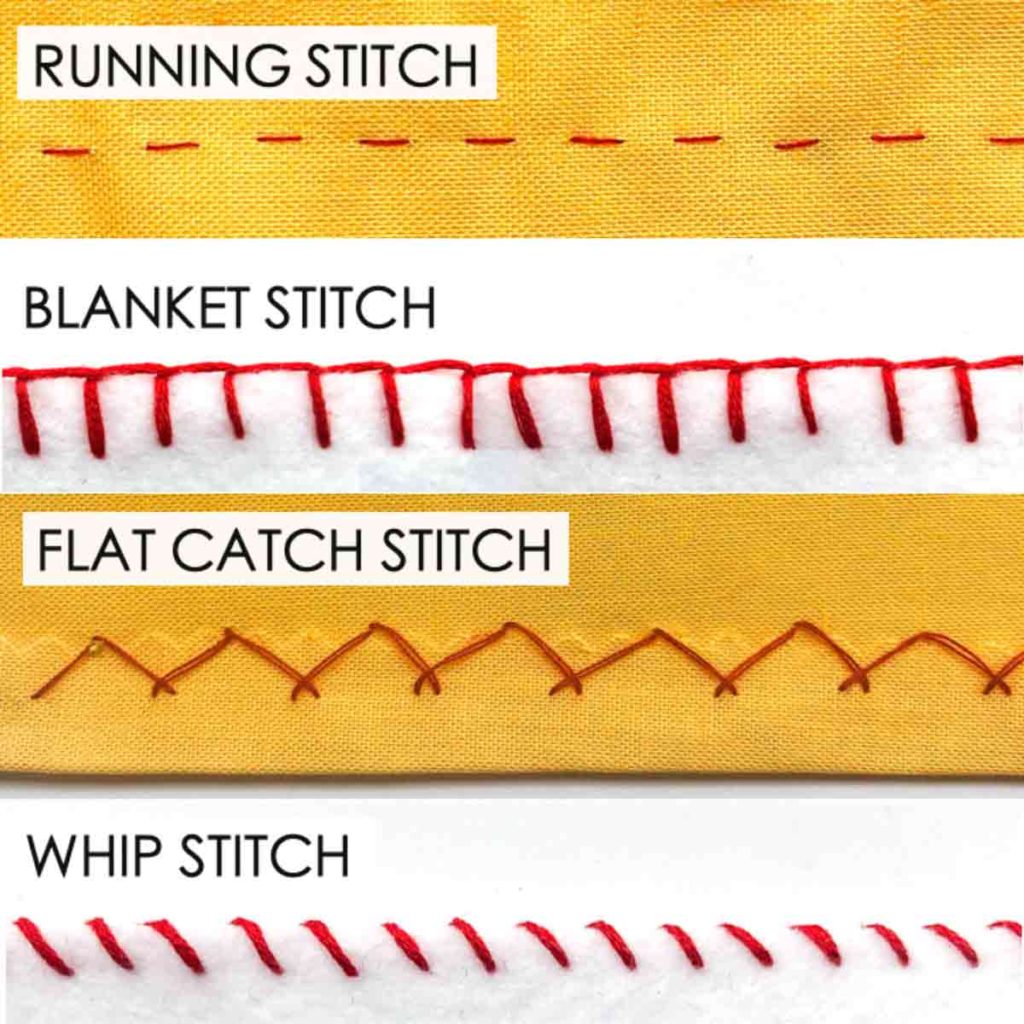
Other basic hand sewing stitches for beginners include: back stitch, basting stitch, blanket stitch, catch stitch, and whip stitch.
What is Running Stitch Good for?
The running stitch is extremely versatile and can be used for a myriad of purposes including:
- Sewing seams together
- Creating gathers by hand
- Sewing hems
- Loose stitches help to temporarily hold fabric layers and batting in place for quilting (also known as basting stitch)
- Used in embroidery to create letters, shapes, and other decorative elements.
- Used to stitch appliques down to clothing, scarves, or other fabrics.
- Sewing leather products such as bags, wallets, and jackets.
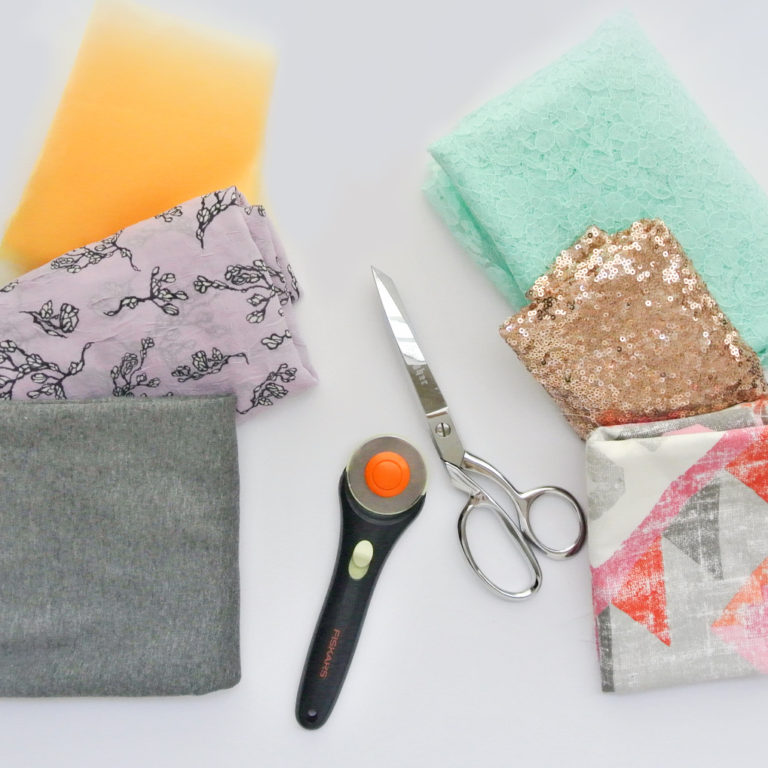
Materials/Tools
- HAND SEWING NEEDLES
- THREAD – Polyester or Cotton
- FABRIC
- SMALL SHARP SCISSORS
- PENCIL or FABRIC CHALK
How Do you Do a Running Stitch?
The running stitch is made by “running” a needle up and down through the fabric at uniform lengths and intervals. When you make the stitch length long and the interval between stitches short, this will resemble a straight stitch on a sewing machine.
However, you can vary the stitch length and interval to achieve interesting patterns for decorative purposes!
The running stitch can be created by stabbing the needle up and down the fabrics. This is known as the stabbing method. Alternatively, you can create the stitch via the sewing method. First, you do this by weaving the needle through the fabric to take multiple stitches at a time. Then, you gently pulling the thread through to finish the stitch.
Follow along the How-To Tutorial below to learn how this easy stitch is done!
How to Do a Running Stitch
The running stitch is a basic hand stitch that consists of taking the needle up and down the fabric at regular intervals. It is a super easy stitch and one of the first hand stitches beginners will learn.
Materials
- THREAD
- FABRIC
Instructions
RUNNING STITCH - STABBING METHOD:
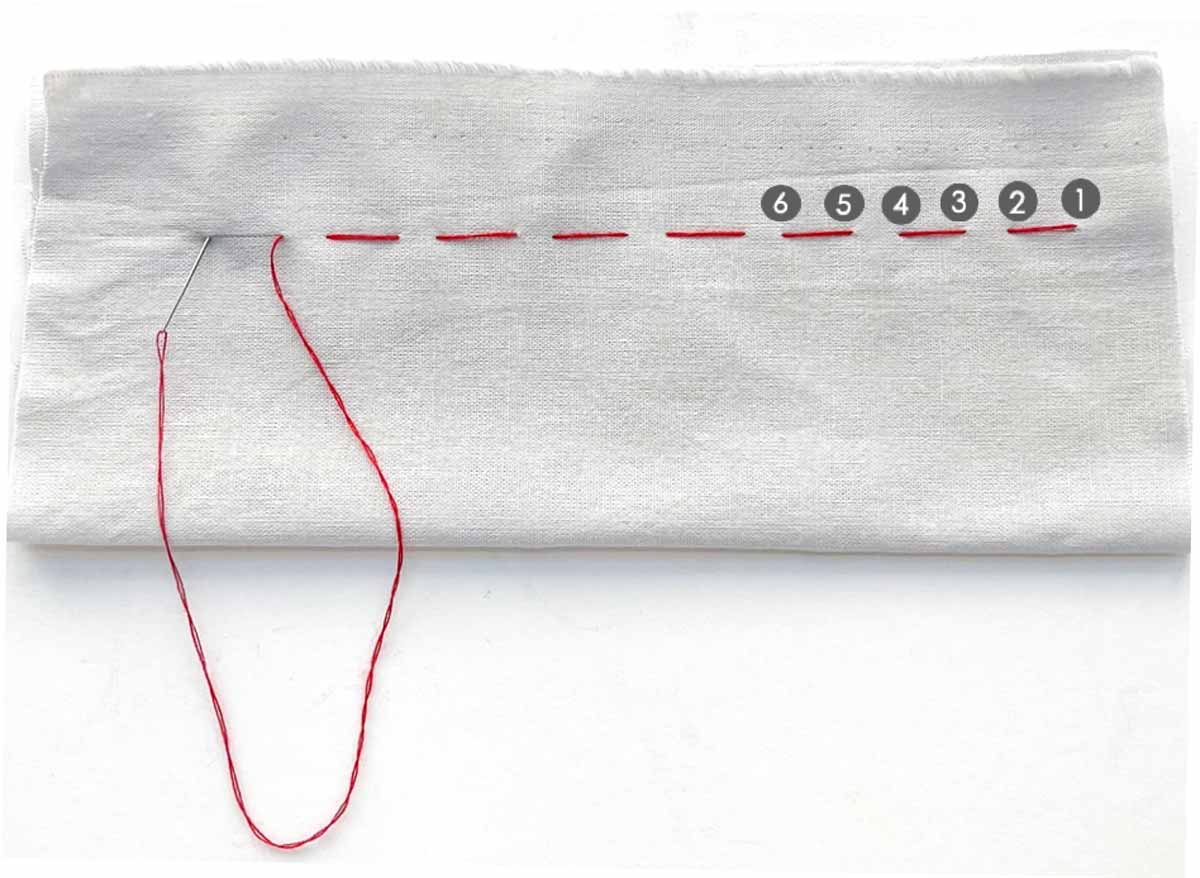
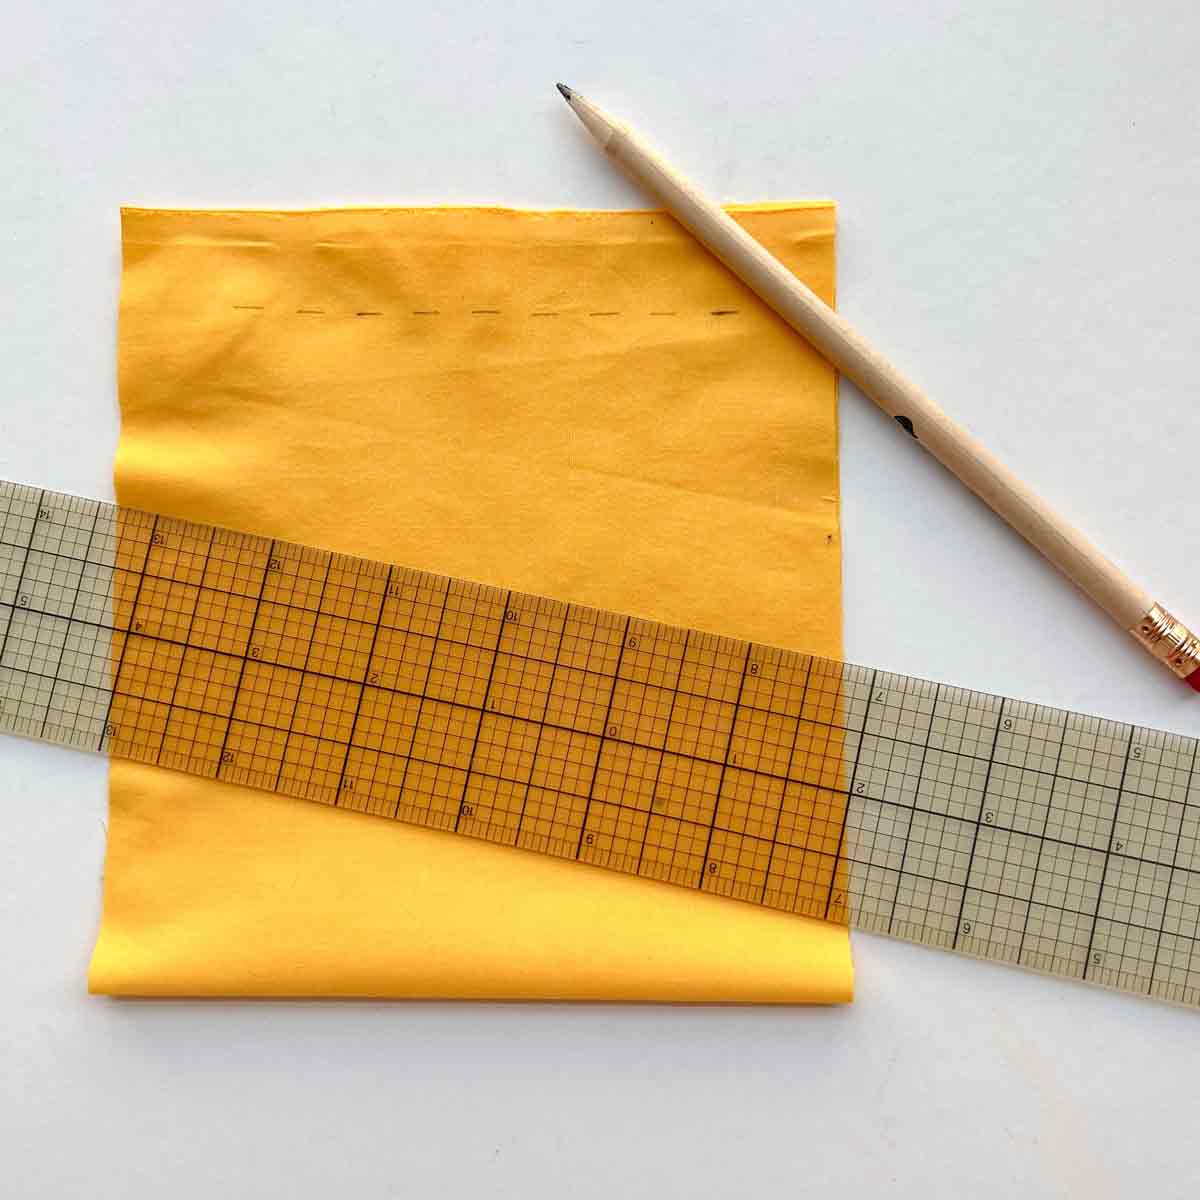 Using a ruler and pencil (or fabric chalk), make straight dashed lines that are evenly spaced. In this practice demo, the lines are 0.25" (6mm) long and spaced 0.25" (6mm) apart.
 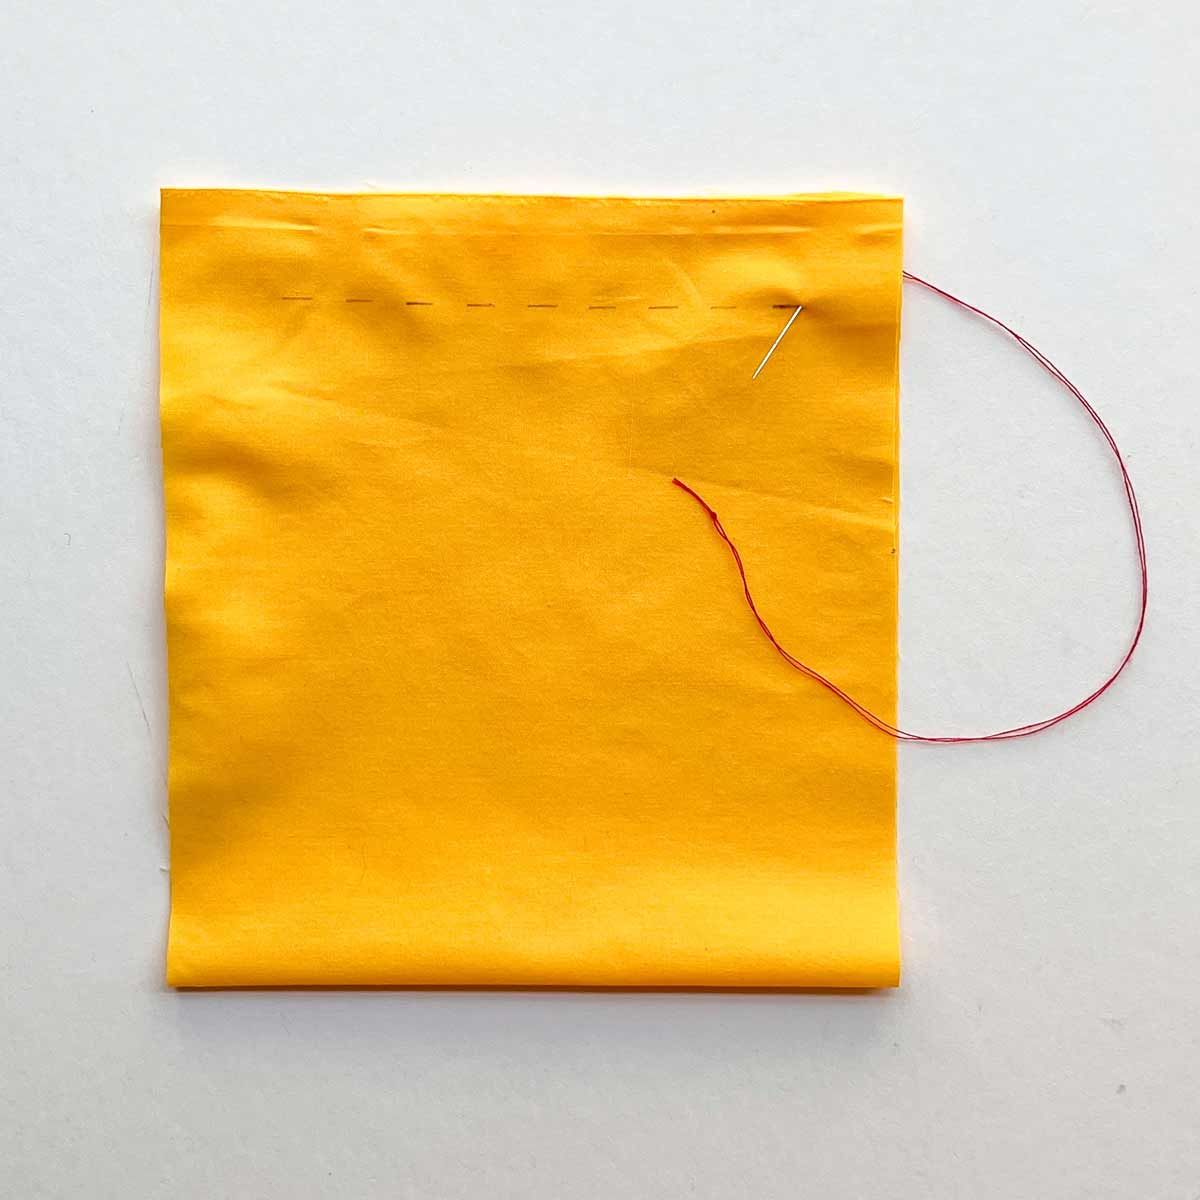 Poke knotted needle through beginning of stitch. Photos show sewing from right to left (for a right handed operator). For a left handed operator, you will sew from left to right.
 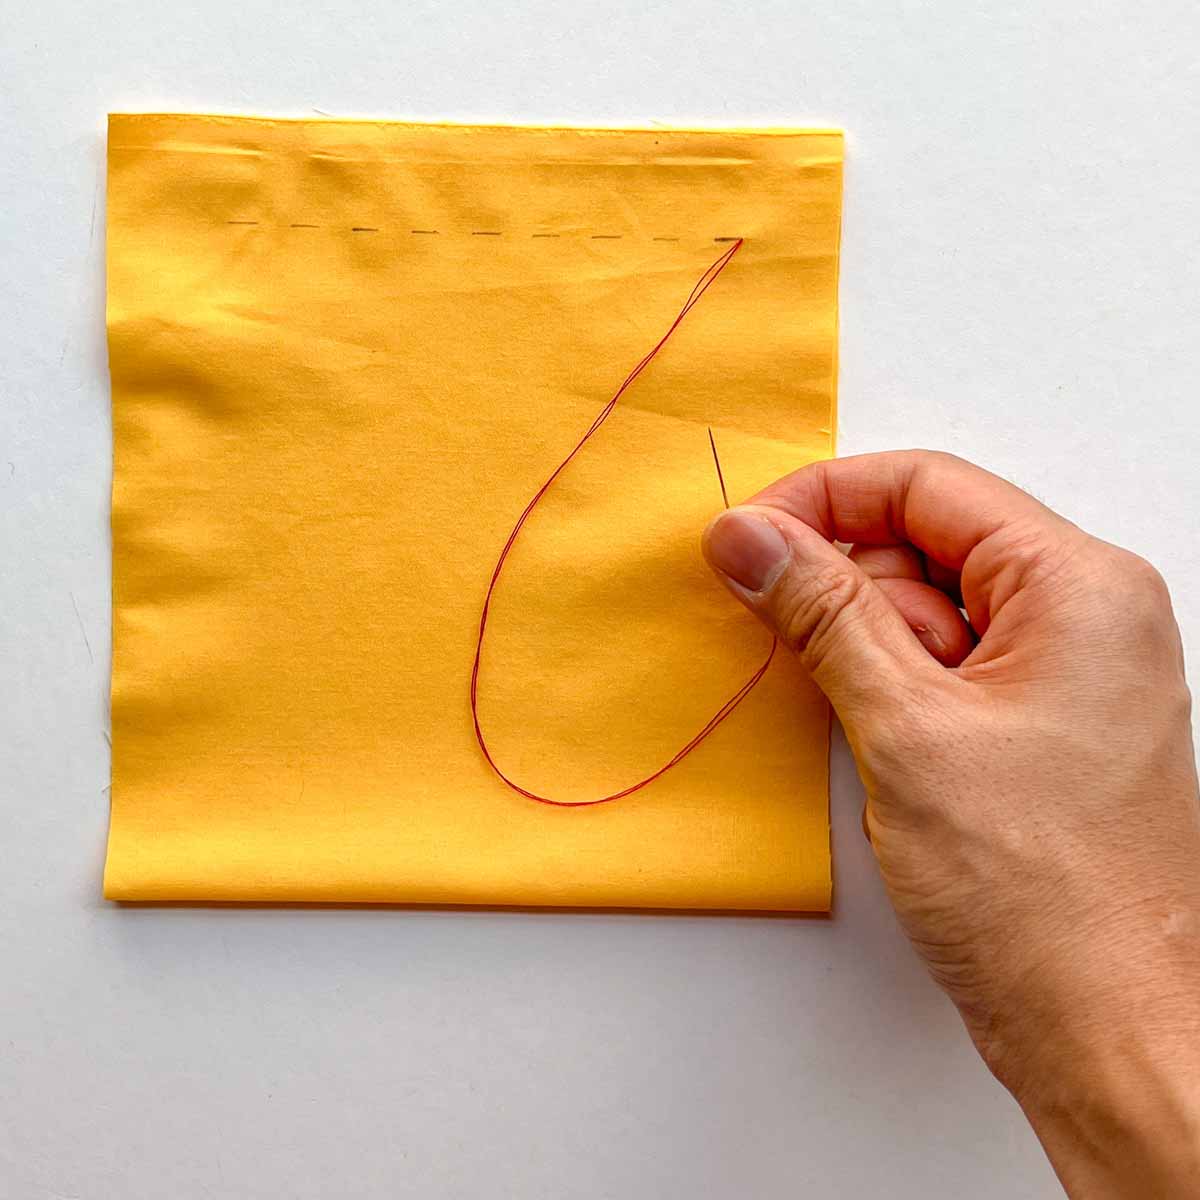 Gently pull thread out all the way until you reach the knot.
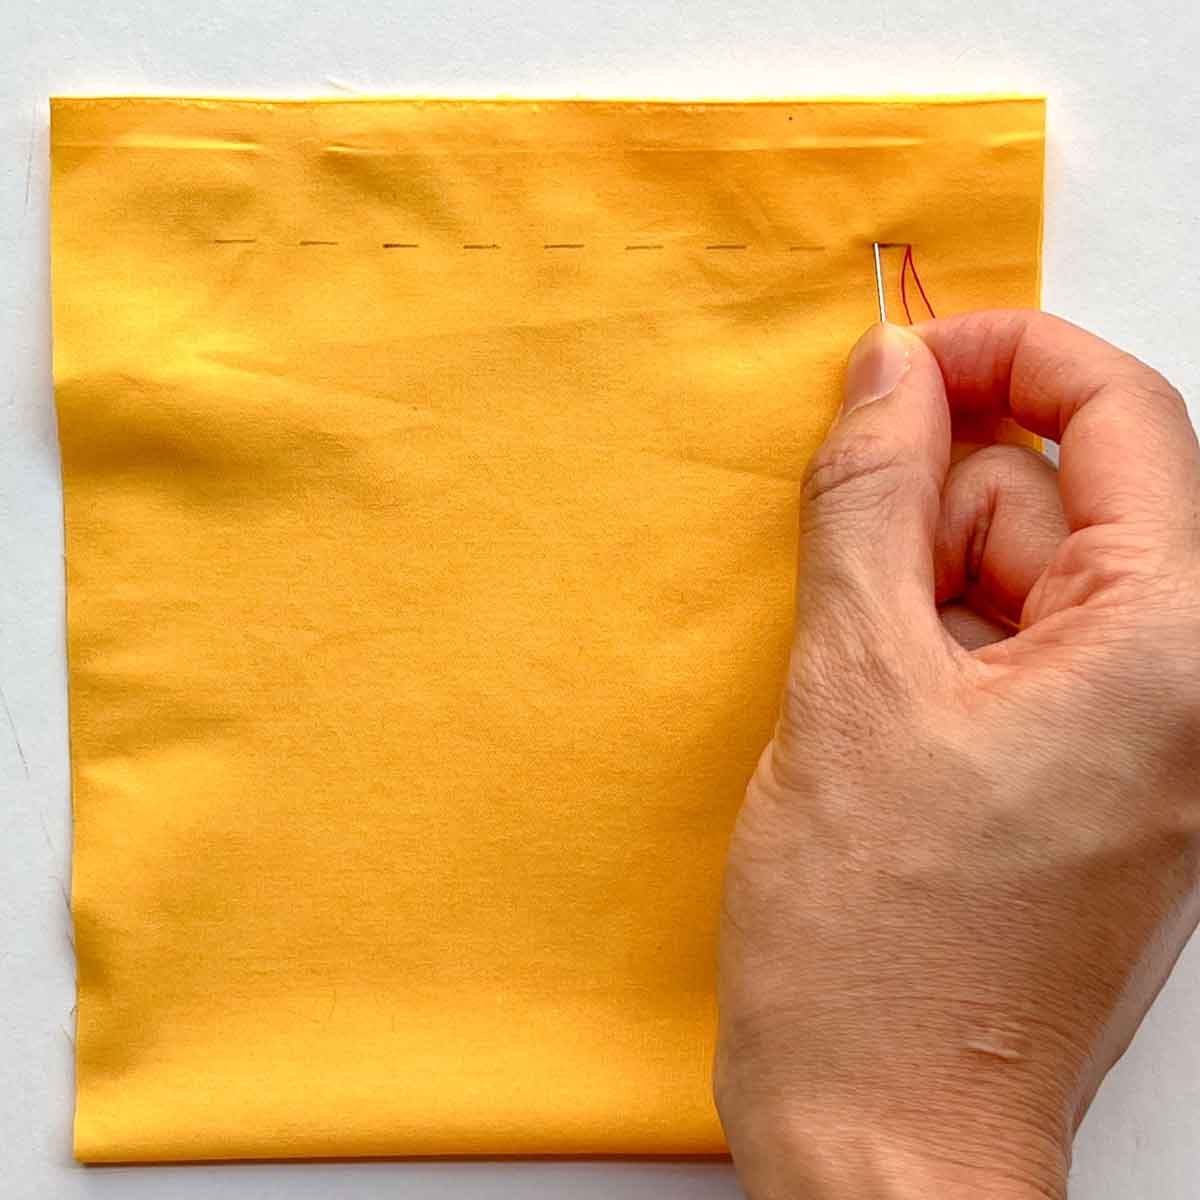 Now poke needle back into fabric, 0.25" (6mm) to the left from where the thread came out in step 3.
 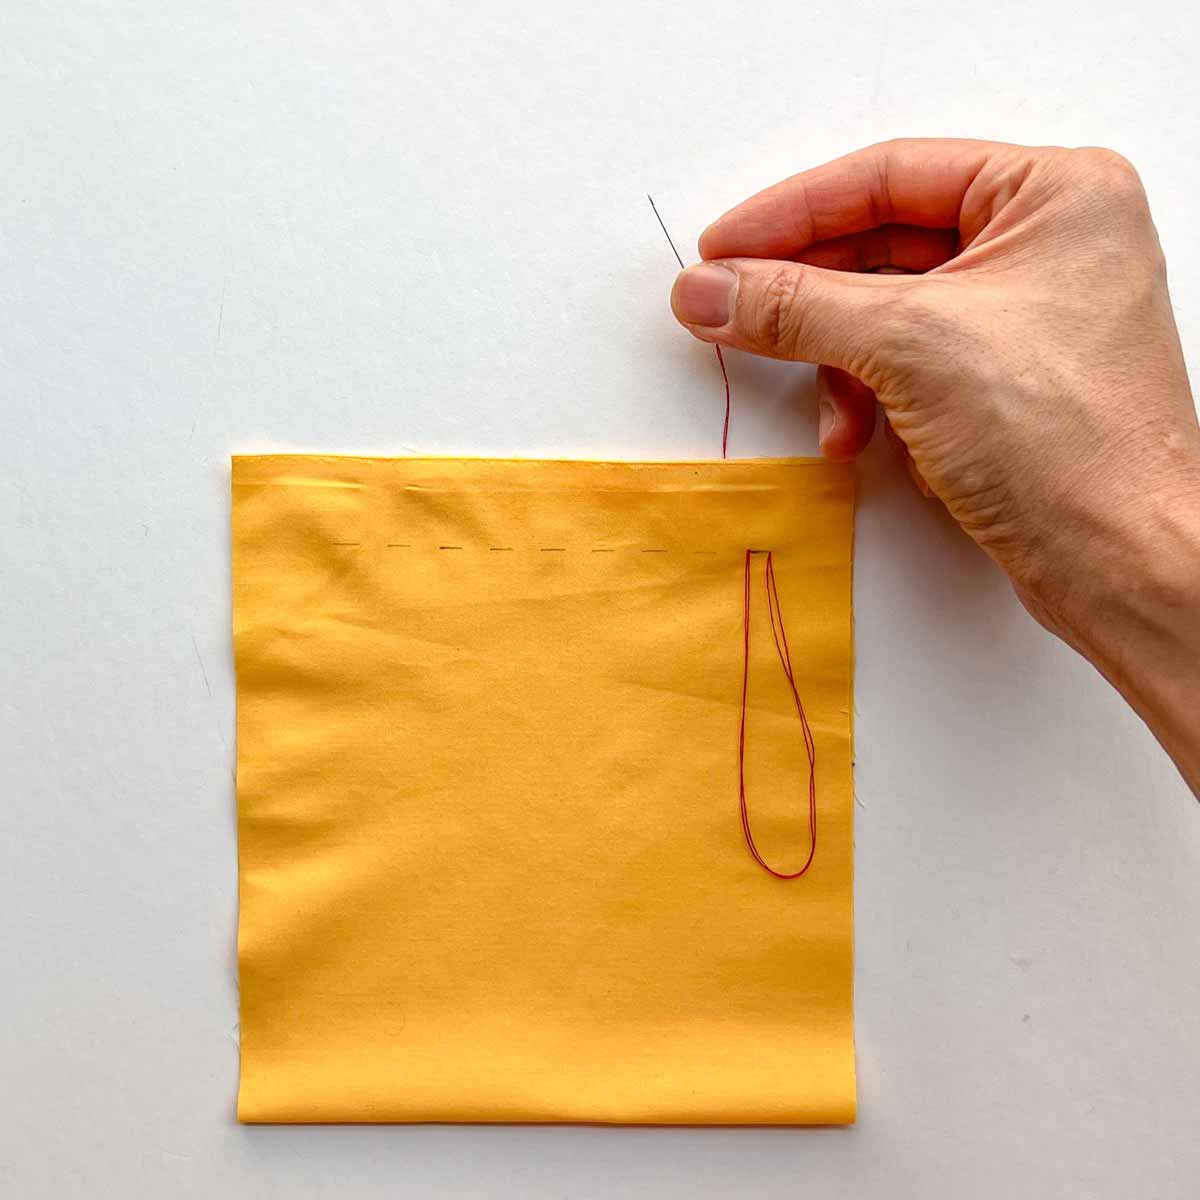 Pull thread all the way through back of fabric.
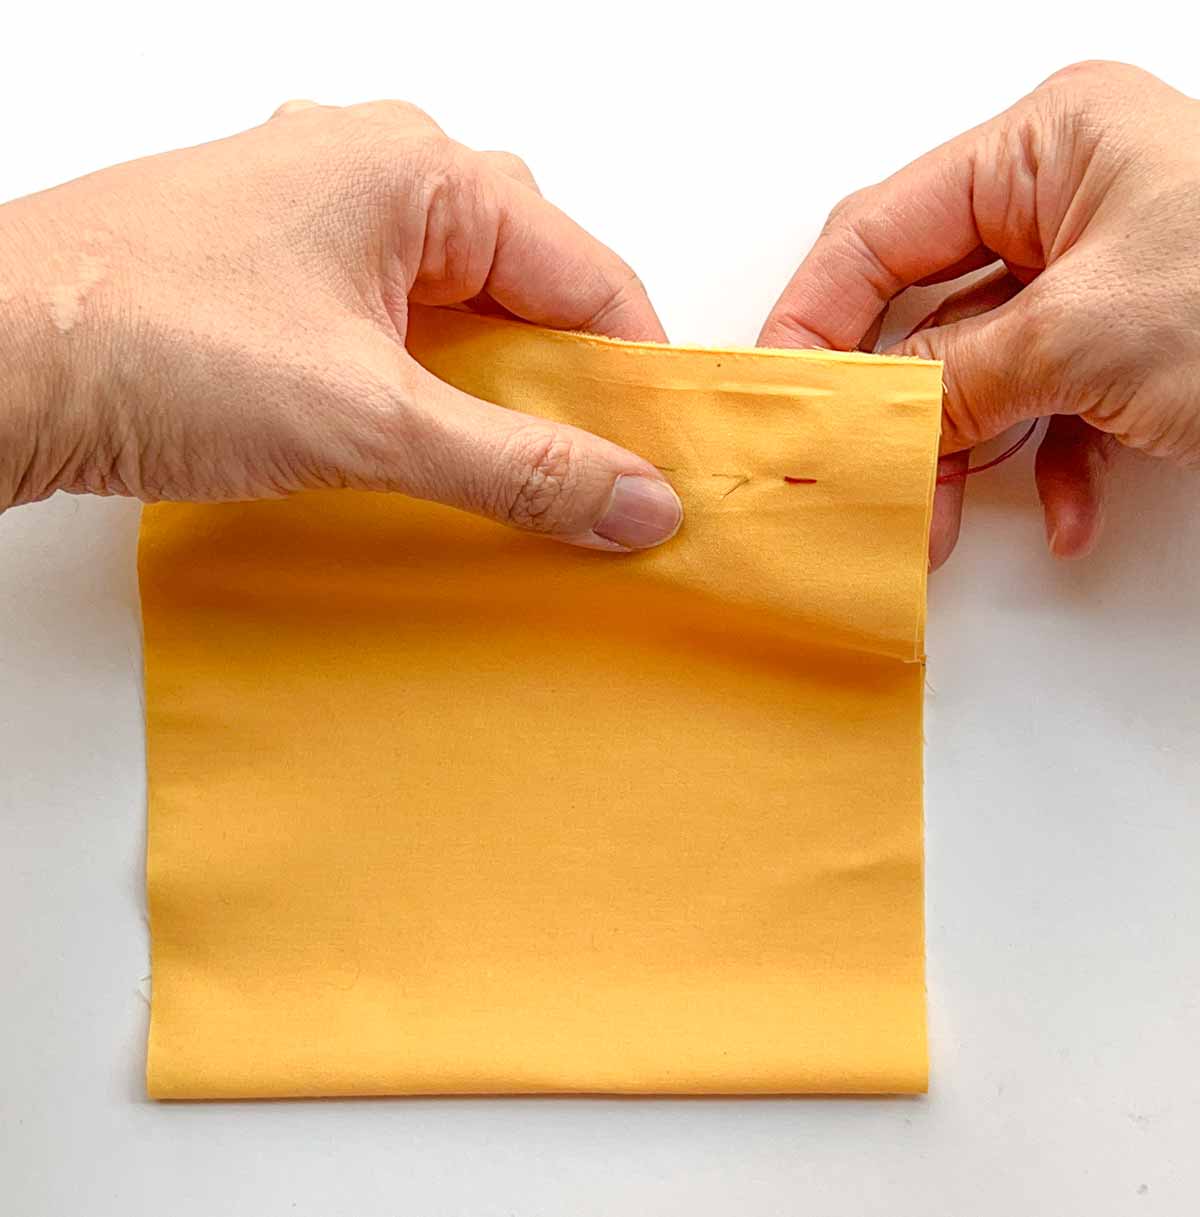 Poke needle to front of fabric, 0.25" (6mm) distance to the left of previous stitch.
 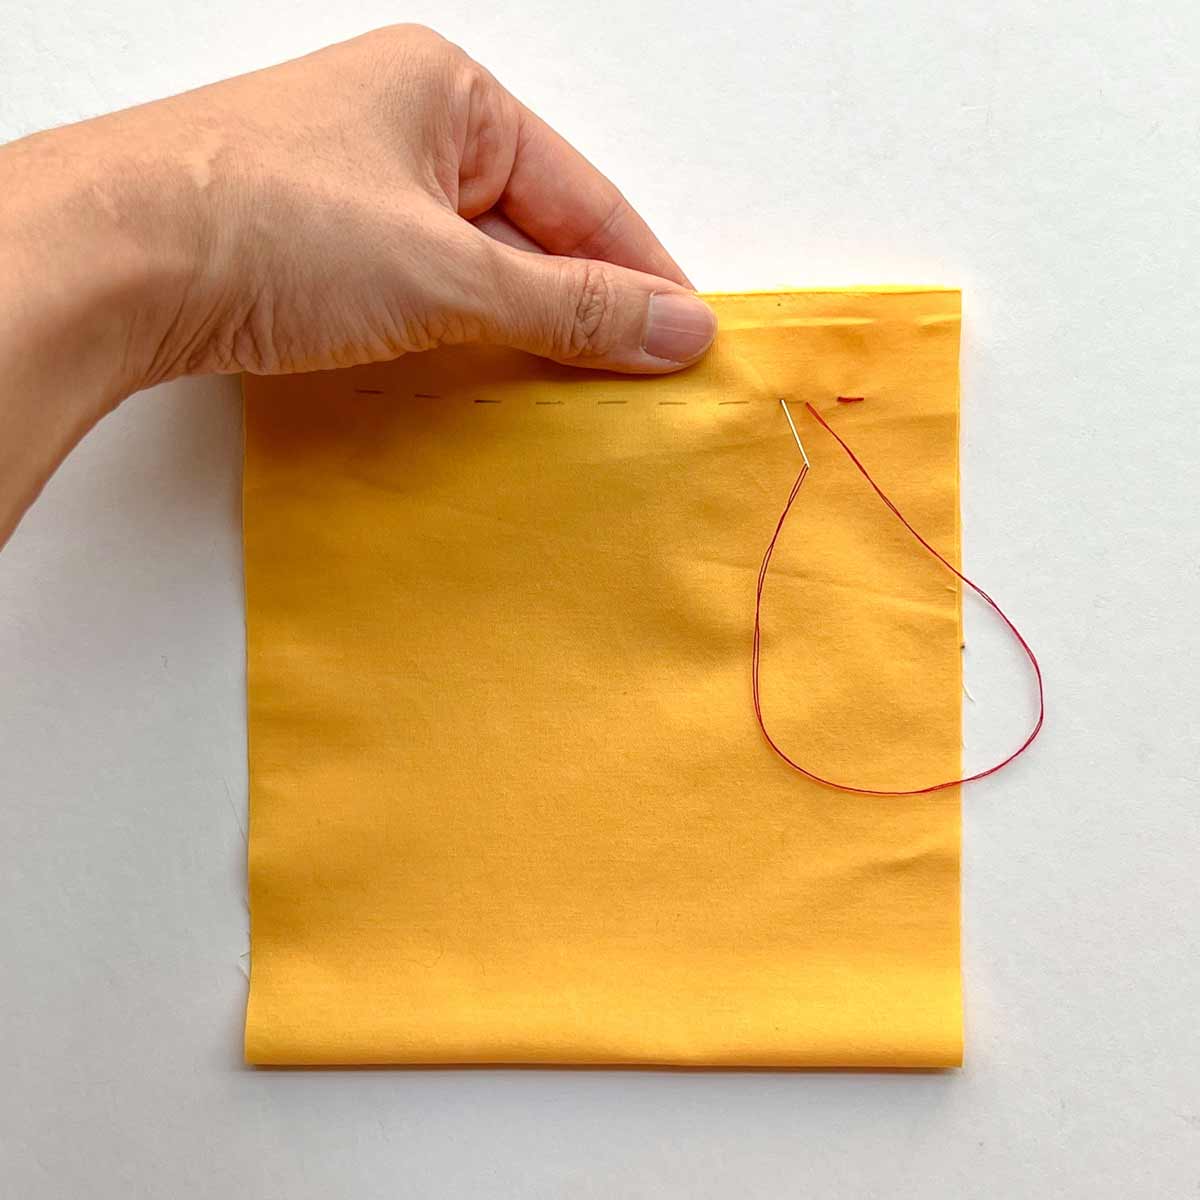 Pull needle through to front of fabric, and make another stitch that is 0.25" (6mm) in length.
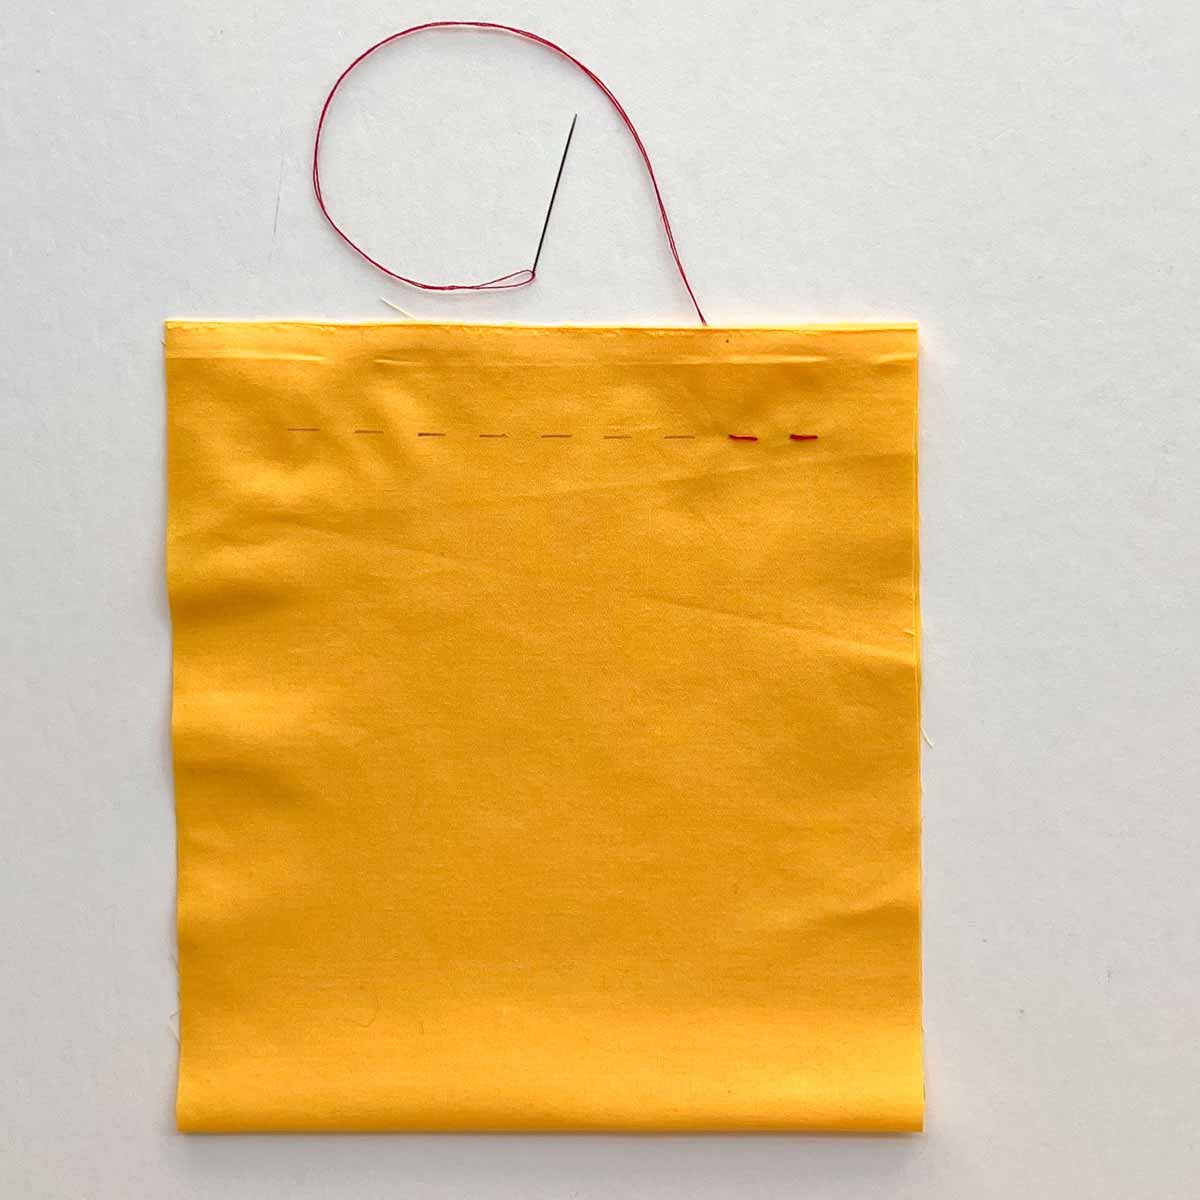 Gently pull needle through back of fabric to form another stitch.
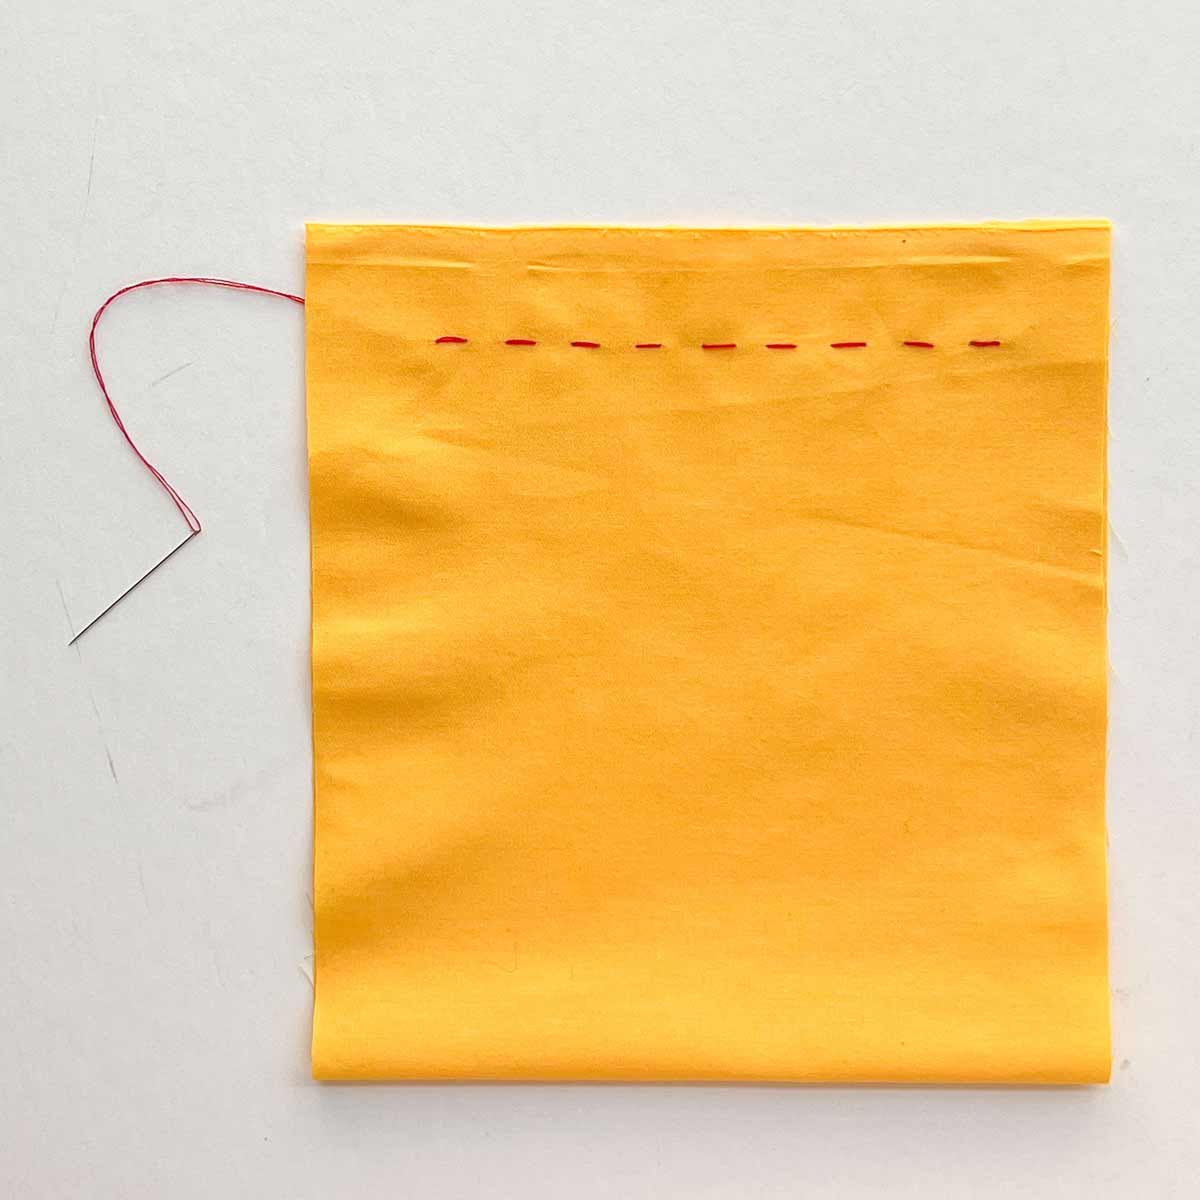 Repeat this process until the entire seam is completed.
RUNNING STITCH - SEWING METHOD:
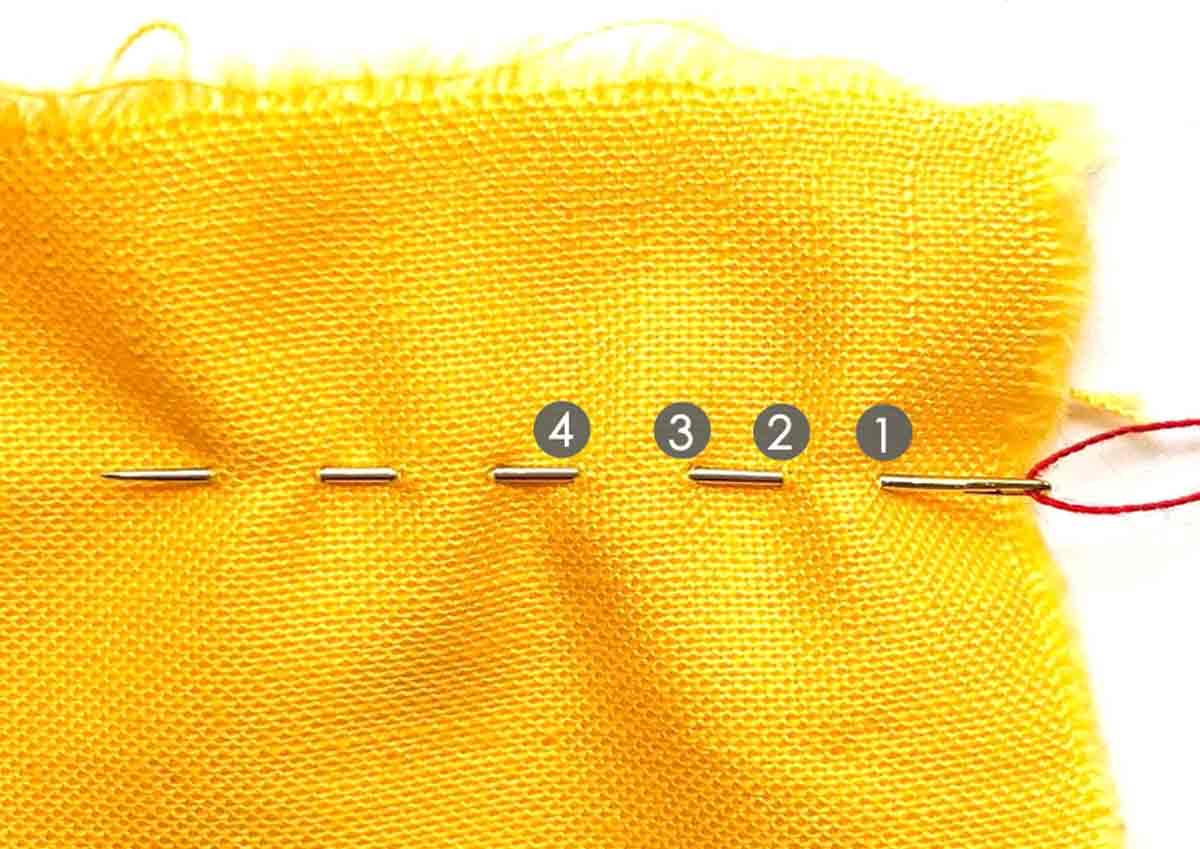 Going from right to left (right handed operator), weave the needle in and out of the fabric several times at even intervals. Keep the stitch length as uniform as possible.
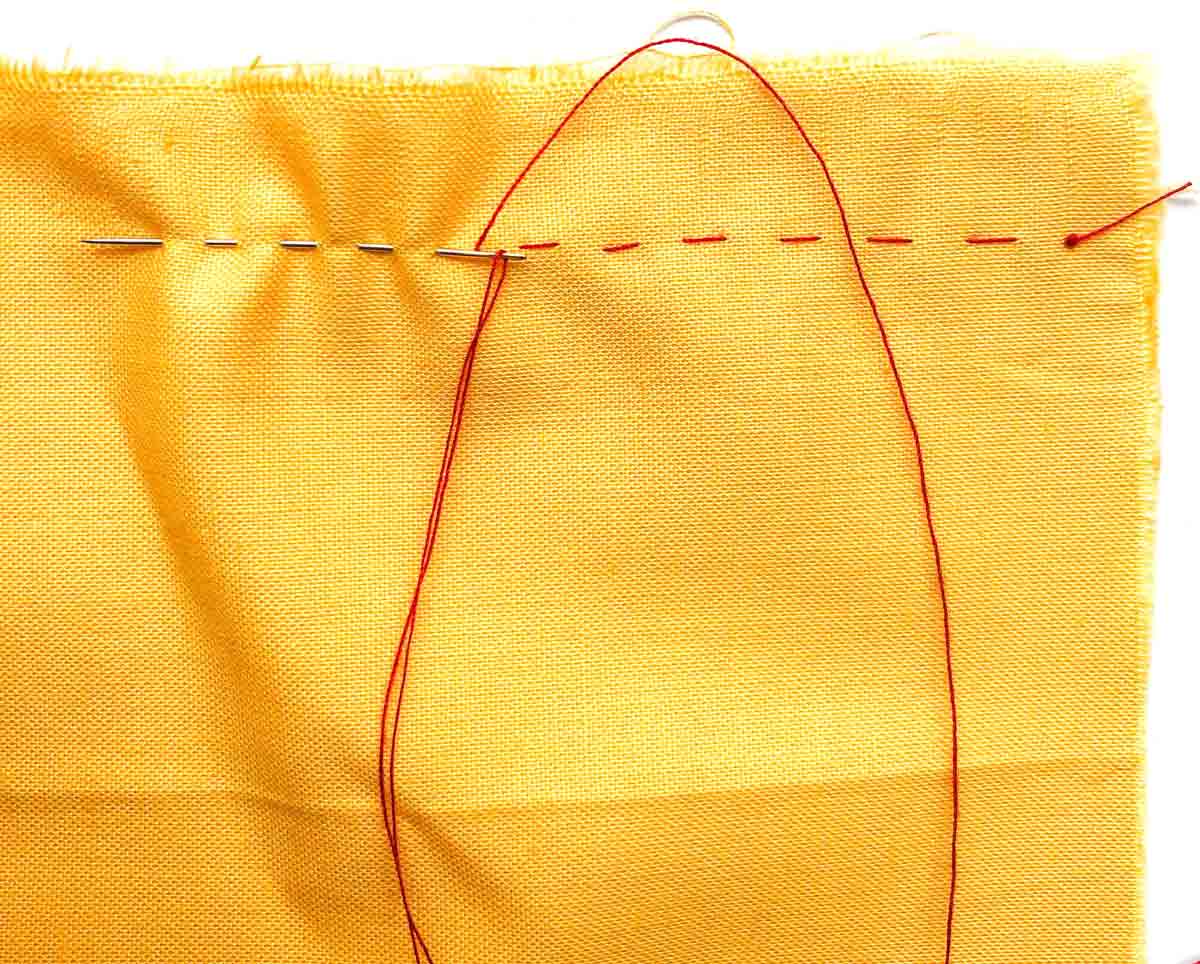 Gently pull thread through to form a running stitch. Repeat at the next section of fabric.
Notes
- Don't pull the thread too tightly otherwise your fabric will bunch together and create gathers instead of laying flat.
- The running stitch is also used to create gathers by hand. In this case you will slide the fabric over the thread to create the amount of gather you need. You can control the size of your gathers by varying stitch length and spacing. Larger stitch length and intervals creates larger gathers whereas smaller stitch length and spacings creates tighter gathers.
19 Essential Hand Sewing Stitches to Sew Just About Everything
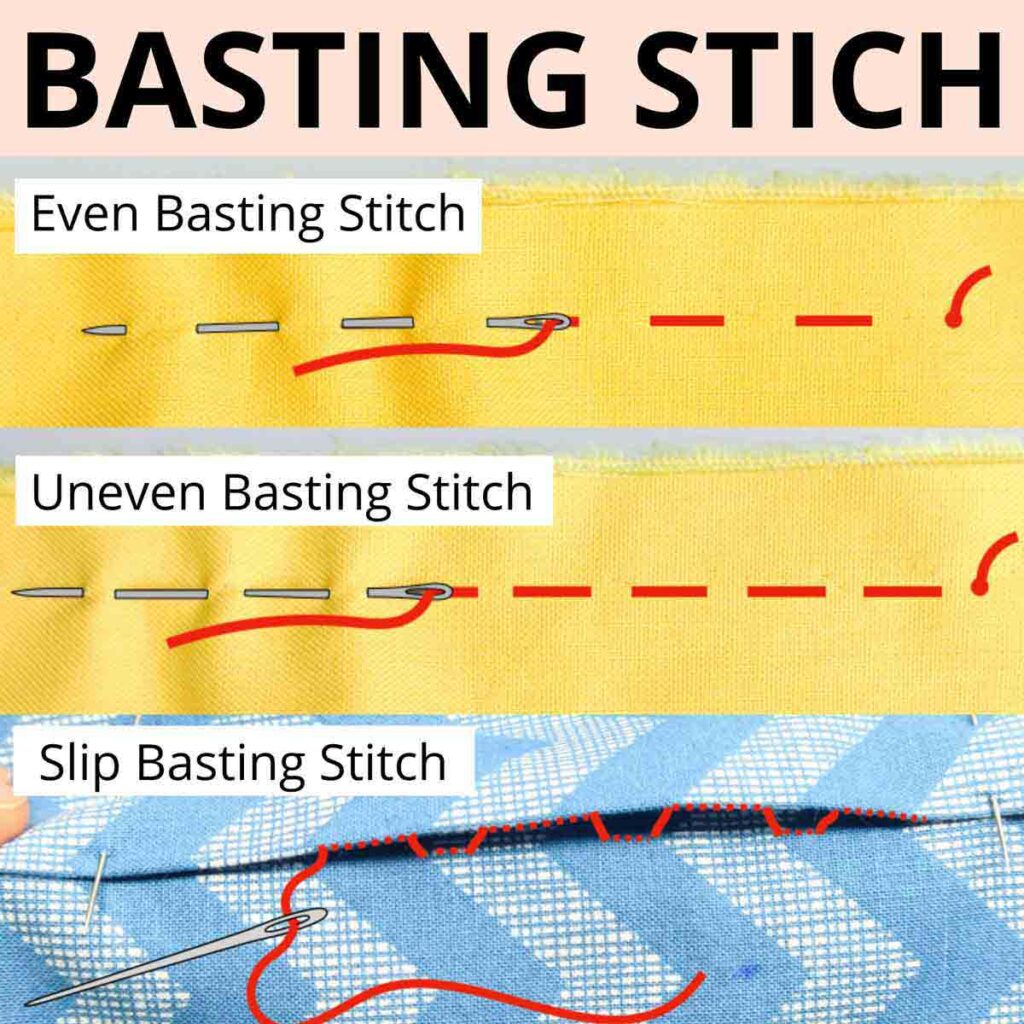
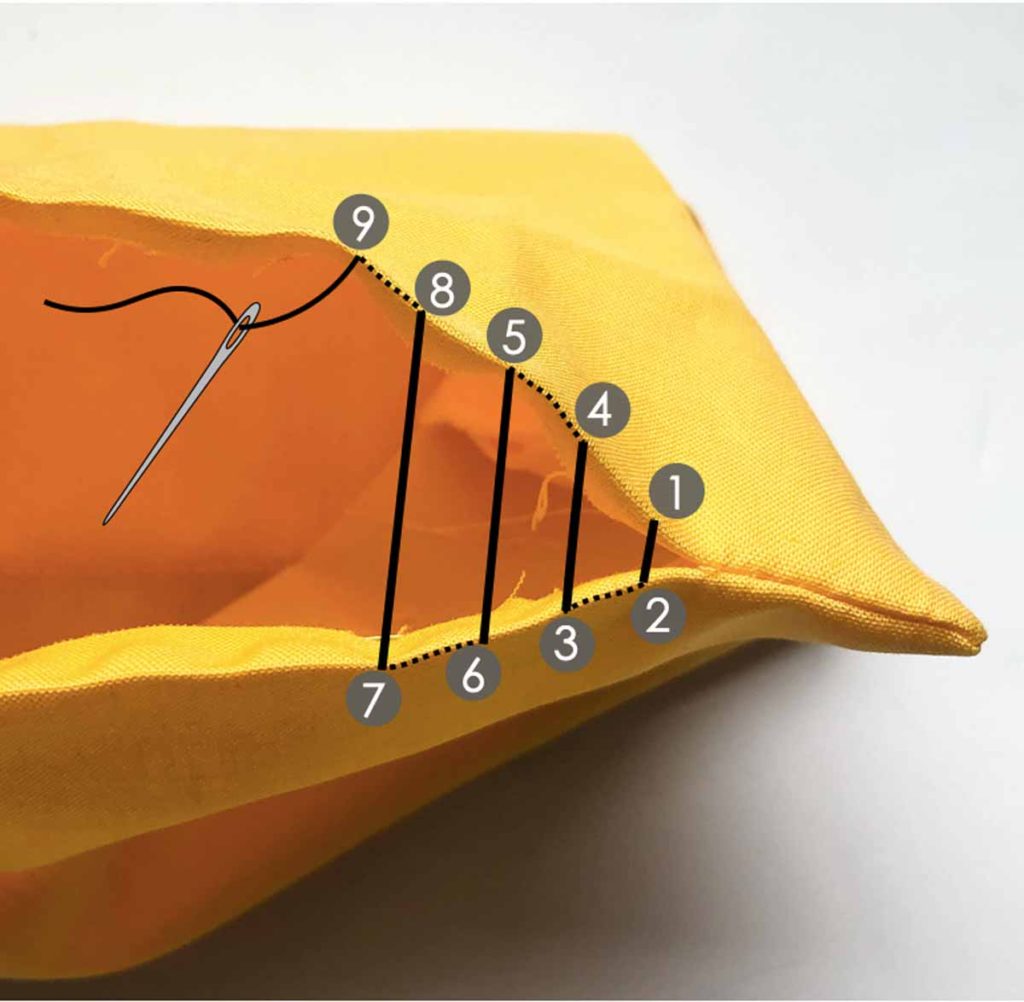
How to Make Basting Stitches
How to Invisibly Close a Hole with the Ladder Stitch