How to Sew a Half Back Stitch – For Beginners
The half back stitch is a basic hand sewing stitch made in the same way as a regular back stitch. The only difference is that the stitches going “backwards” are half the length of the stitches going forward. In other words, the stitch length is the same as the space in between. On the front of the fabric, the half back stitch appears like a running stitch, with spaces between each consecutive stitch.
What’s the Difference Between a BackStitch and a Half Backstitch?
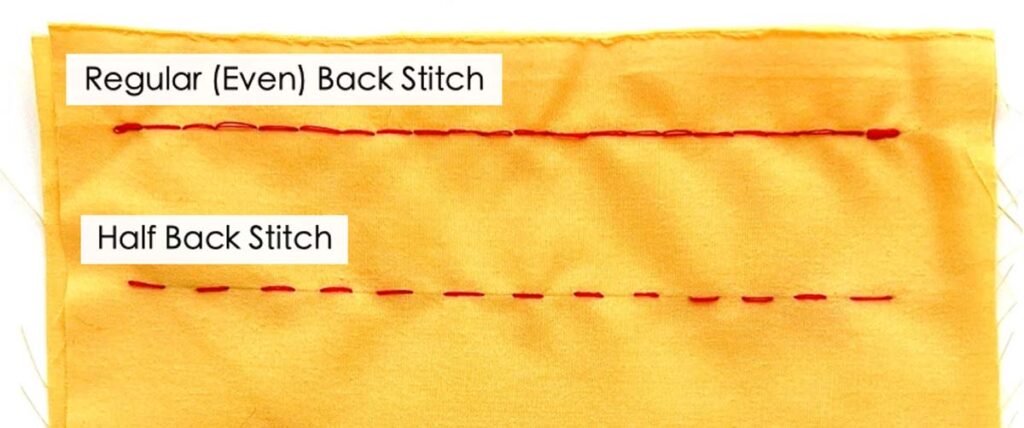
As you can see in the photo, the regular or even backstitch resembles a straight stitch made by a sewing machine. Subsequent stitches touch each other without any gaps in between.
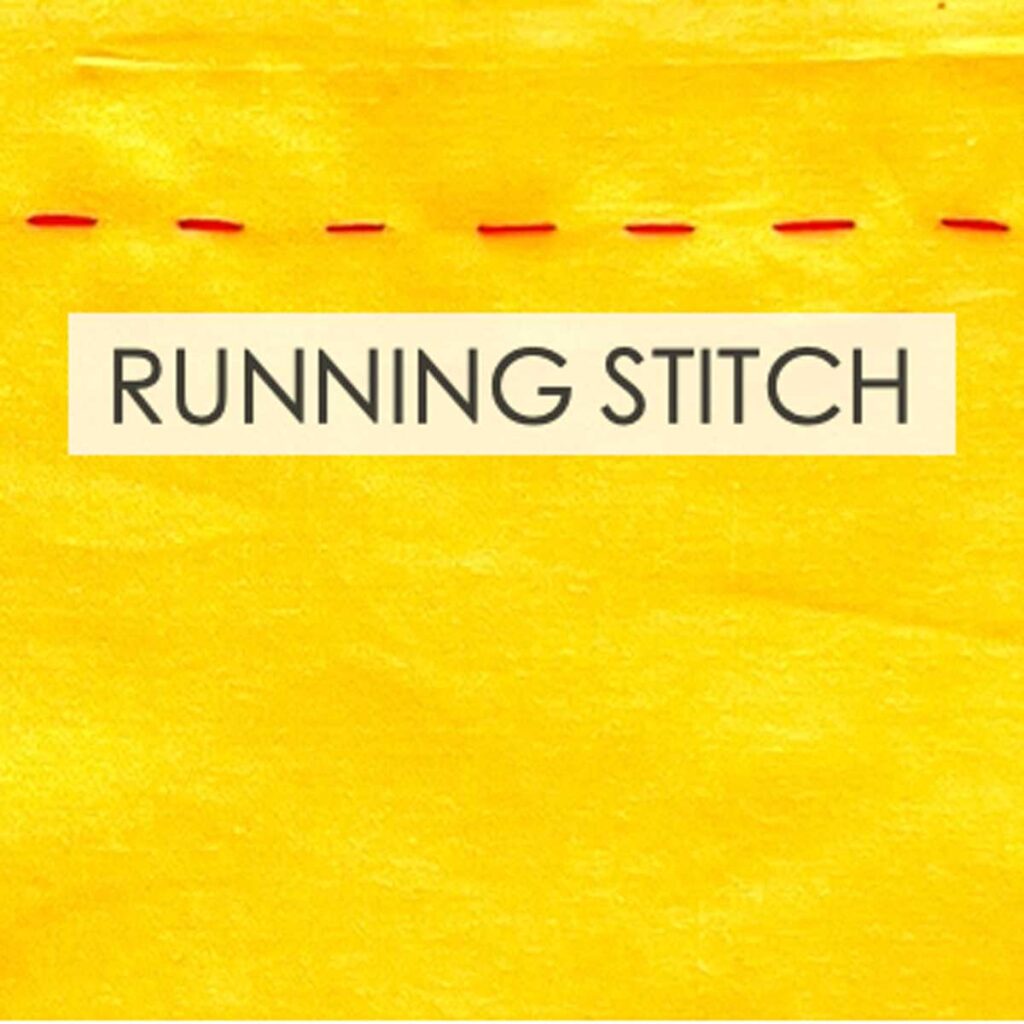
On the other hand, the half backstitch resembles a hand sewn running stitch on the front side, with uniform spaces in between consecutive stitches.
The half backstitch is not quite as strong as a regular (even) backstitch but it is stronger than a simple running stitch. However, because you take longer stitches on the underside of the fabric, you can work this stitch slightly faster than a regular backstitch.
What is the Purpose of a Half Back Stitch?
The half backstitch has many functions and uses, including:
- Sewing seams together
- Temporarily holding fabric pieces together, or holding fabric pieces to stabilizers – (See Basting Stitch for more information)
- Creating outlines, patterns, and shapes in embroidery
- When you need to hand sew seam allowance to the lining side of facings – this prevents them from rolling to the front side of garment (also known as understitching)
materials/tools
- HAND SEWING NEEDLES
- THREAD – Polyester or Cotton
- FABRIC
- SMALL SHARP SCISSORS
- PENCIL or FABRIC CHALK
How to Work a Half Back Stitch – Step by Step
How to do Half Back Stitch
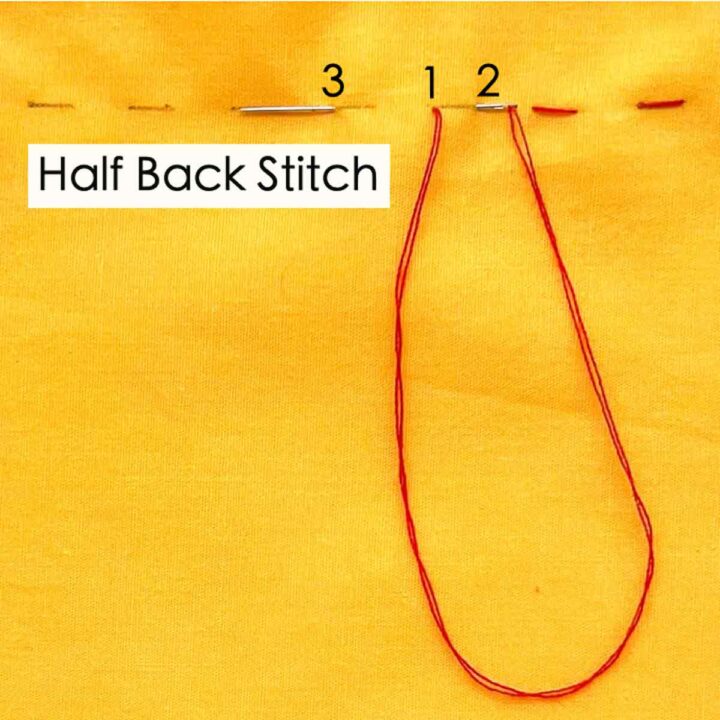
The half back stitch is made in the same way as a regular back stitch. The only difference is that the stitches on the top are spaced uniformly apart.
Materials
- THREAD
- FABRIC
Instructions
In this tutorial, stitch length = 1/4" (6mm). However, you can use any stitch length and stitch interval that you like, just keep them uniform for nice looking stitches.
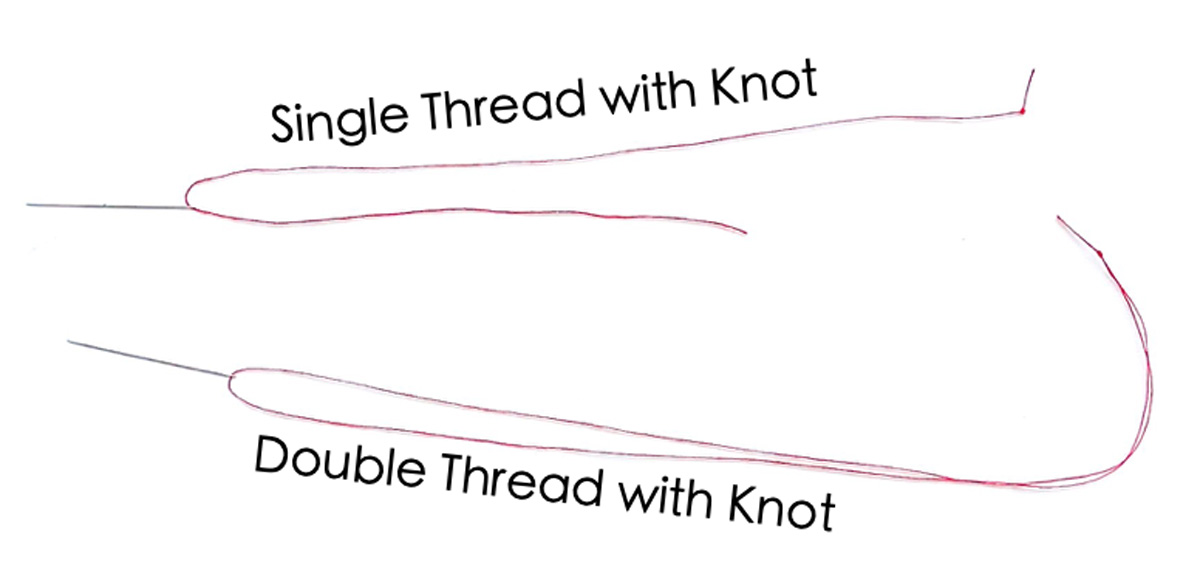 Thread hand sewing needle and tie a knot. You can either use single or double thread.
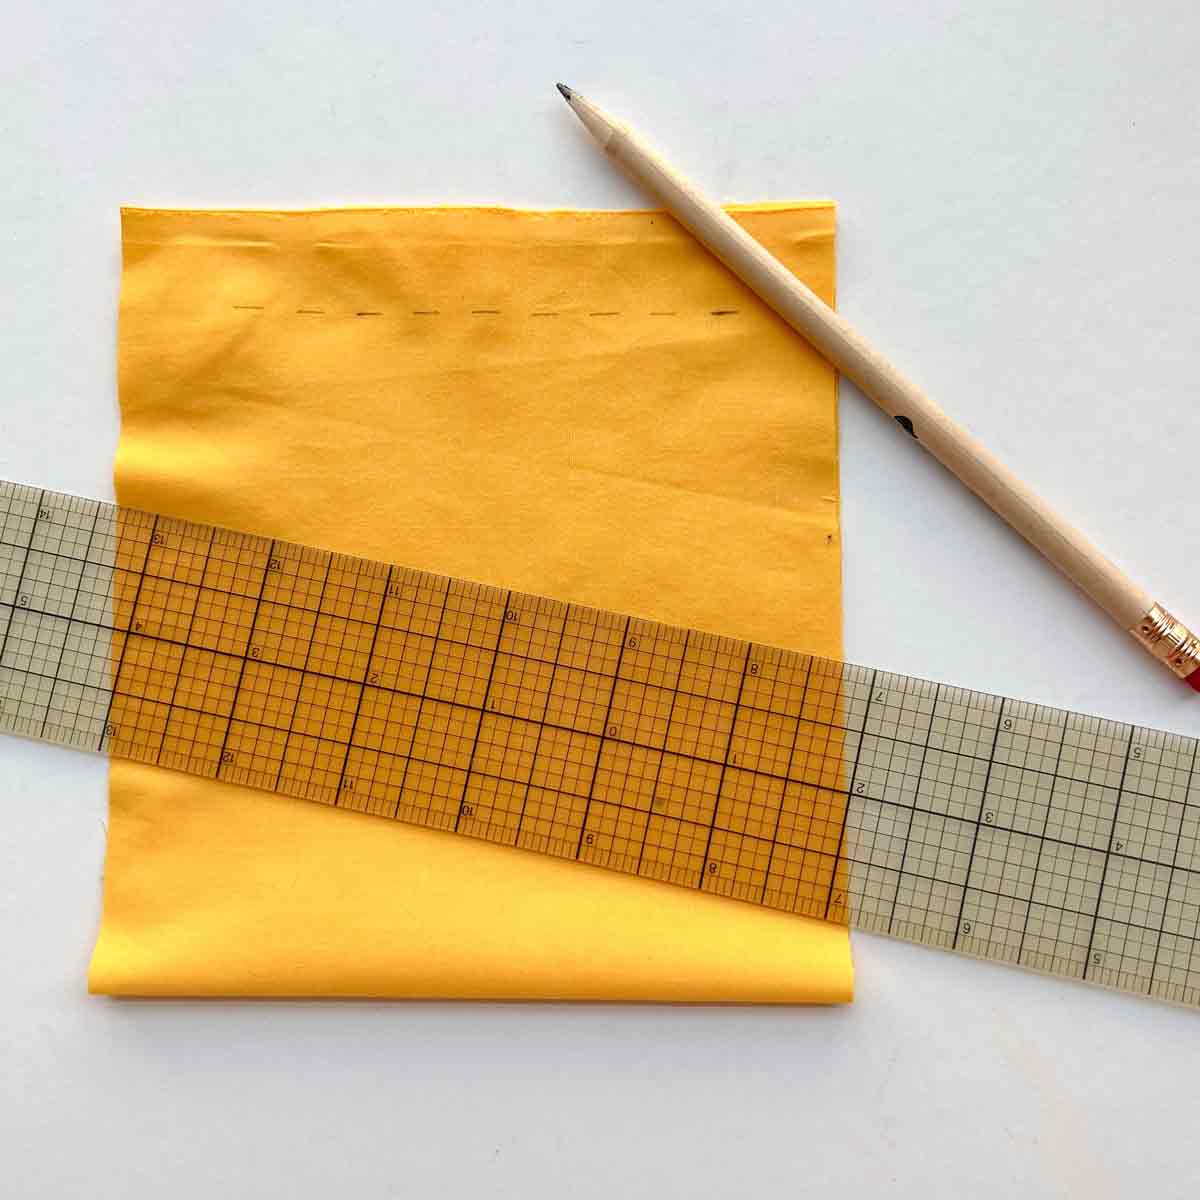 Use a pencil and ruler to draw dashed lines. For this sample my dashes lines are 1/4" (6mm) wide spaced 1/4" (6mm) apart.
HALF BACK-STITCH: POKING METHOD
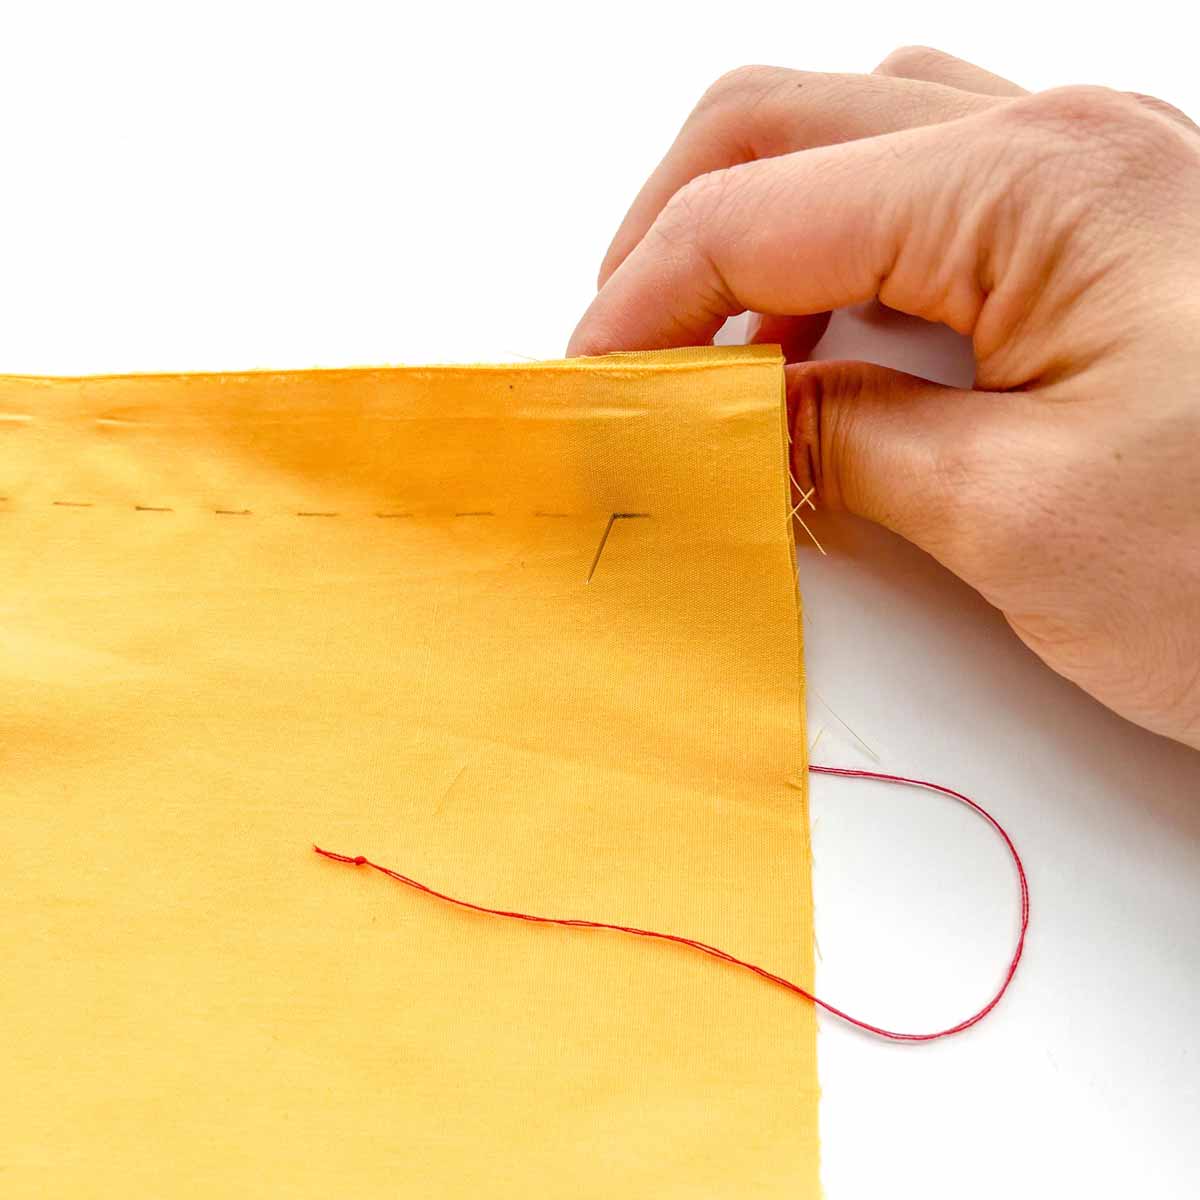 Poke needle through fabric a stitch length to the left of the start of the drawn line.
 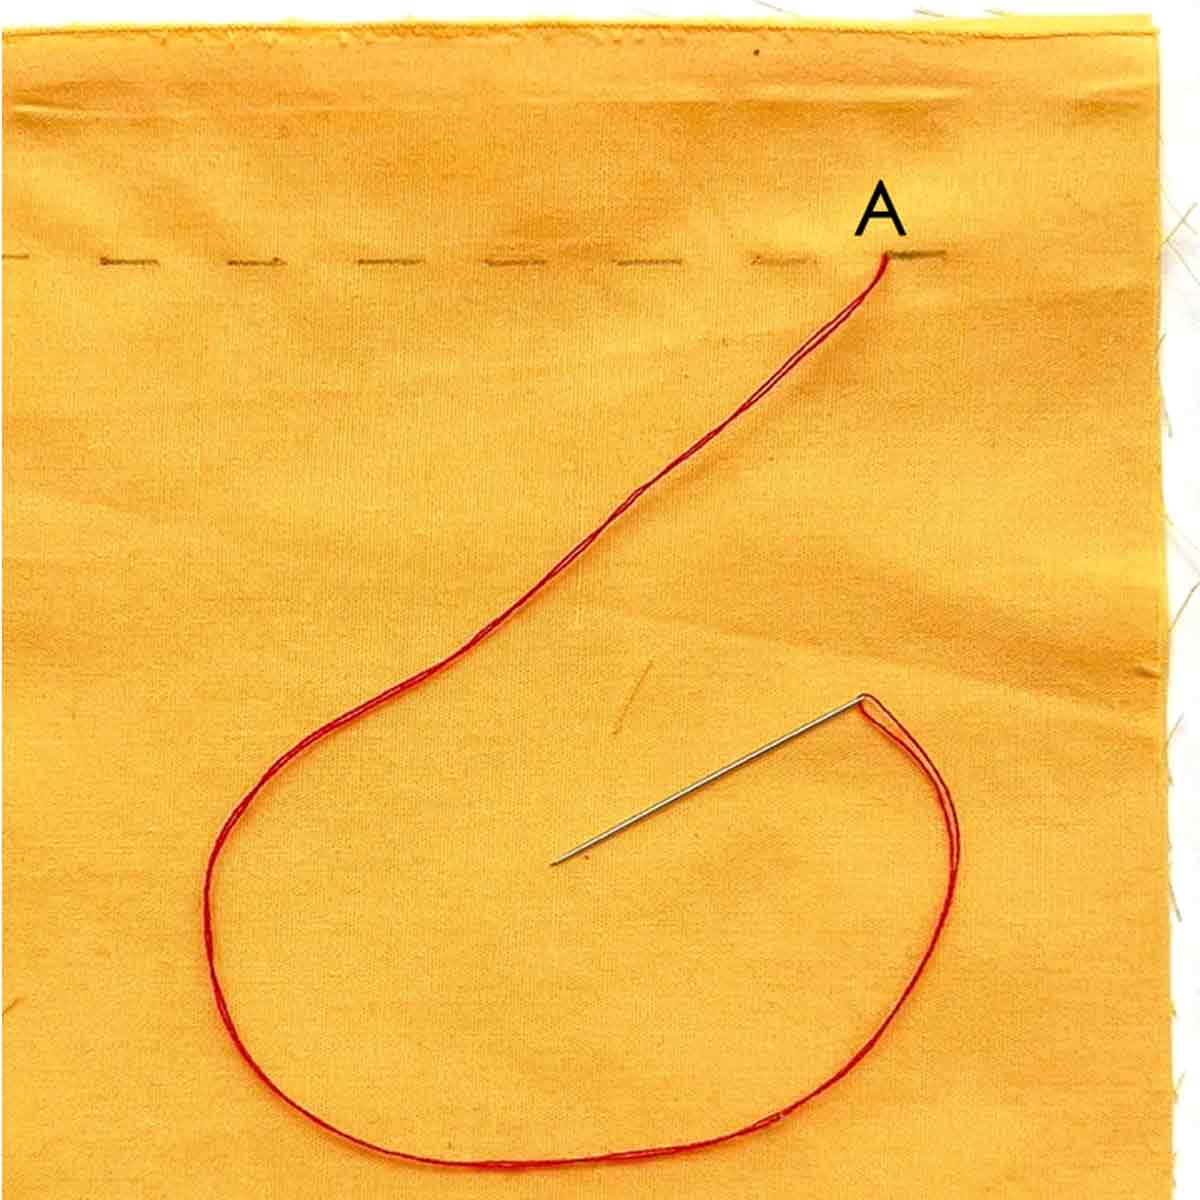 Pull thread through (A).
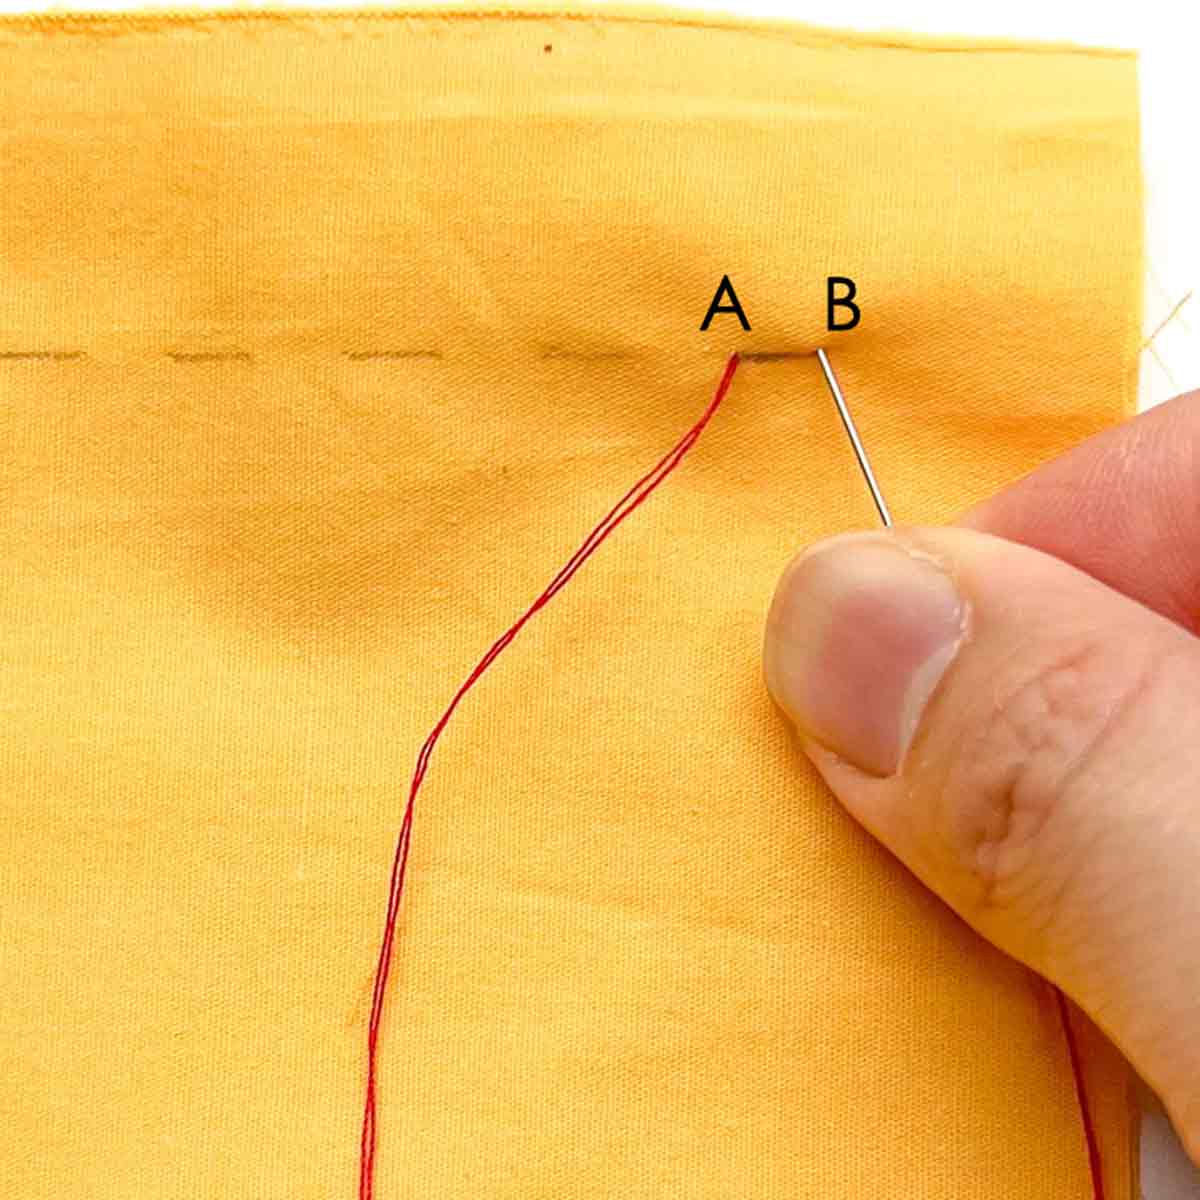 Bring needle a stitch length to the right of (A) and poke through fabric (B).
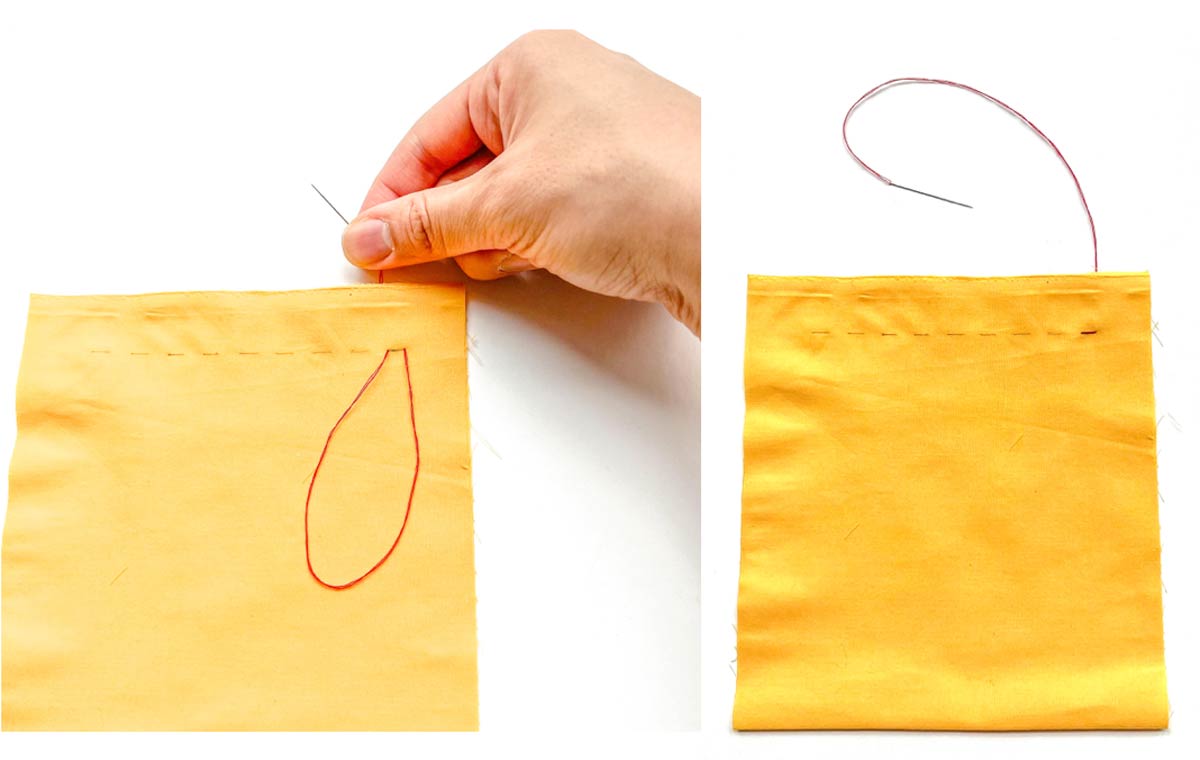 Pull thread through.
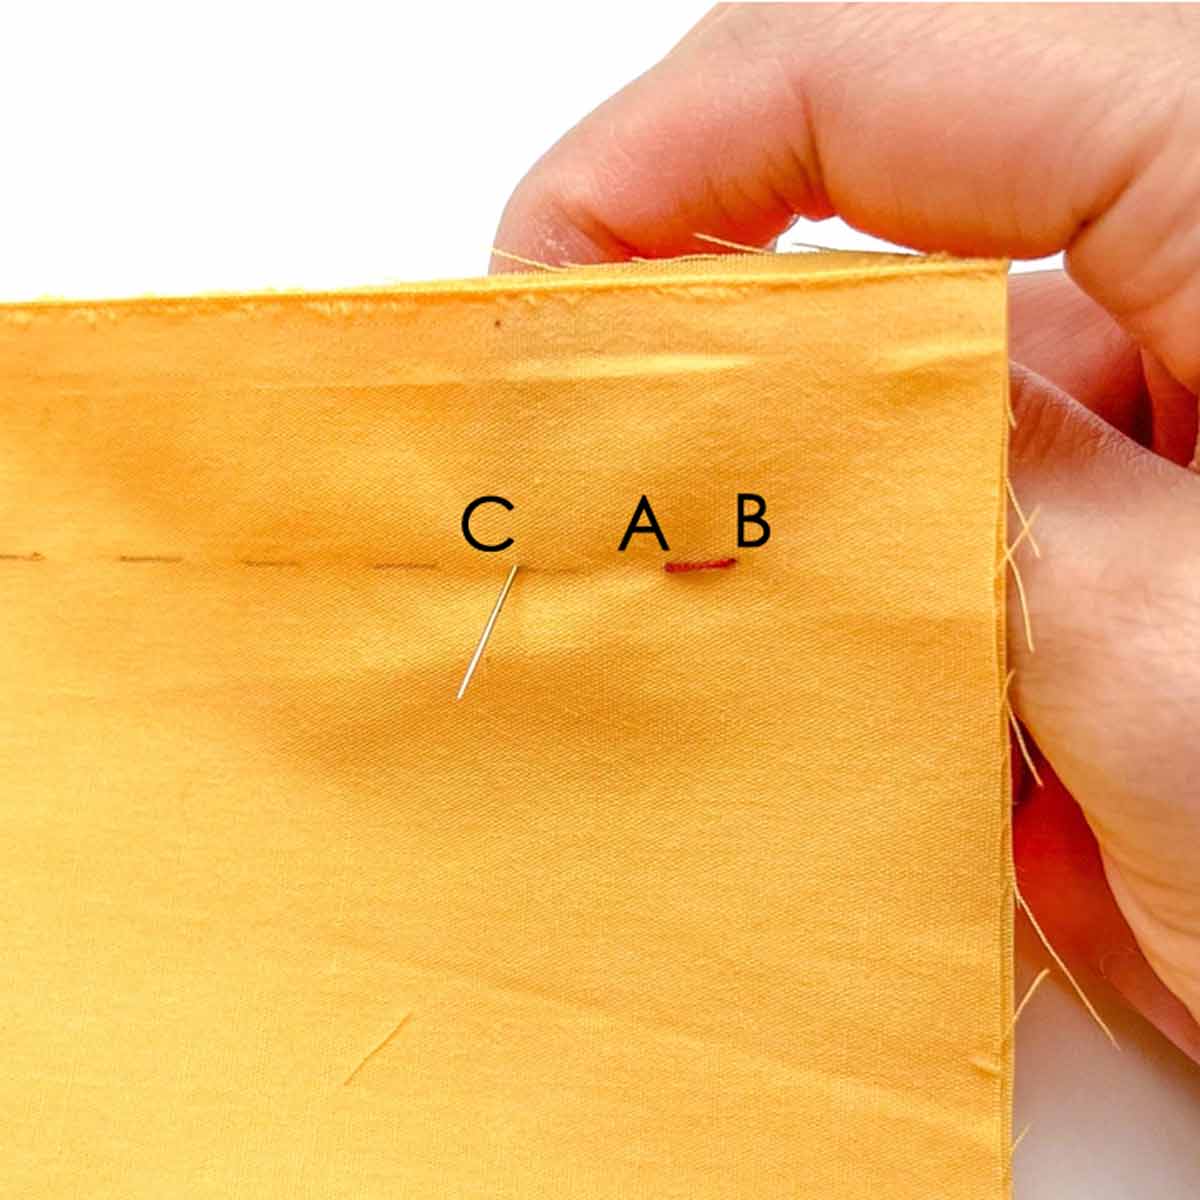 Poke needle out of fabric (C) two stitch lengths away from (A).
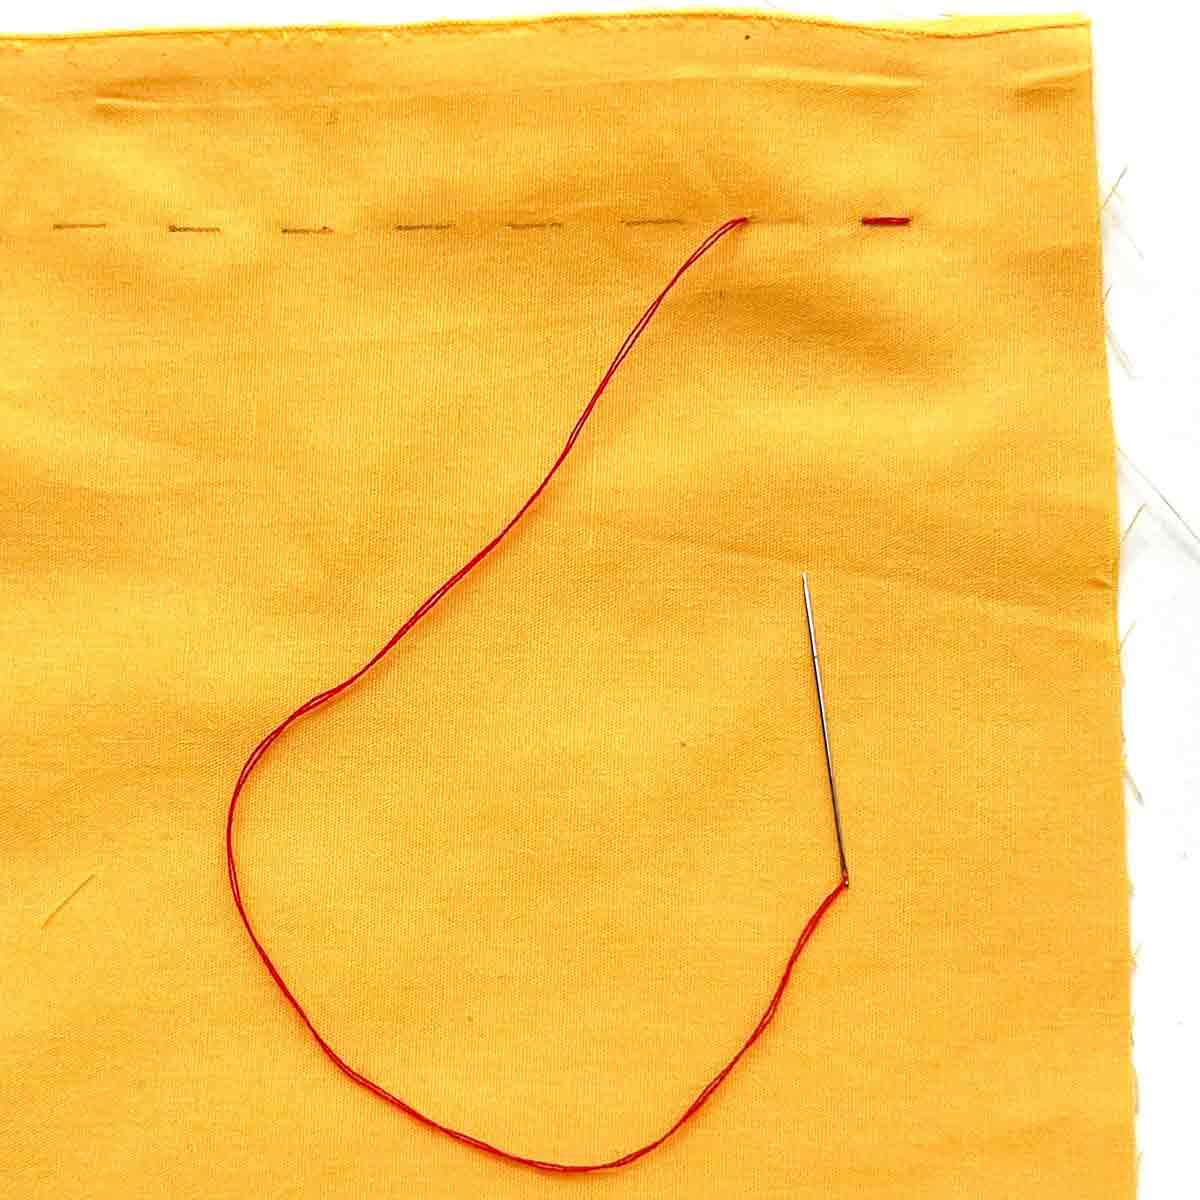 Pull thread through.
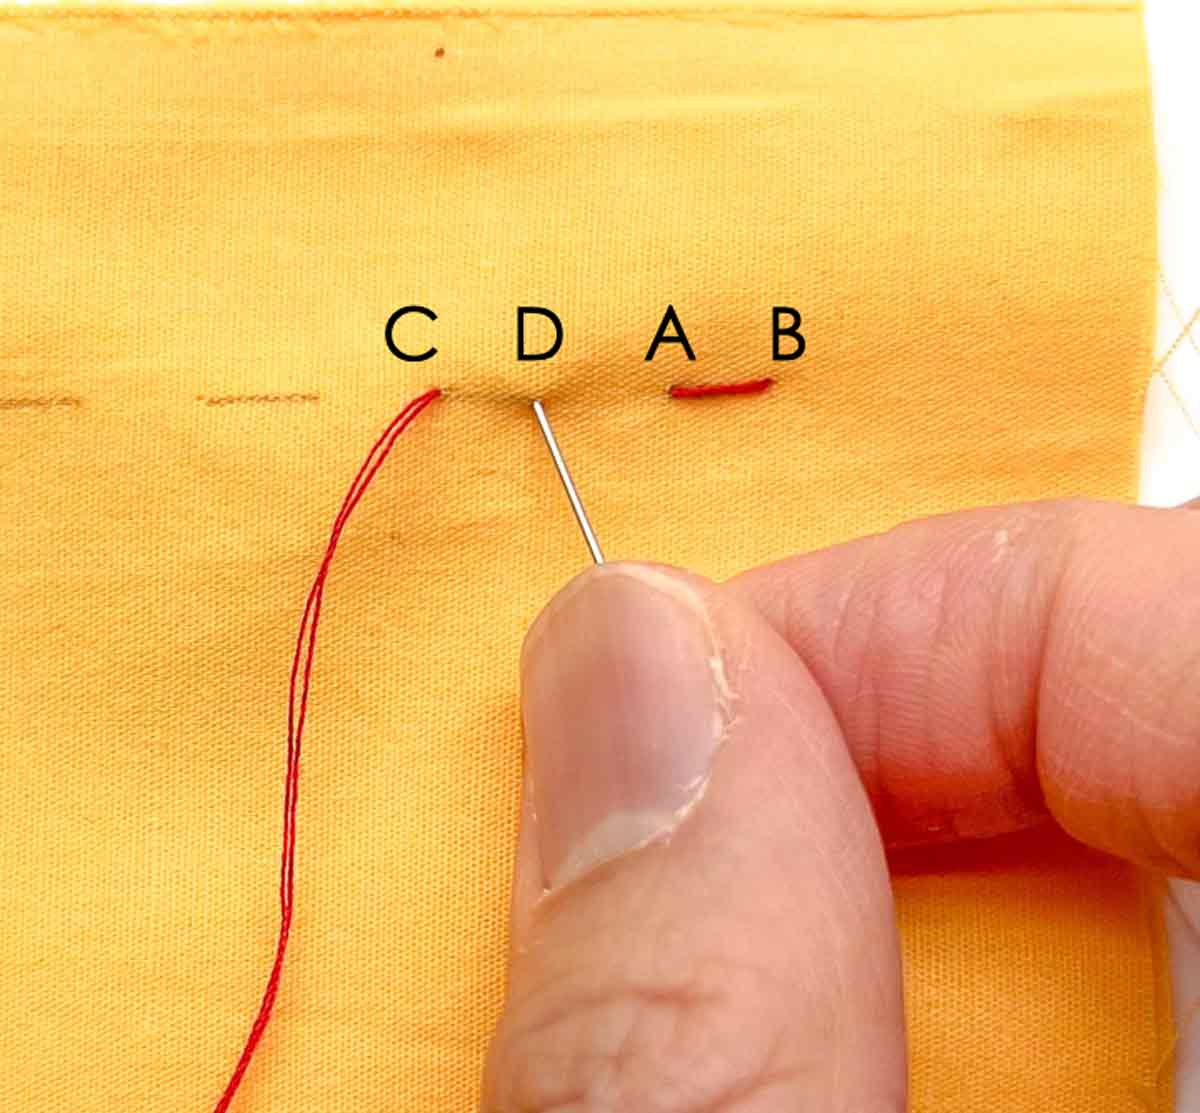 Bring needle a stitch length behind where thread came out and poke it into fabric (D).
 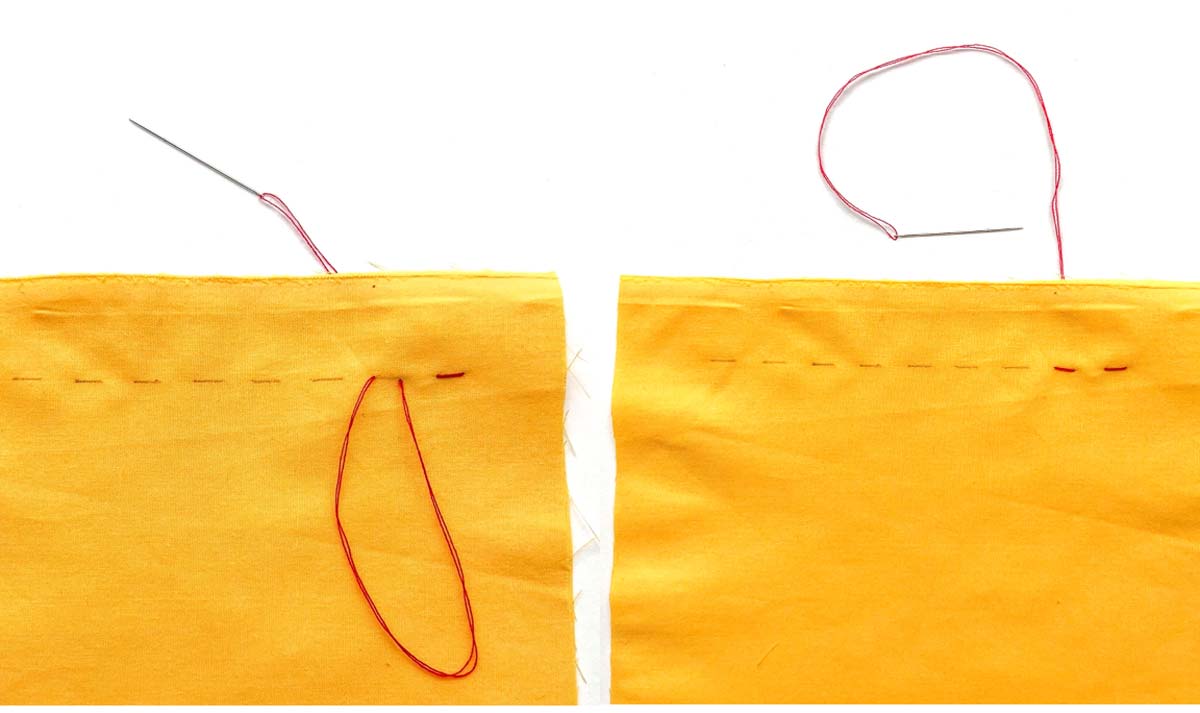 Pull through. You've just created two half backstitches.
 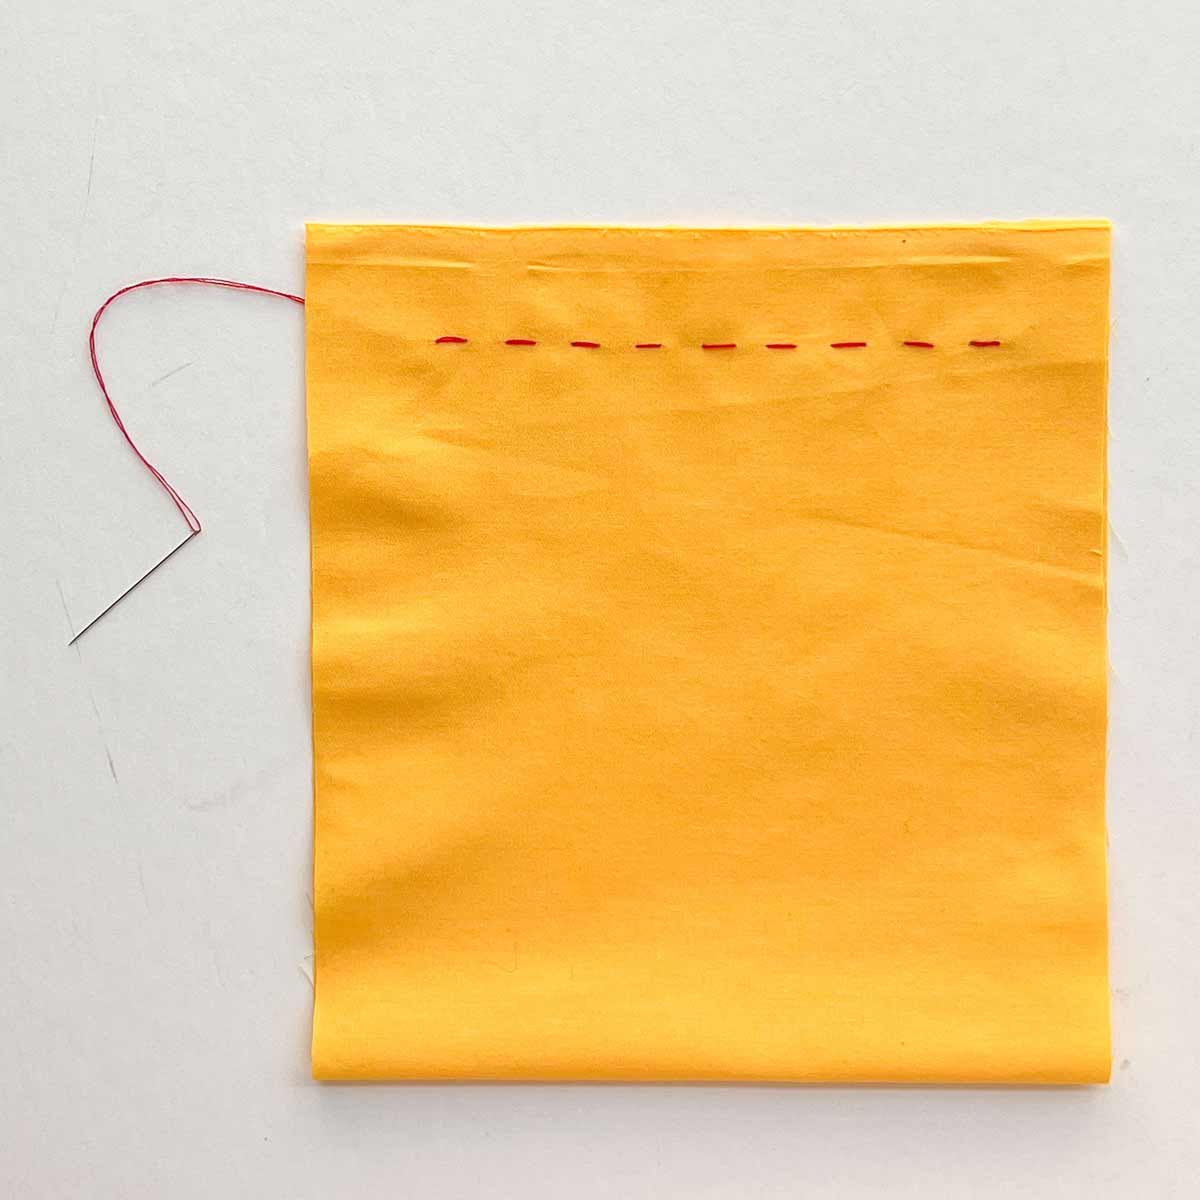 Repeat until you've reached the end.
HALF BACK-STITCH: SEWING METHOD
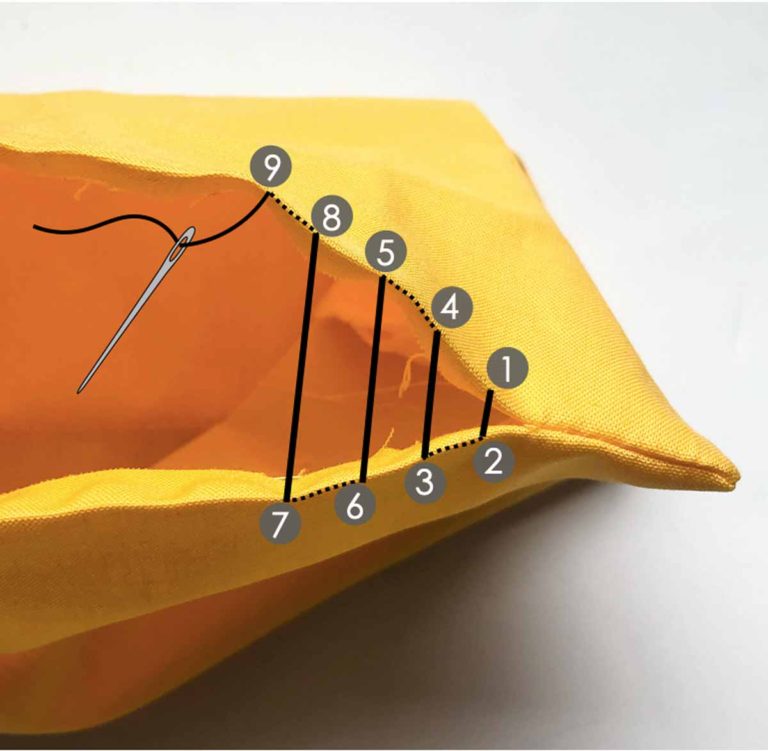
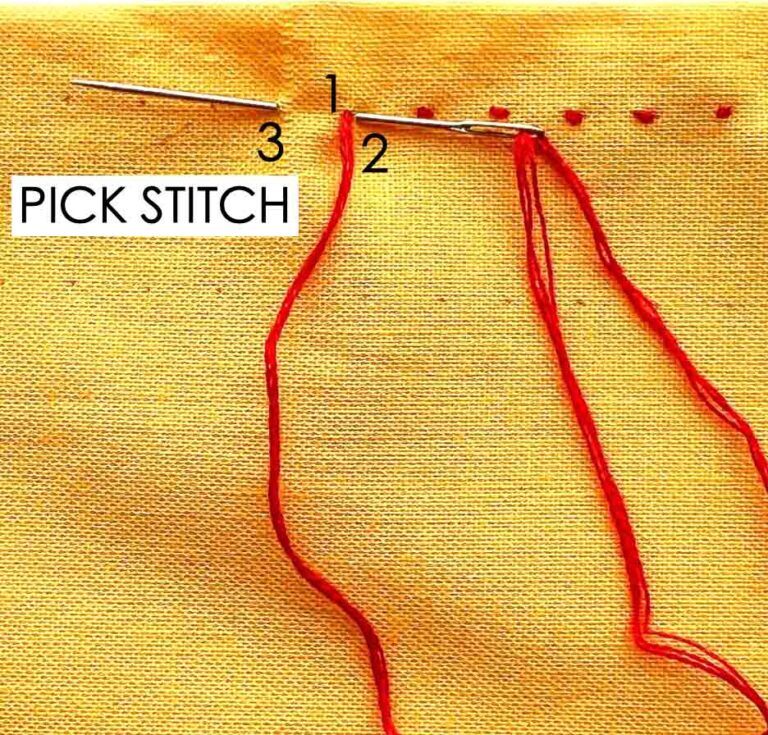
In the sewing method, the top side of fabric faces you at all times. You bring the needle to the back of the fabric and then to the front before pulling the thread through.
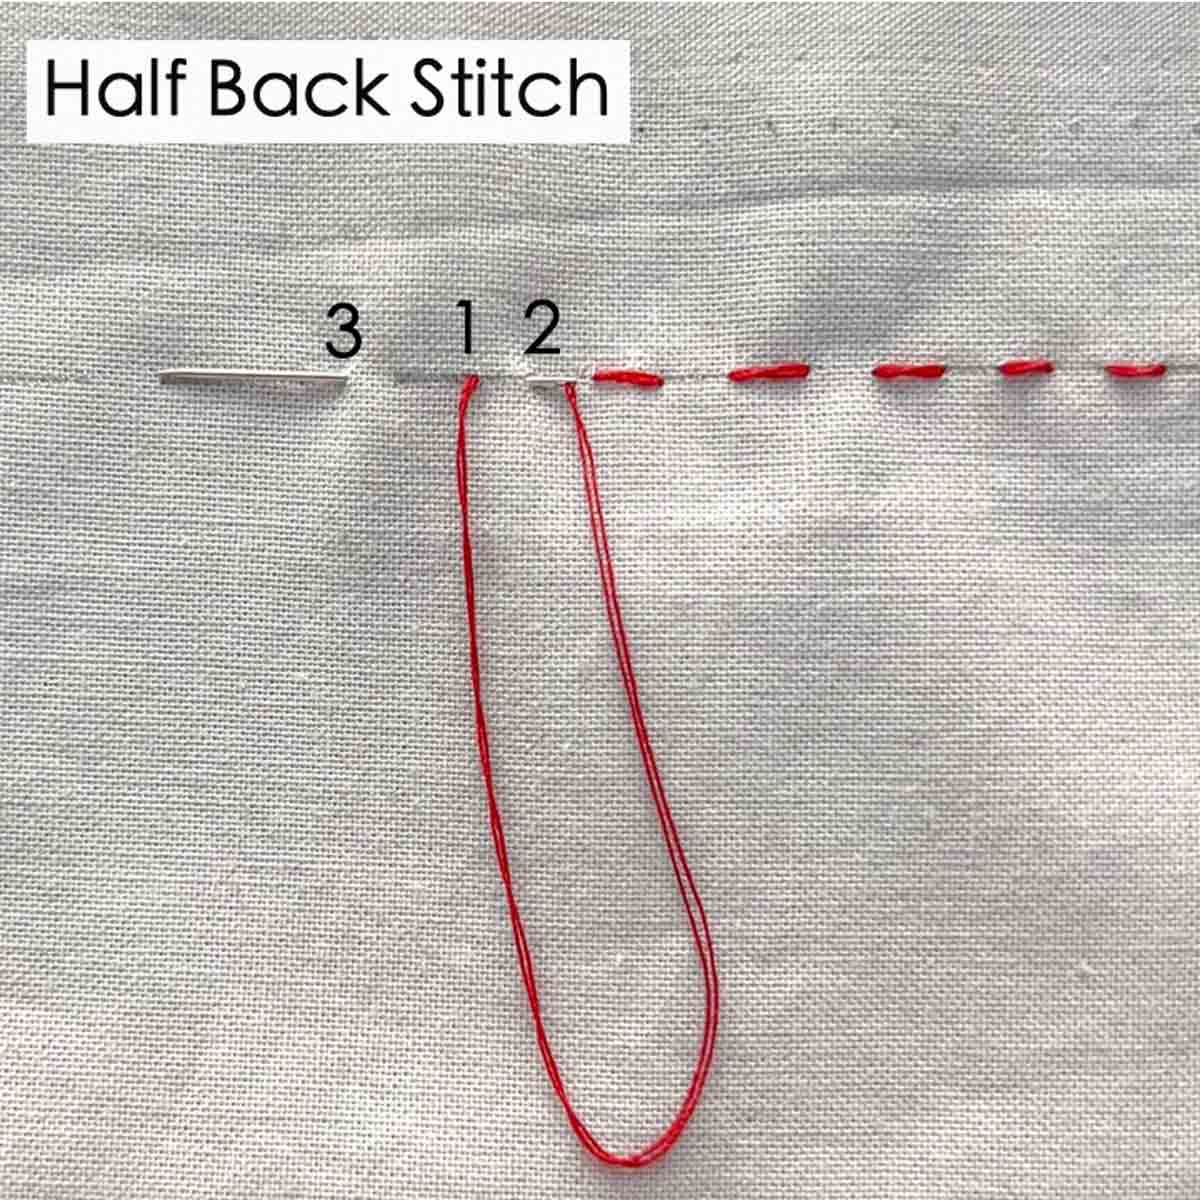
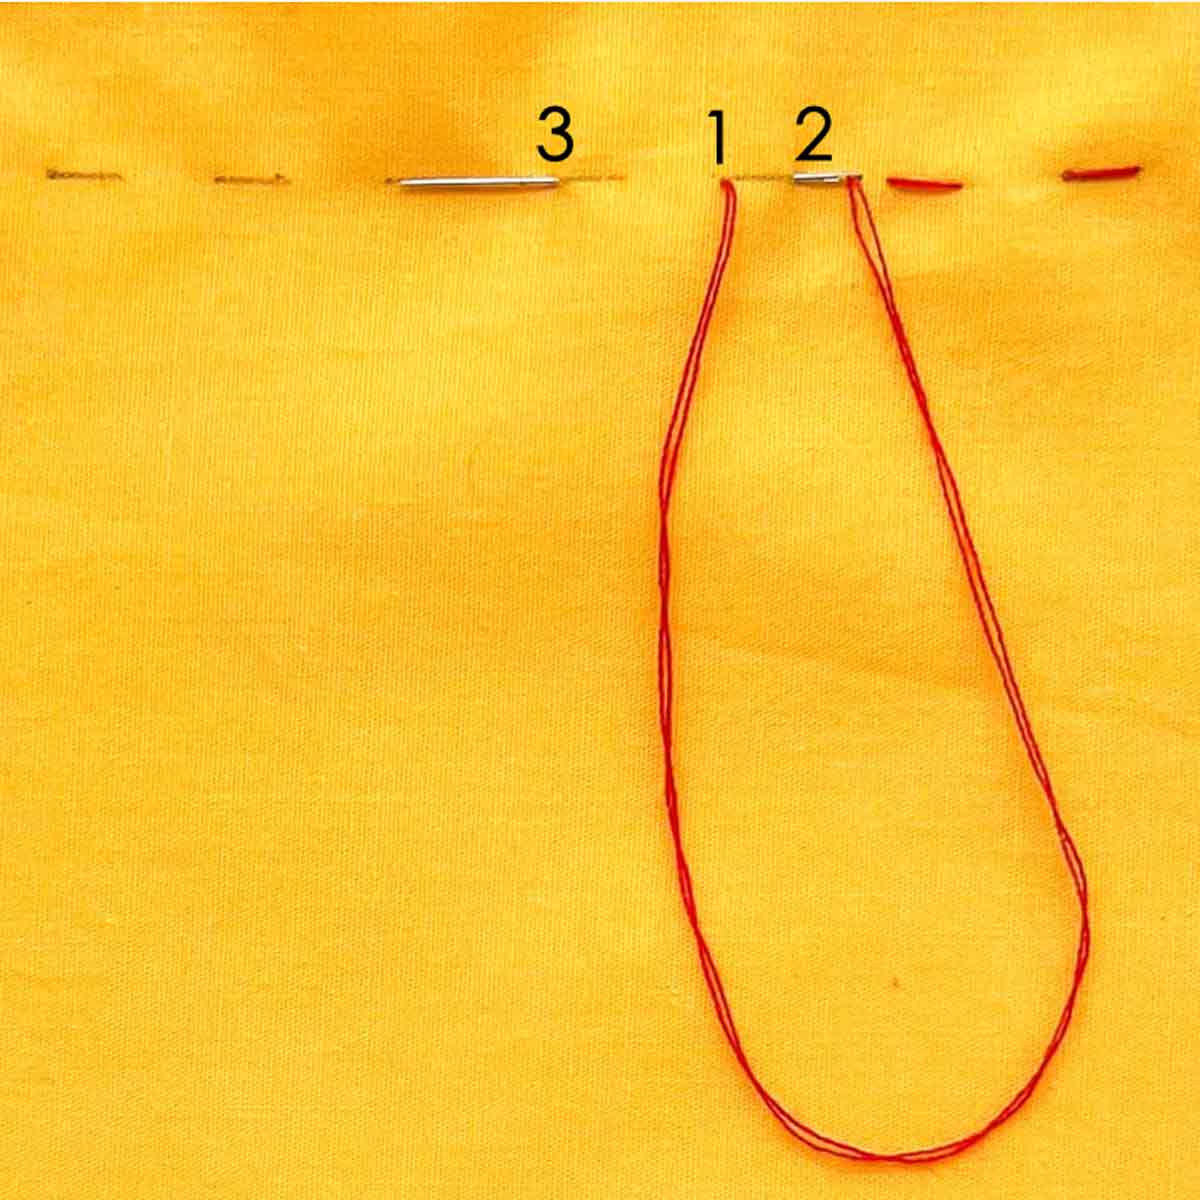 Bring needle (2) a stitch length behind where thread comes out (1). Then bring needle out of fabric (3) two stitch lengths in front of (1).
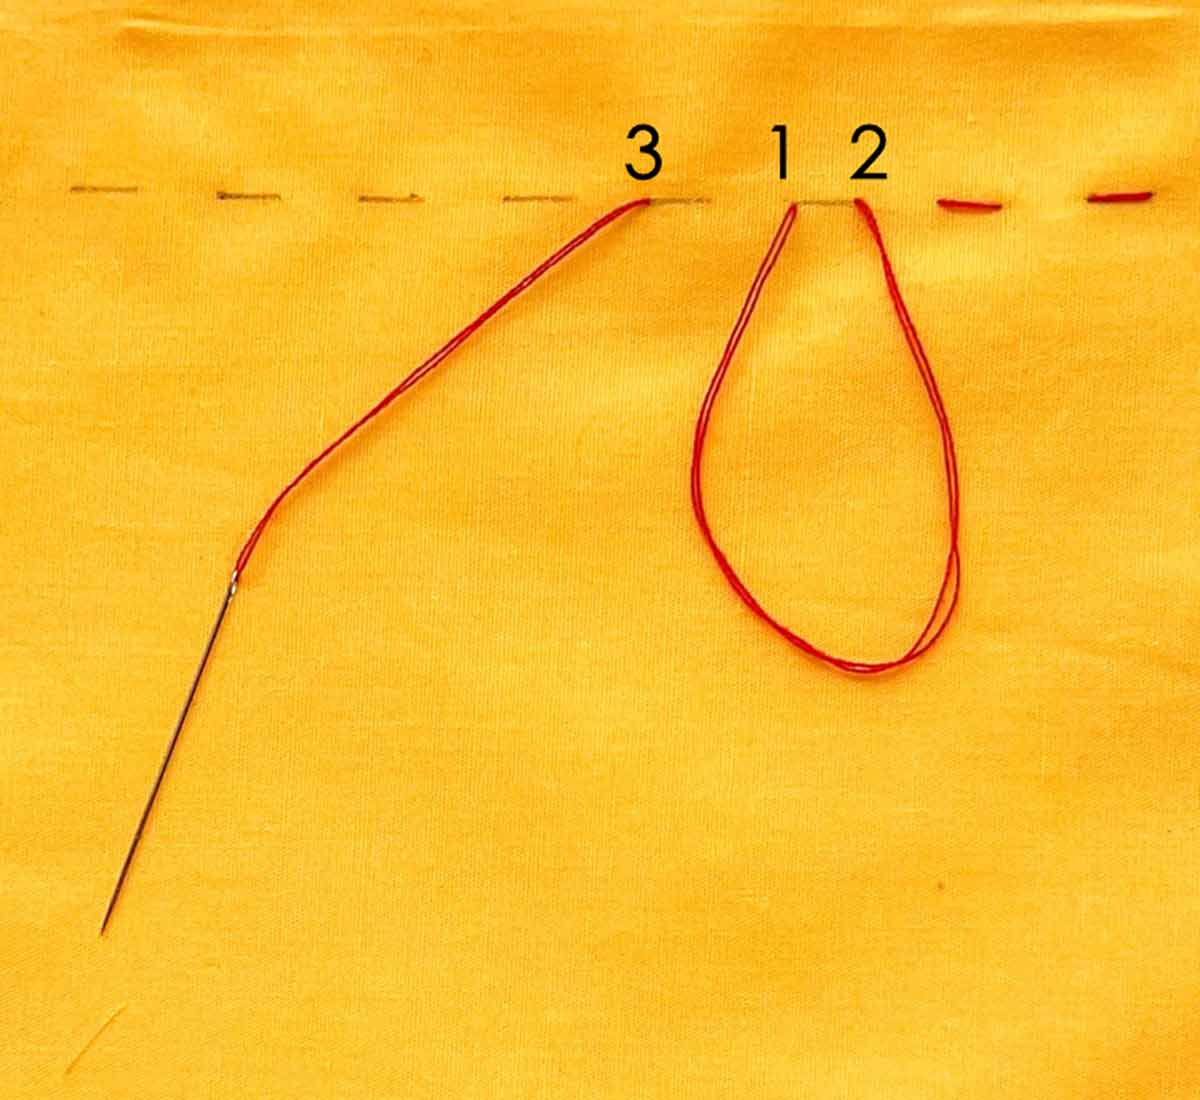 Pull through and you've created a half back stitch.
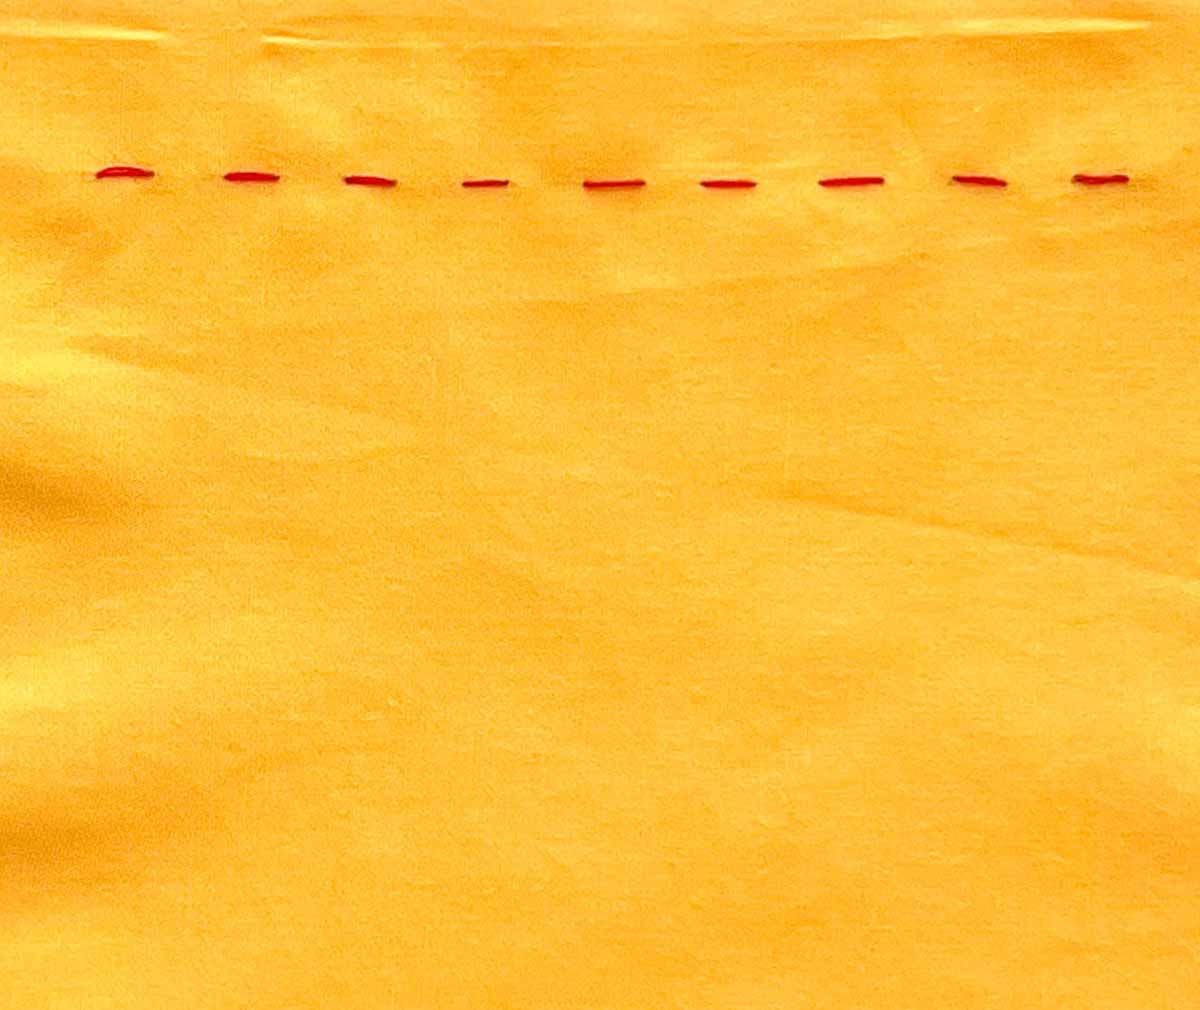 Repeat in this manner until you've reached the end. Half stitch all finisihed!

