INVISIBLE ZIPPER TUTORIAL
Invisible zipper are one of those SUPER INTIMIDATING things before you’ve tried, but SUPER SIMPLE things once you’ve done it. Trust me, it really is very simple.
The beauty of invisible zippers lie in the fact that compared to a regular zipper, they are indeed quite invisible. As a result, they are often used in closures for dresses, pants, skirts, and pockets. Since I don’t sew those things very often, every time I need to install an invisible zipper, I’m scratching my head as to how to align the fabric and zipper. However, I will share with you a simple hack (that I use) to help you sew the zipper in correctly every time.
Simply lay the fabric on the zipper the way it would look when your zipper is installed. Starting from there helps you to visualize how the finished zipper looks, and that will guide you to correctly sew the zipper in place. This is like a work backwards technique. Don’t worry if that sounds confusing, as there are plenty of photos in the tutorial below.
There are also zipper foot specifically for installing invisible zippers. These zipper feet have a trench that perfectly fits the zipper coil so you can easily sew right next to the coil. However, in this tutorial I will use a regular zipper foot because:
1). I don’t own a special invisible zipper foot
2). I think the regular zipper foot does a perfectly good job sewing an invisible zipper
Don’t get me wrong though, the special invisible zipper foot does make the sewing much easier! And you can pick up one around $6 on amazon. However, I don’t sew nearly enough of these zippers to justify the need for one, so for now the regular zipper foot is sufficient! If you have one, definitely put it to good use! Let’s get started.
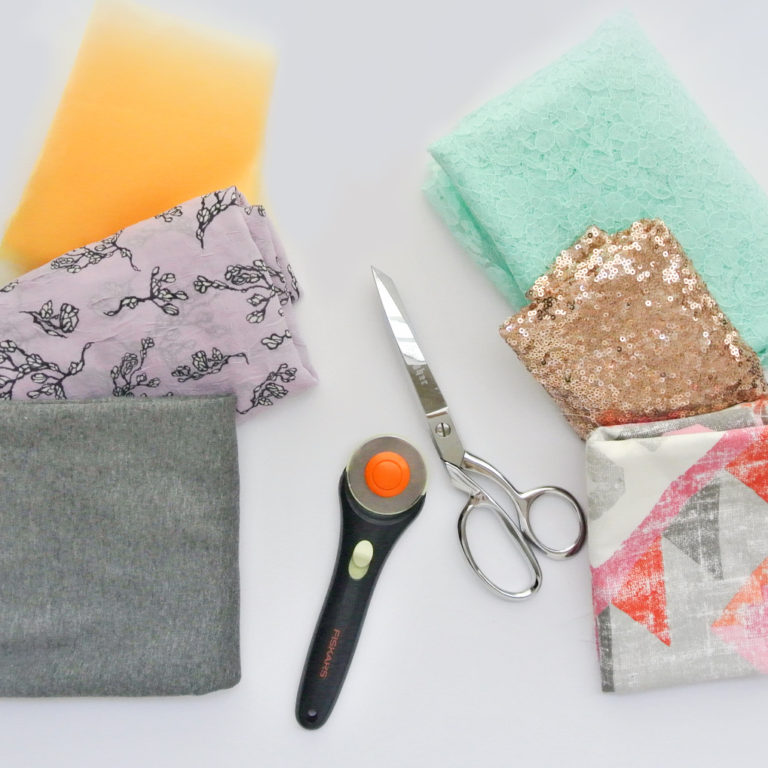
MATERIALS:
Invisible Zipper
Fabric/Garment
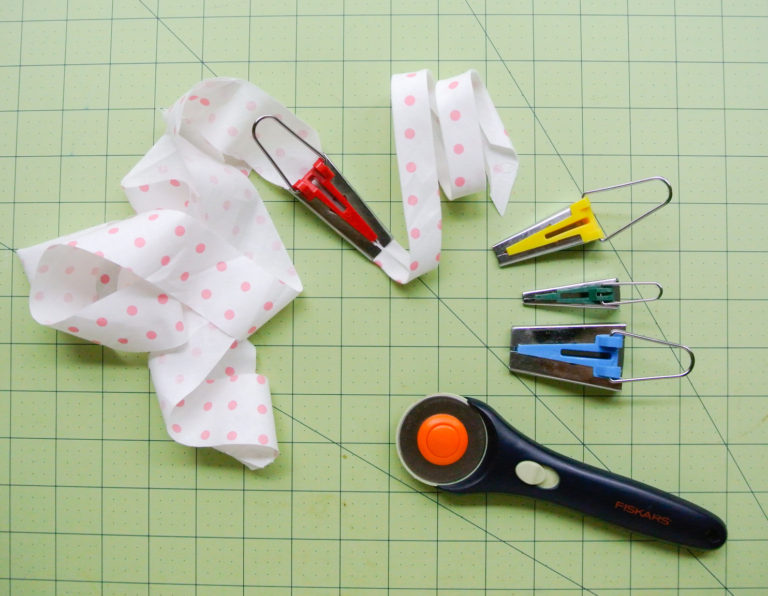
TOOLS:
Sewing Machine
Zipper foot (regular/invisible both works)
Thread Clippers (my favorite one)
Matching Thread
Iron
INSTRUCTIONS:

Before starting to sew the zipper, we need to prep the zipper.
LEFT: Turn the zipper to the wrong side and press open the coils so they lay as flat as possible. This step is ESPECIALLY important if you are using a regular zipper foot. If you have an invisible zipper foot, you could probably get away with not pressing.
RIGHT: Closeup view of pressed versus unpressed coils.

To determine which side to sew zipper to fabric, place zipper and fabric pieces ALL right side facing up (this was the hack I mentioned earlier).

LEFT: Fold seam allowance in on edge of fabric and lay it on top of RIGHT side of zipper.
RIGHT: Open up the zipper and repeat on other side of zipper coil. You are basically laying the fabric on the zipper LIKE what the invisible zipper looks like after it’s sewn in.

LEFT: Pin zipper to fabric with pinheads facing up on zipper side (you will be sewing with zipper side facing up, so this allows for easy removal of pins as you sew).
RIGHT: Sew zipper in. If you are using a regular zipper foot, sew RIGHT NEXT TO the zipper coil (black dotted line)

LEFT: With your fingers, pinch top zipper and fabric together and unfold seam allowance.
RIGHT: This is how the zipper needs to be sewn to the fabric. Right side of zipper faces right side of fabric. See how edge of zipper (away from coils) matches edge of fabric.

LEFT: Pin other side of zipper in and sew
RIGHT: Invisible zipper sewn in, viewed from right side. Note the fabric opening to the right of the zipper. We will close this in the part next.

LEFT: Back side of invisible zipper.
RIGHT: Lay fabric pieces right sides together. Black line indicates where invisible zipper was sewn in (we will call it zipper stitch line). Black dotted line to the RIGHT of zipper stitch line is where we will need to stitch to close fabric opening.

LEFT: With zipper foot, start sewing approximately 1/8”to the left of zipper stitch line (solid black line)
RIGHT: Pull extra length of zipper out and away from sewing space (direction red arrow) when sewing.

LEFT: View of stitch line (that closed fabric opening). You want to get the stitch line as close to the zipper stitch line as possible. But even with 1/8” away it will still look fine from the right side.
RIGHT: Note zipper stitch line and the fabric opening stitch line overlaps.

Turn zipper to right side and give it a good press. See how you can barely see the zipper between the fabrics.


Now don’t tell me that wasn’t super easy! Congratulations! You have just sewed an invisible zipper. Now go find some projects and sew sew sew away that invisible zipper!

So cute