How to Make a Kid’s Hooded Towel with a Store-Bought Bath Towel
Learn how to make this easy lined hooded towel for kids, toddlers, and infants! Make it unique by adding ears or appliqués. Great as baby shower and birthday presents that will last for years to come!
Difficulty: Easy
Time: 30-45 Minutes for basic hooded towel, more if adding ears and other details
I LOVE hooded towels. If you have a toddler who loves to run away as soon as he’s out the shower, you know what I mean. The hooded towel keeps his head warm and doesn’t just fly off as soon as he starts running. Furthermore, kids look SO adorable in them (especially when the hooded towel is made into a little critter) . And the best part? These hooded towels are SO quick and easy to make! I’ve made quite a few of these with different characters for friends and family’s kids. They are just such a practical gift!


What Supplies do I need to make a Hooded Towel?
Basic Materials:
- Basic Hooded Towel Pattern (available in my free resource library) – get the password by subscribing.
- 1 Bath towel – if making infant/toddler size. If making Kid’s size, you will need 2 Bath Towels. I like Threshold Bath Towels from Target. They are nice and thick.
- Fleece/felt (optional) – if wanting to add ears, eyes, and other details
- Matching Thread
Other Materials/Tools
- Sewing Machine
- Serger
- Fine Pins
- Fabric scissors
- Embroidery Floss and sewing needle (optional) – if wanting to add other details
What is the Size of a Baby Hooded Towel?
For the Infant/Toddler size, we will cut a bath towel (approximately 30” x 54”) in half lengthwise. Half of it is used to make the hood portion, and the other half is for the body. The body part measures 30” wide and 26” long. The finished hood measures 13”wide and 7” tall.
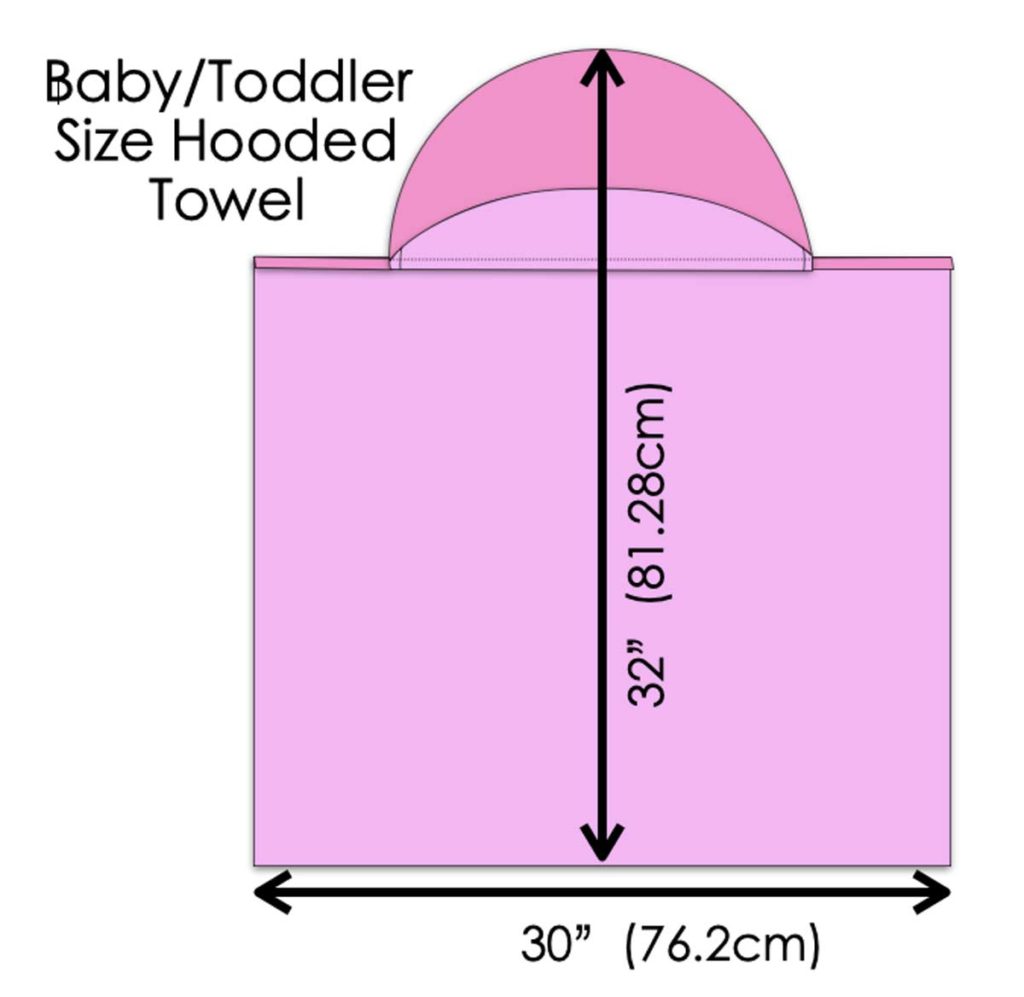
The diagram above shows finished measurements. This size actually fits a toddler the best, as my toddler has had one since birth and he looked like he was swimming in it during those early infant days. However, given how quickly they grow, I think this size is good for babies just because it will last them longer.
What is the Size of a Kid Hooded Towel?
For the Kid Size Hooded towel, the body part is made from an entire bath towel (approximately 30” x 54). The hood part measures 13” wide and 7” tall.
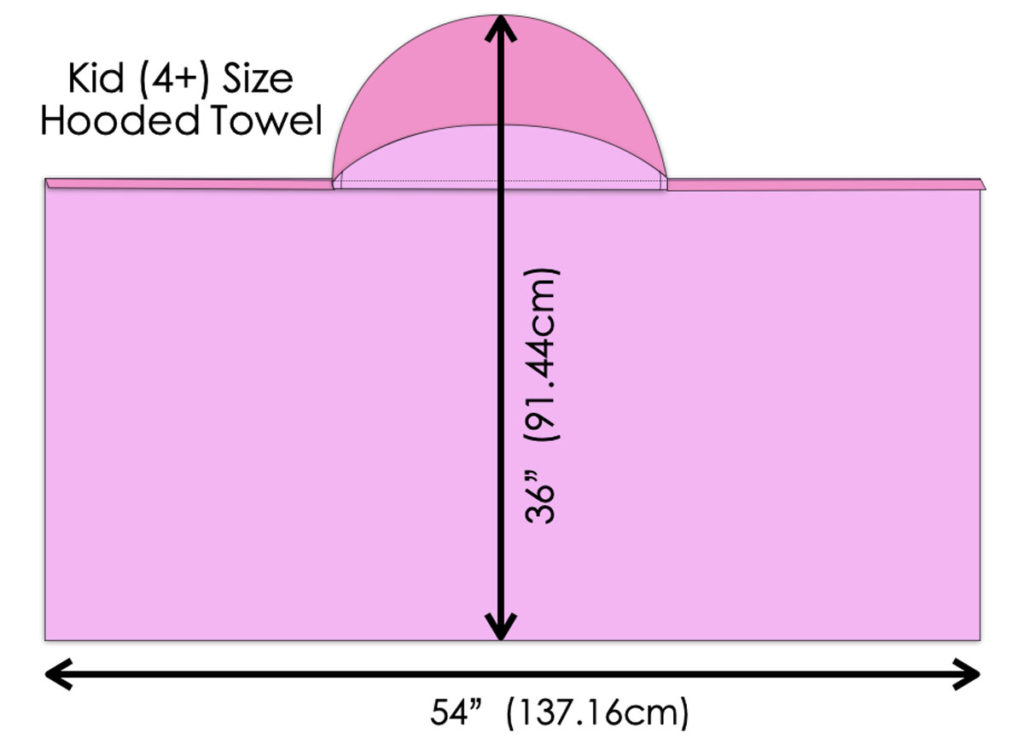
The above diagram shows finished measurements. This is a good size for children 4 and up and will last them for many years to come!
Do I need to Pre-wash the Towels Prior to Sewing?
You do not need to pre-wash the towels prior to sewing. If you are planning to give these hooded towel away as gifts, I definitely don’t recommend washing them first. Otherwise the towels won’t look “new” anymore.
However, you can pre-wash the hooded towels prior to using. Depending on the brand and type of towel you use, some of them may leave a furry residue on the body initially after use. I’ve found this to be especially true for dark towels. Within one or two washes, the towel should stop leaving this residue.
How Do You make a Lined Hooded Towel?
The pattern for this basic hooded towel is partially self-lined (self-lined means that it’s lined with the same fabric) on the front side of the hood. You can definitely line the back of the hood if you like. However, I don’t find this to be necessary if you choose thick and good quality bath towels. The thickness of the towel itself is sufficient to dry wet heads and will also be super comfy.
How do You Make a Hooded Towel?
For this tutorial, we will be making a baby/toddler sized hooded towel.
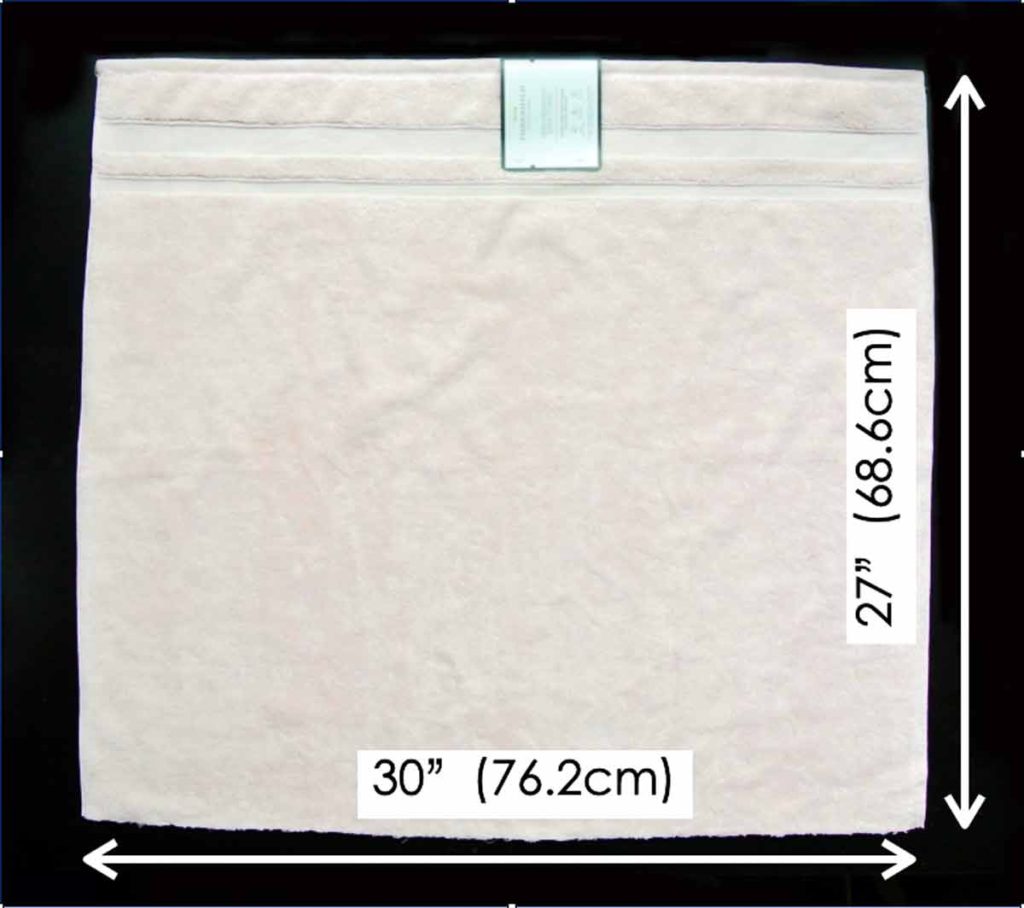
First, cut the bath towel in half lengthwise. You will end up getting two pieces that measure approximately 30″ (76.2cm) wide and 27″ (68.6cm) length.
How to Cut Hooded Towel Pattern Pieces
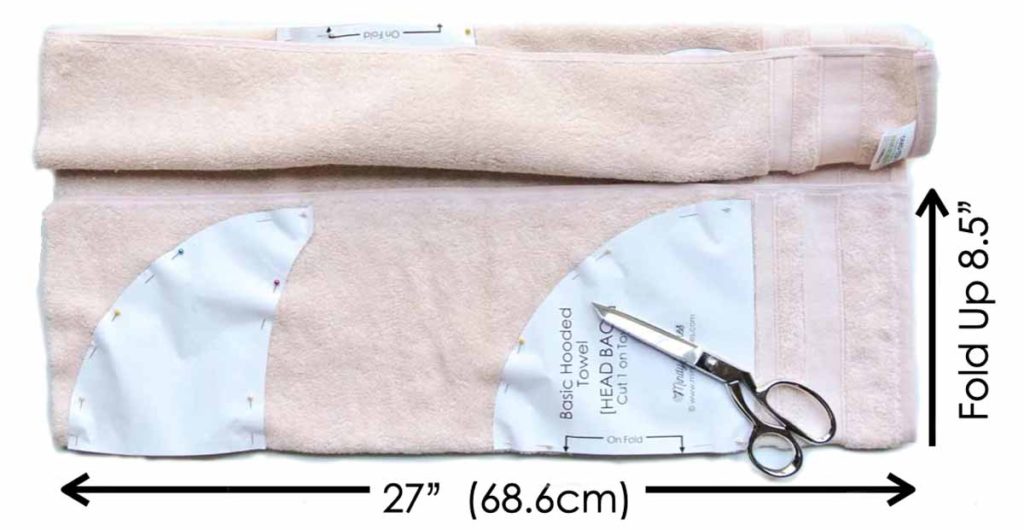
Take the half piece of bath towel and lay it so the 27″ length edge is facing you. Fold bottom side of towel 10″ up and pin HEAD BACK pattern and wrong side of HEAD FRONT pattern on fold.
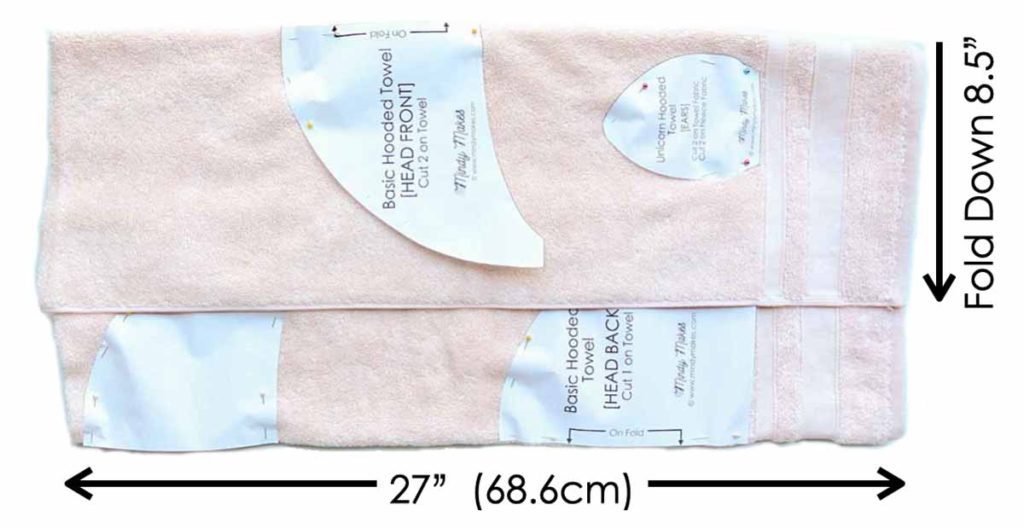
Fold top side of bath towel down 10″ and place HEAD FRONT pattern on fold. Make sure HEAD FRONT pattern on top side of towel doesn’t touch/overlap the pattern pieces on the bottom.
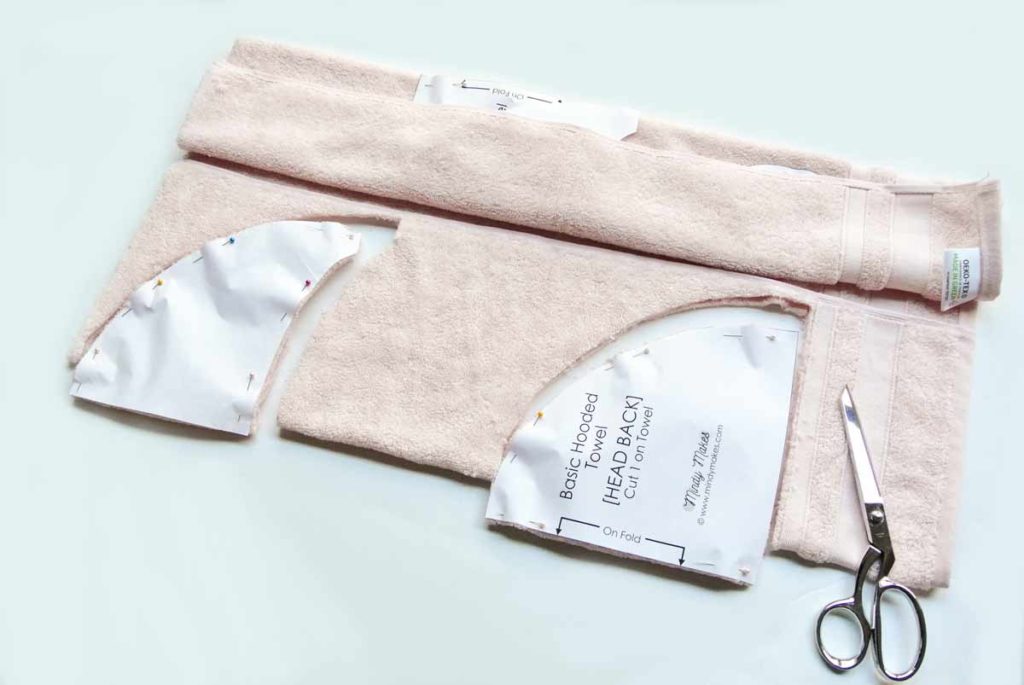
Cut out pattern pieces on bottom half of towel
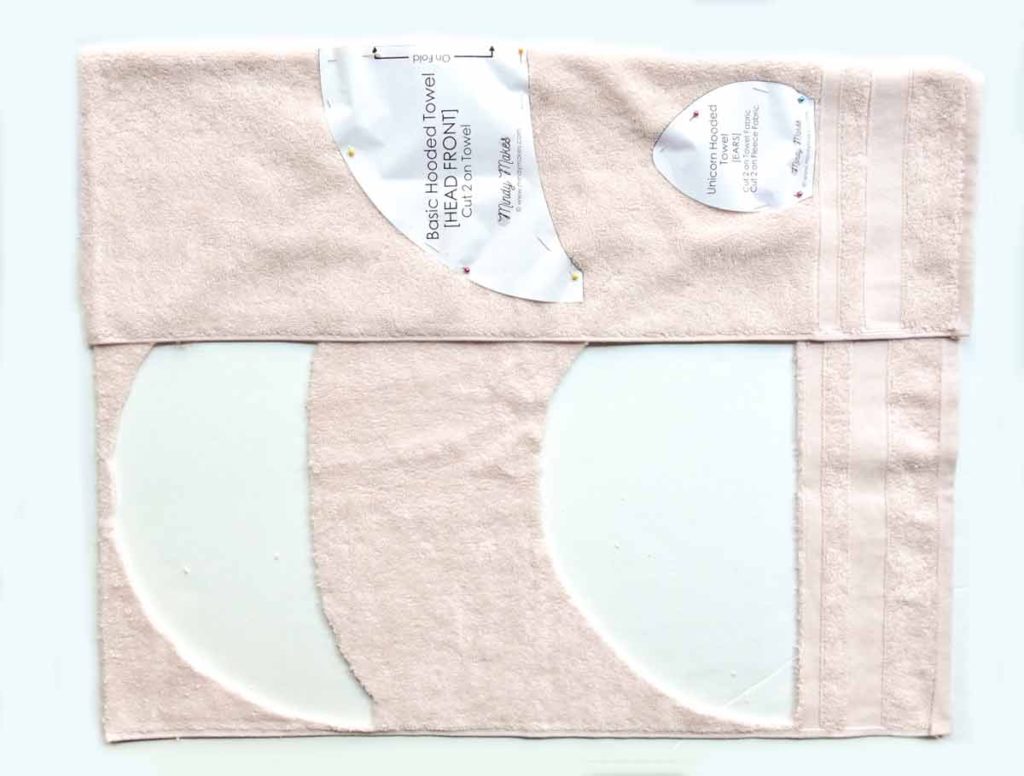
Cut out HEAD FRONT pattern piece (and EARS pattern, if making) on fold.
Serge around edge of all pattern pieces. Alternatively, you can zig-zag stitch around the edges.
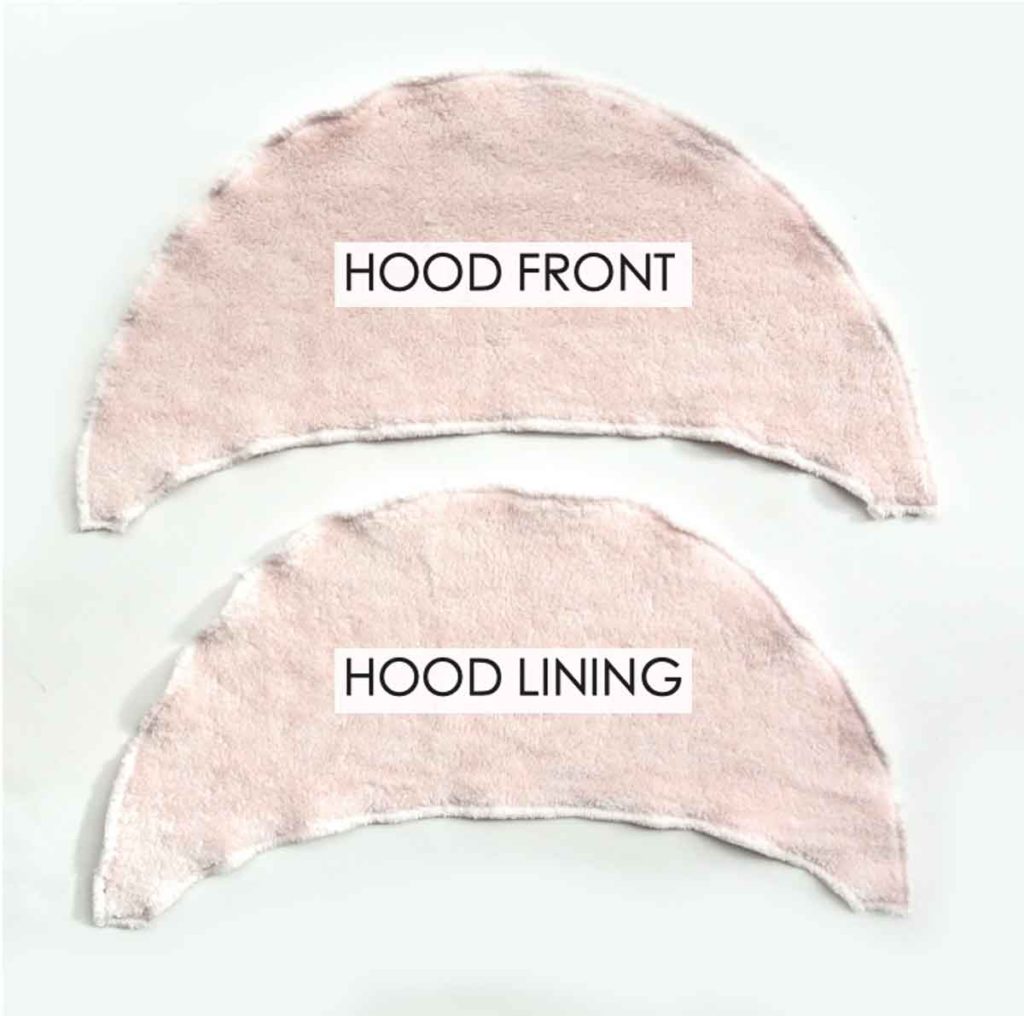
For the HOOD FRONT pattern piece, you will have cut out two of the exact same pattern pieces on the bath towel. One piece will be HOOD FRONT and the other piece will be HOOD LINING.
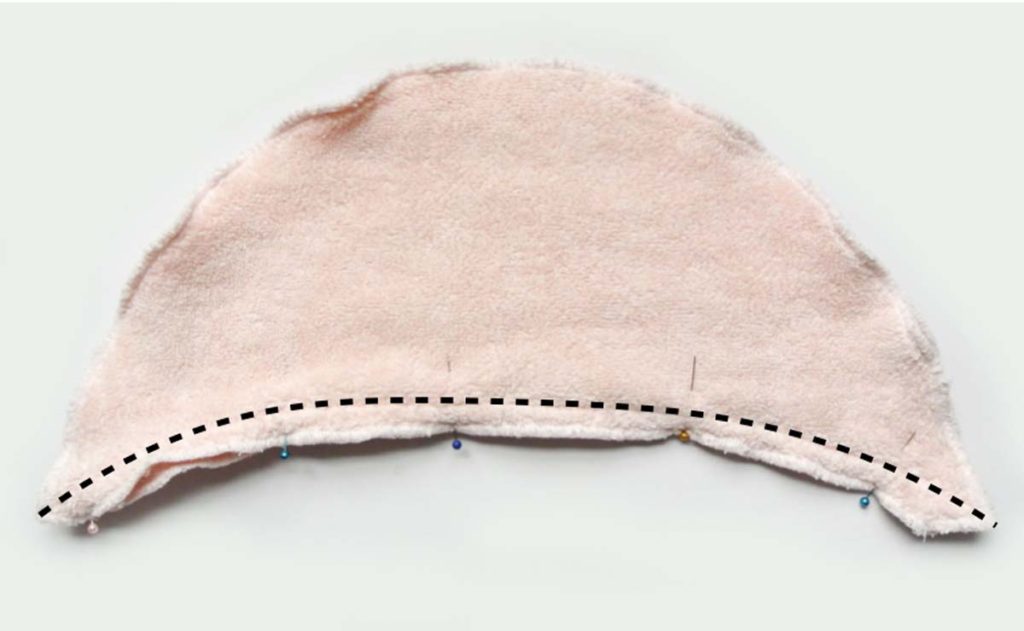
Stitch HOOD FRONT and HOOD LINING pieces right sides together at 1/2″ seam allowance (indicated by black dotted line).
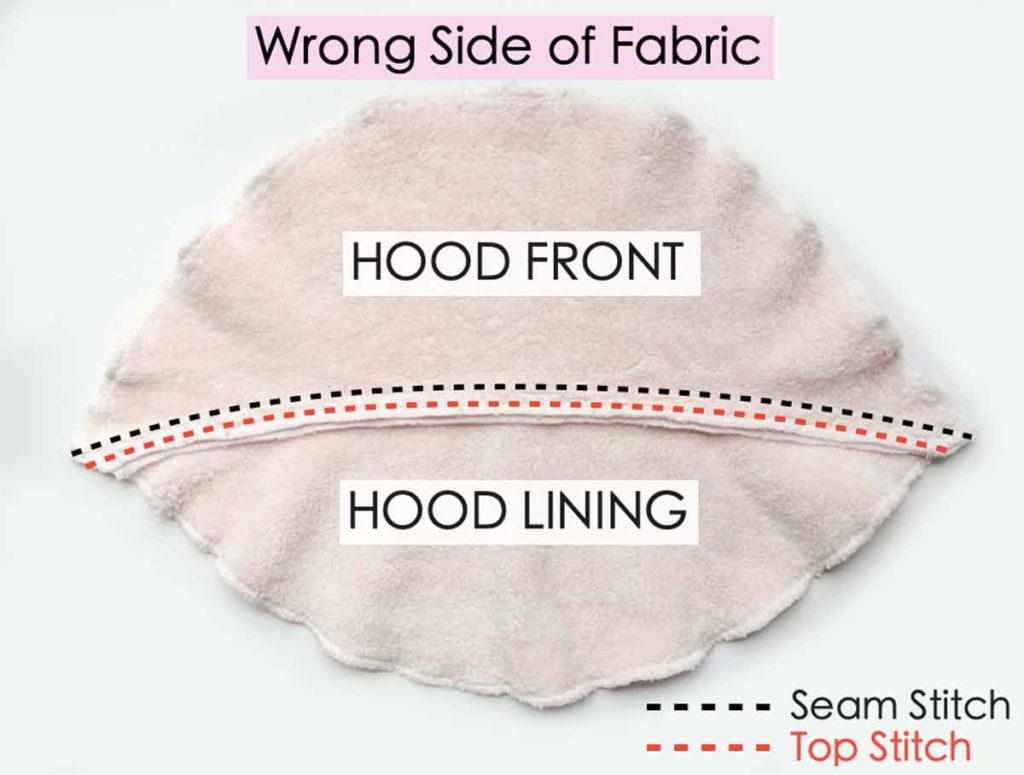
Pull HOOD LINING piece down from behind and make sure the seam allowances are also pointing down. Stitch seam allowances down (red dotted line) to HOOD LINING. This stitch is also called a Top Stitch. The Top stitch sews the seam allowance to the lining to prevent the seam allowance from rolling to the HOOD FRONT during regular use of hooded towel.
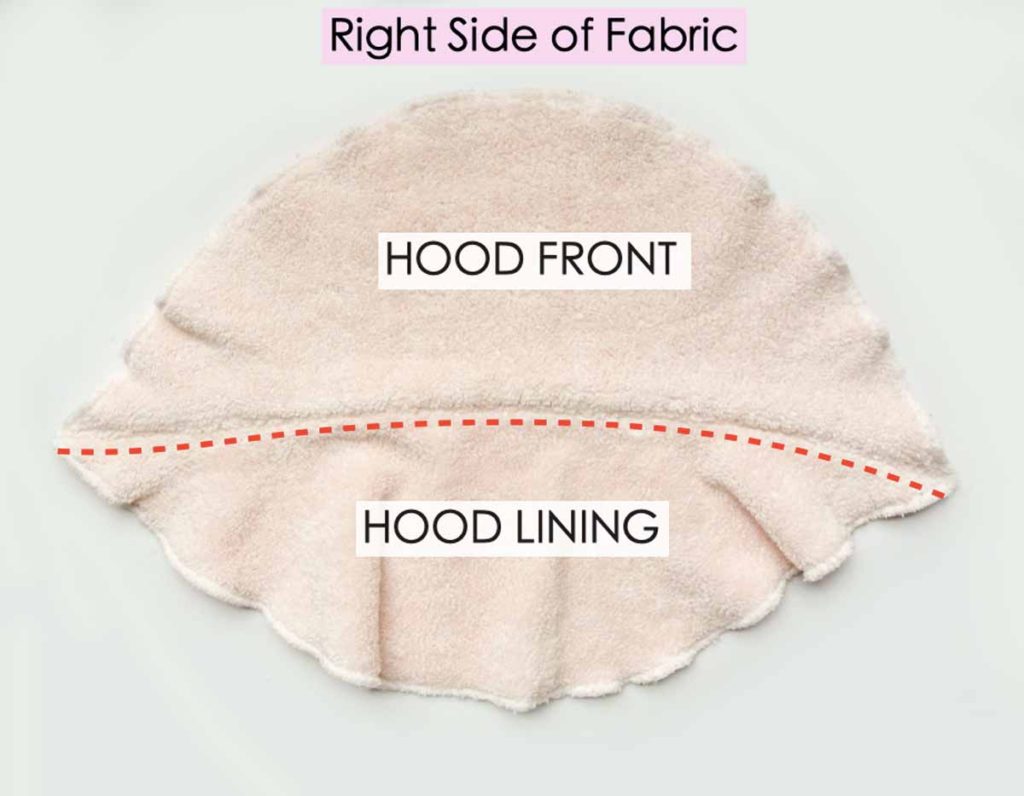
Flip to the right side of the fabric. Red dotted line indicates where the Top stitch was sewn.
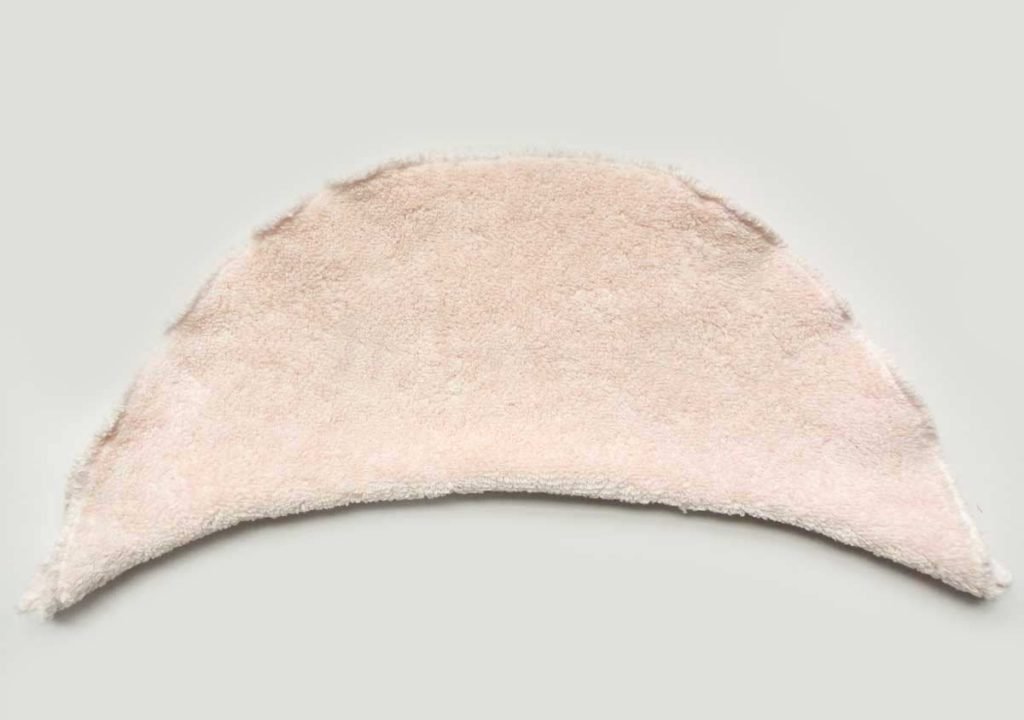
Turn HOOD LINING to the back of HOOD FRONT and baste together around the top curve.
How to Add Ears to a Hooded Towel
At this point, if you want to add ears to the hooded towel to create an animal or a character, this is the step you would do it. If you want to add other details such as eyes, nose, whiskers, etc, make sure to have it done already.
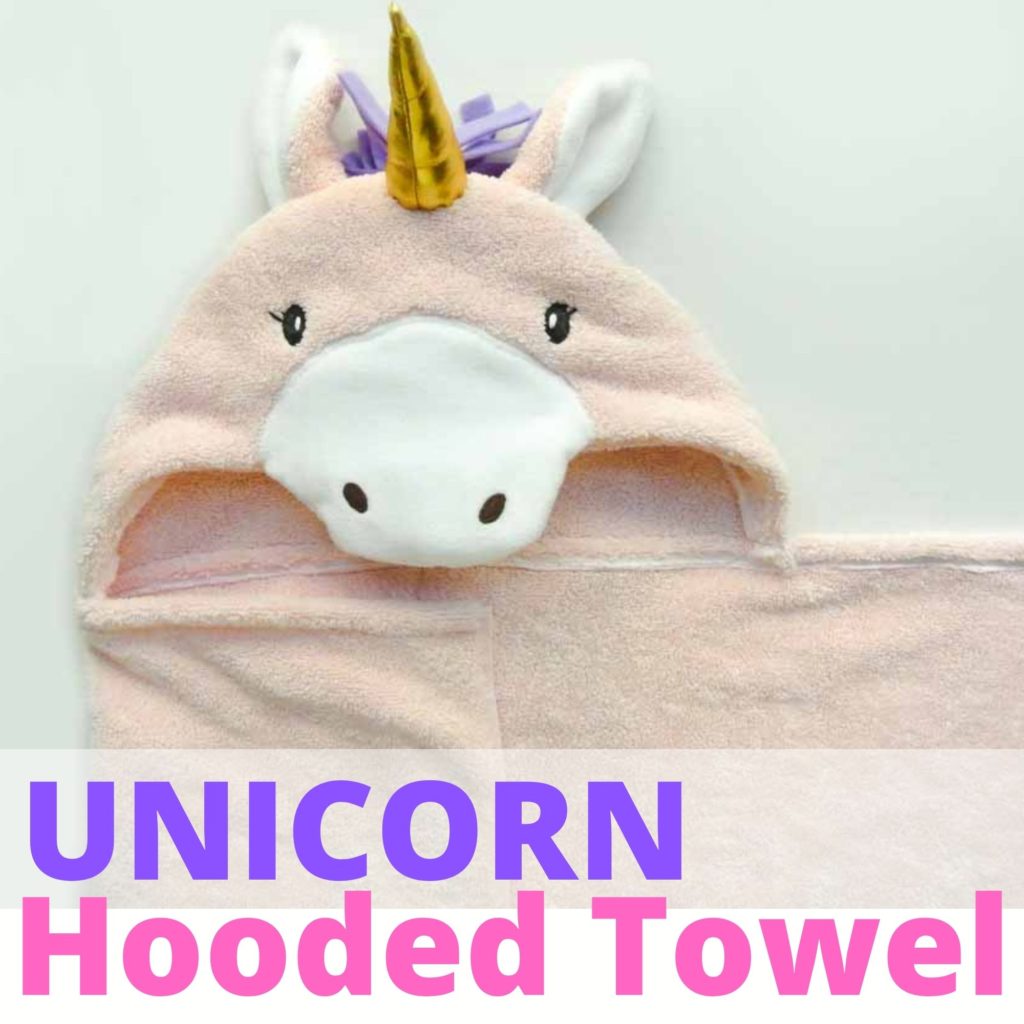
For a complete tutorial of the hooded towel shown in this tutorial, please check out How to Make a DIY Unicorn Hooded Towel
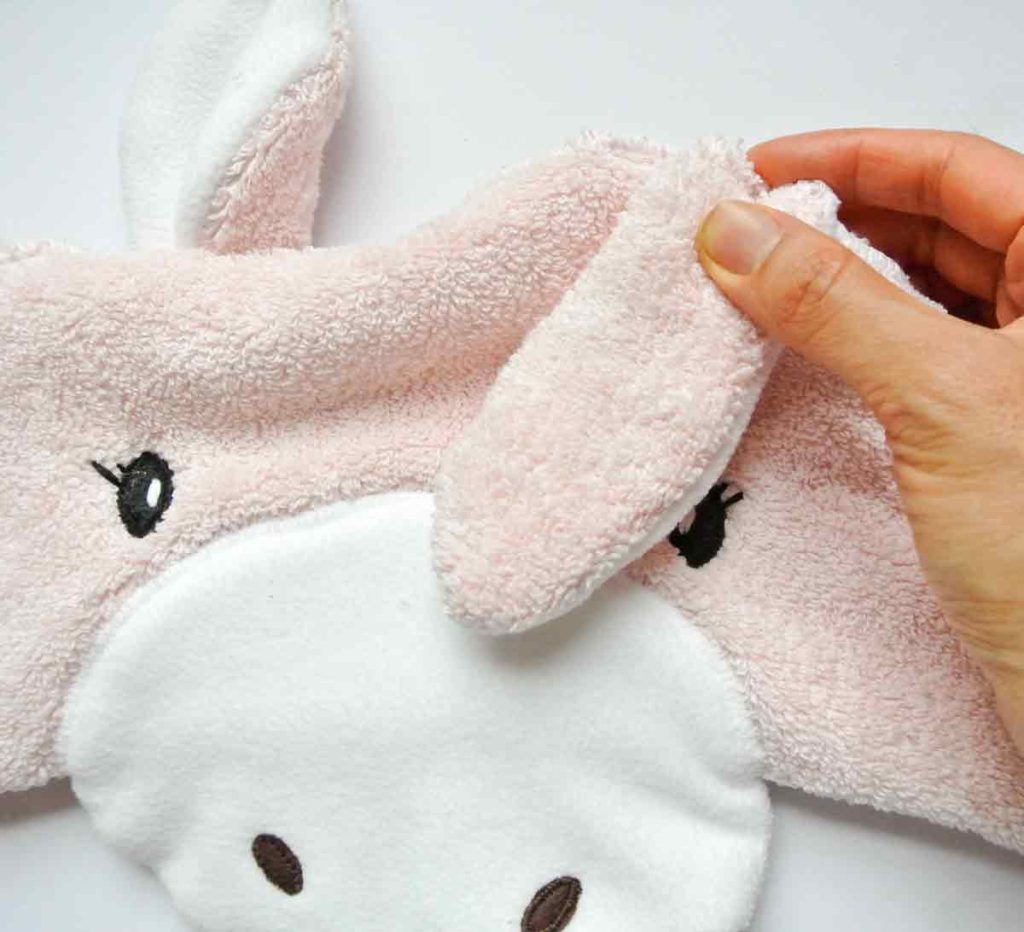
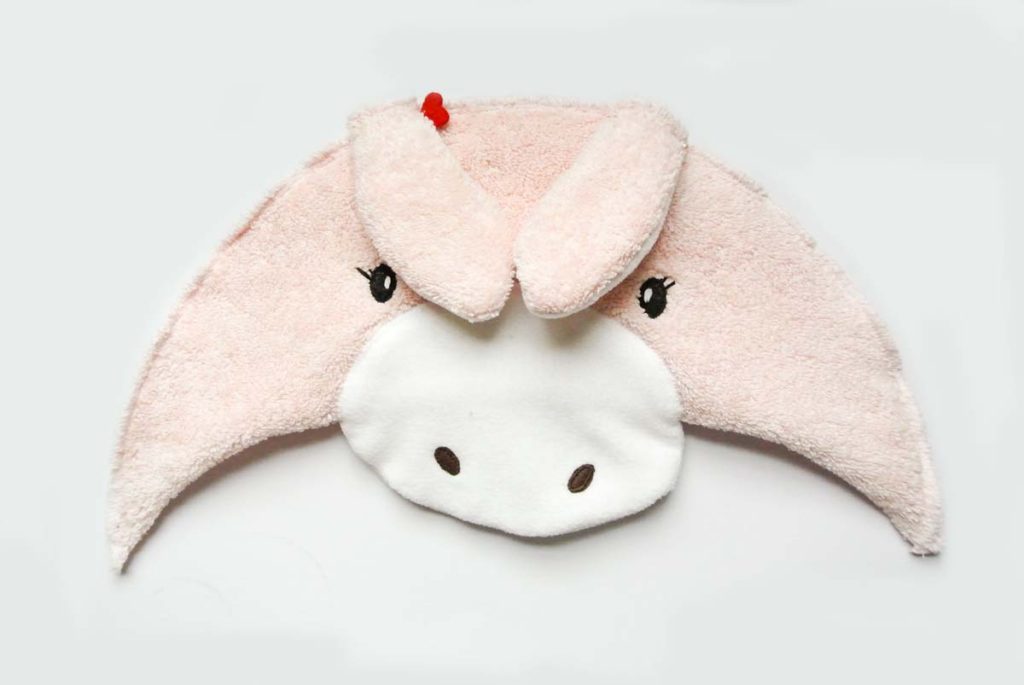
Pin ears to front of the hood, right sides together.
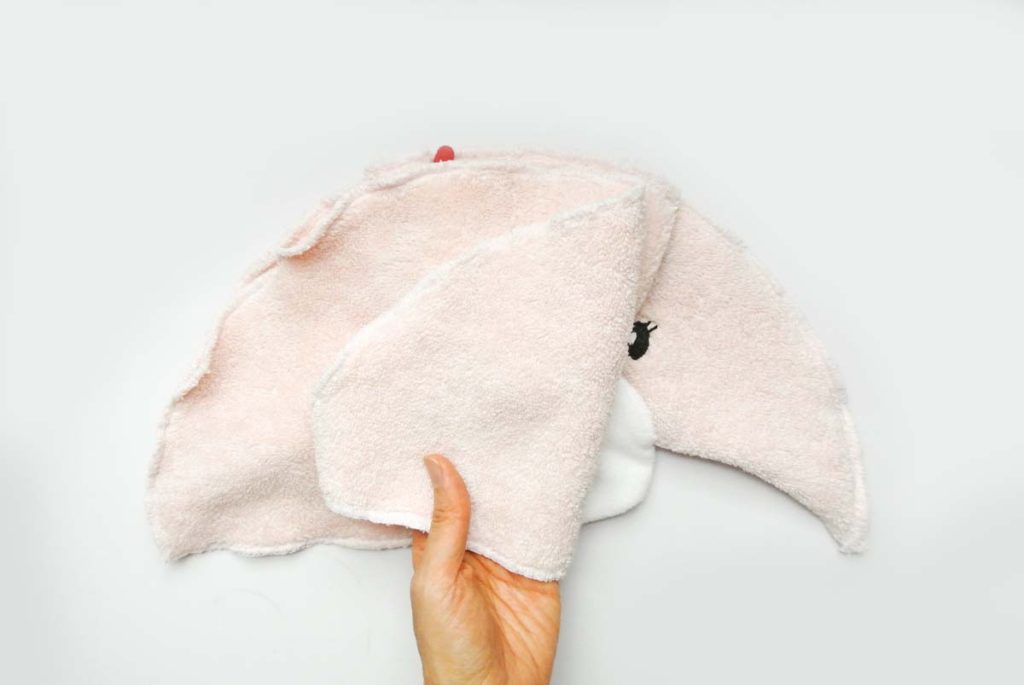
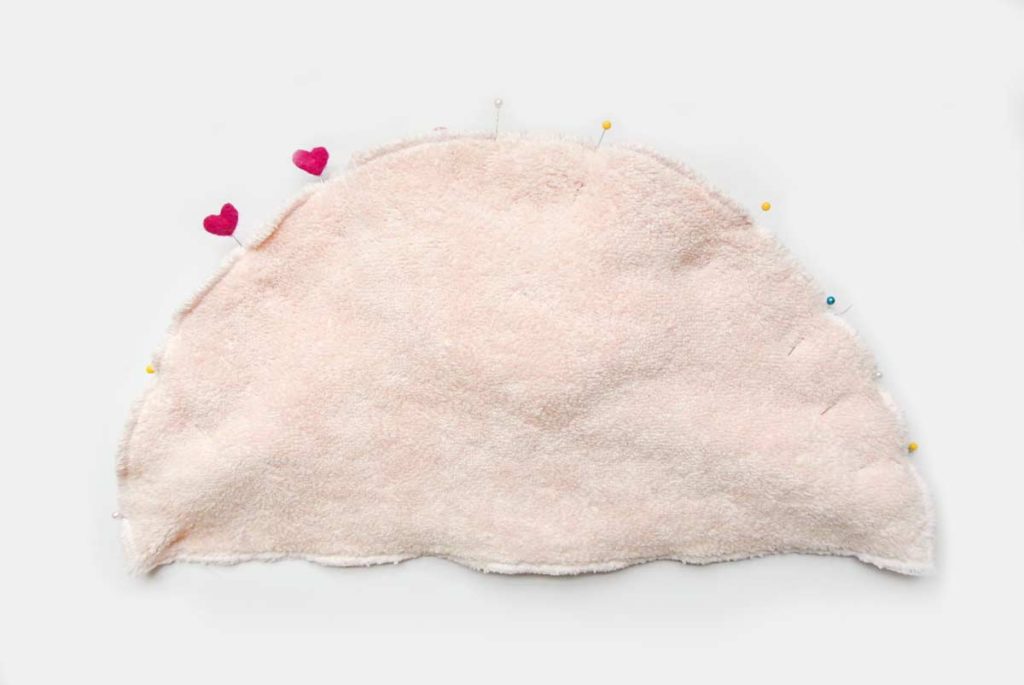
Place HOOD BACK piece over ears and [HOOD FRONT + LINING] piece. and pin together.
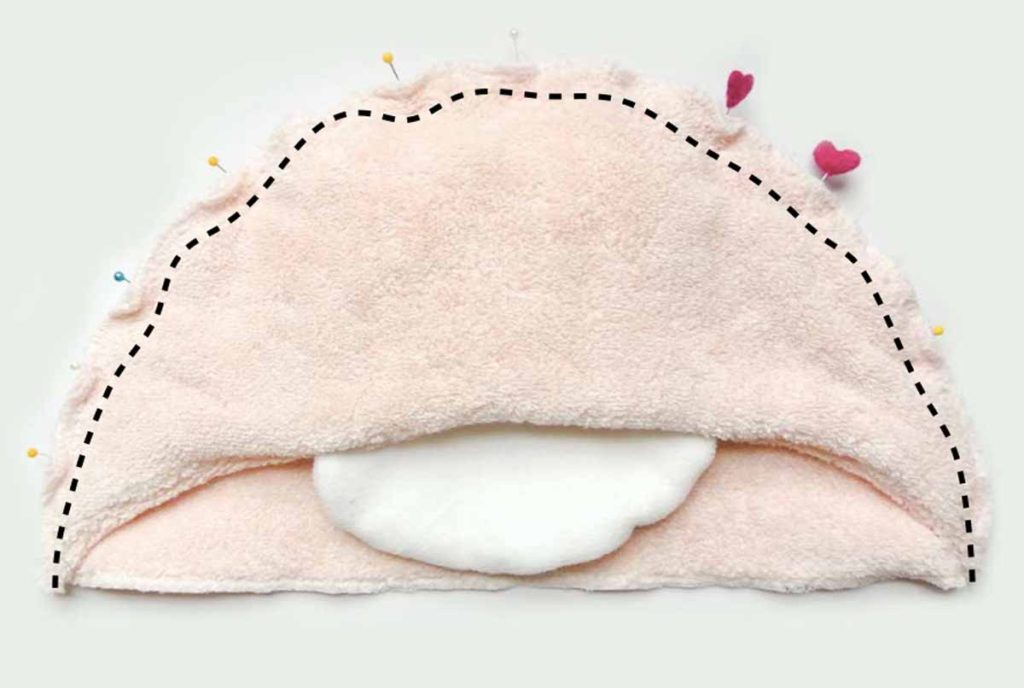
Photo above shows the hood flipped around to the other side for a better view. Stitch at 1/2″ seam allowance around hood (black dotted line)
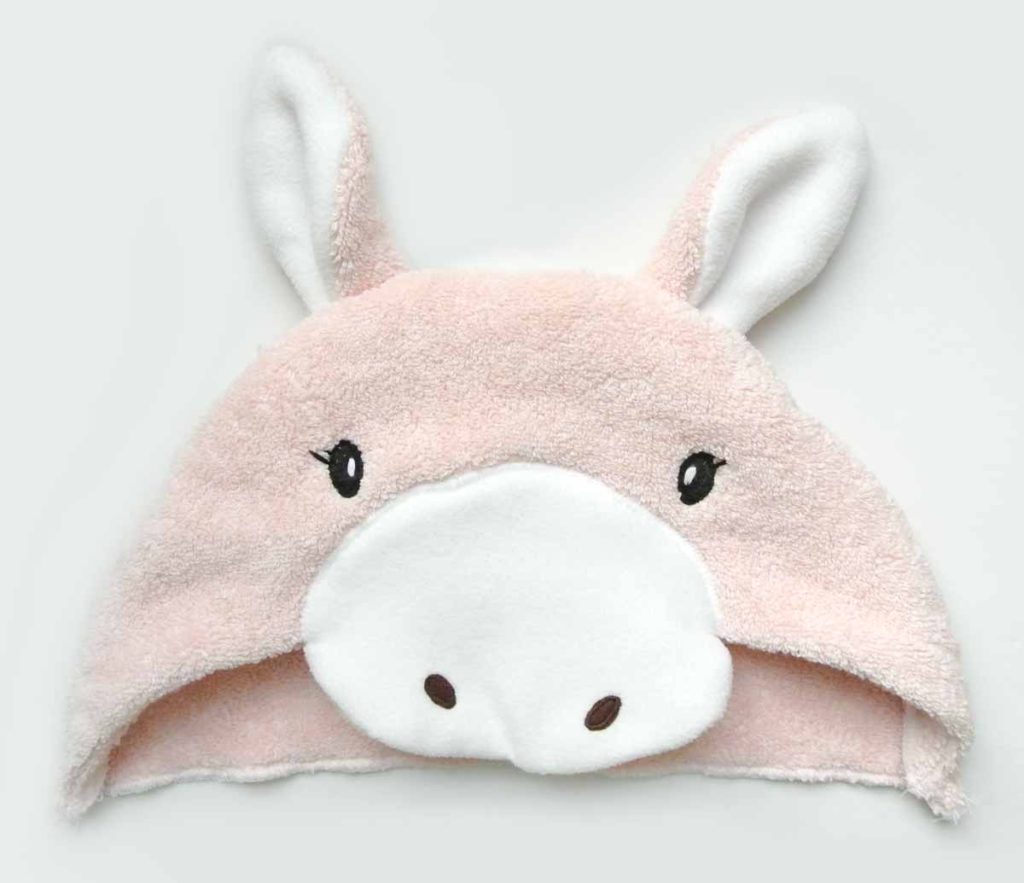
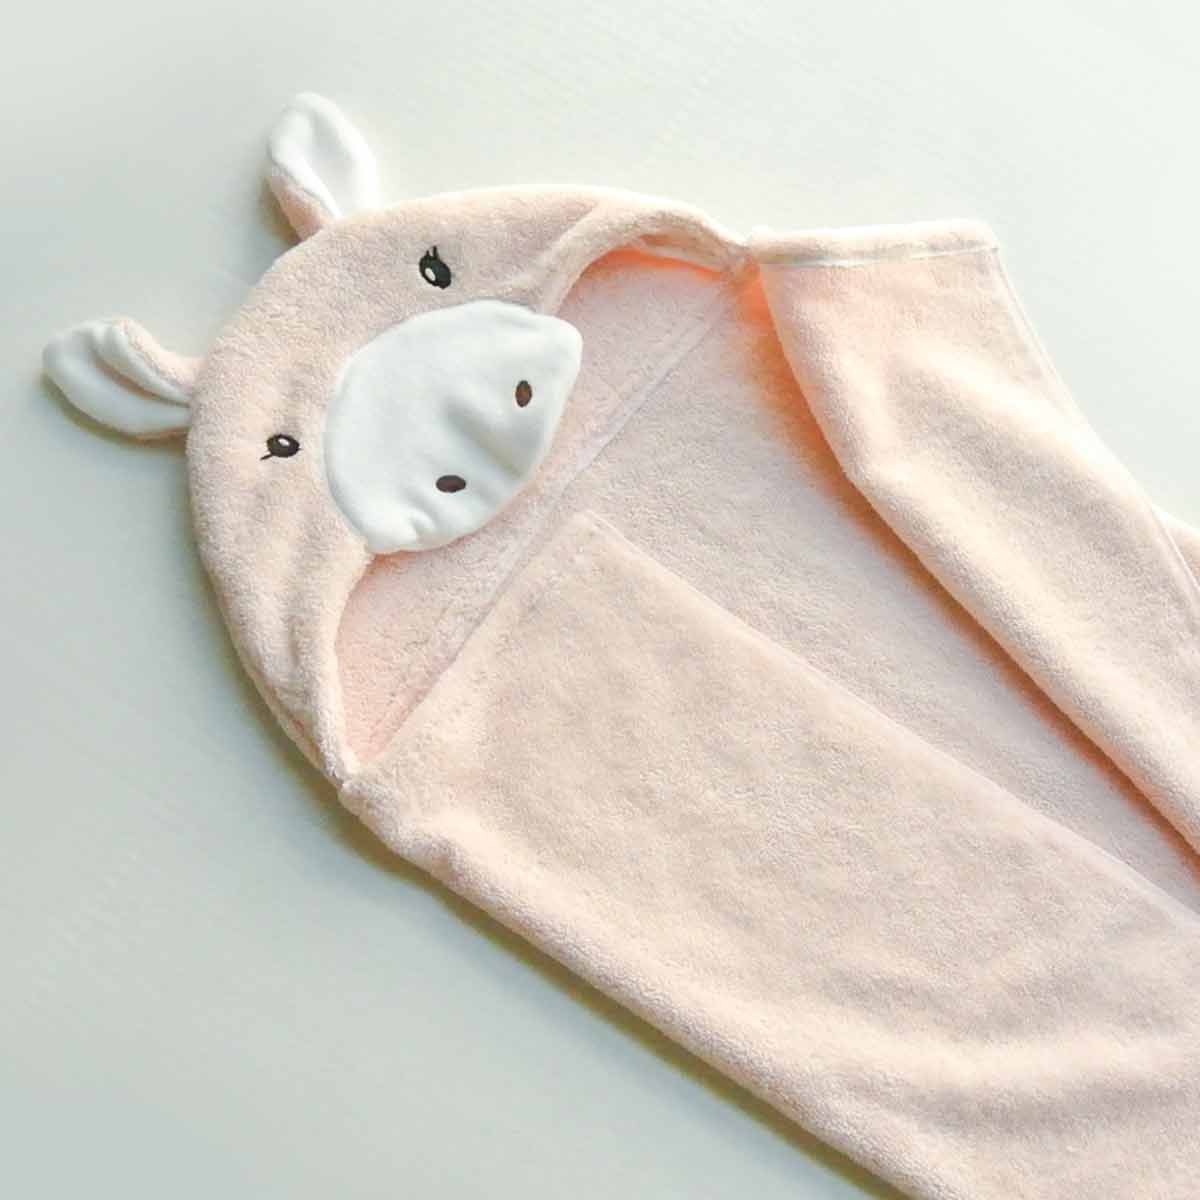
Turn hood to right side and you should end up with something like this!
How to Sew Hood to Bath Towel
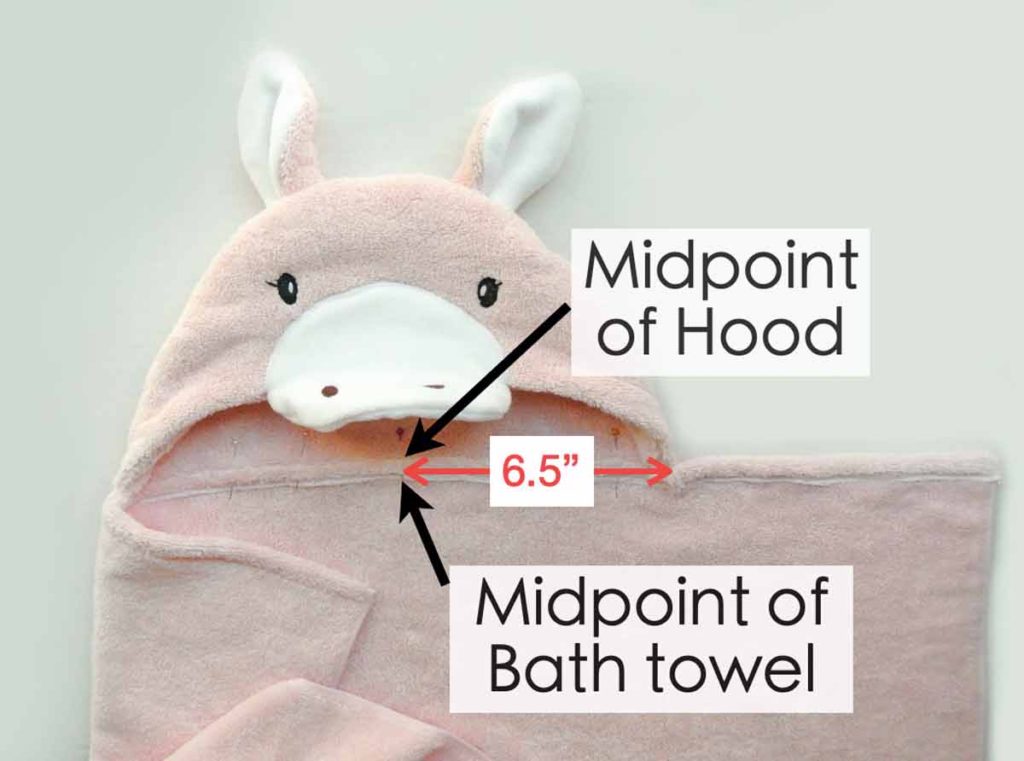
Match midpoint of hood to midpoint of bath towel and pin.
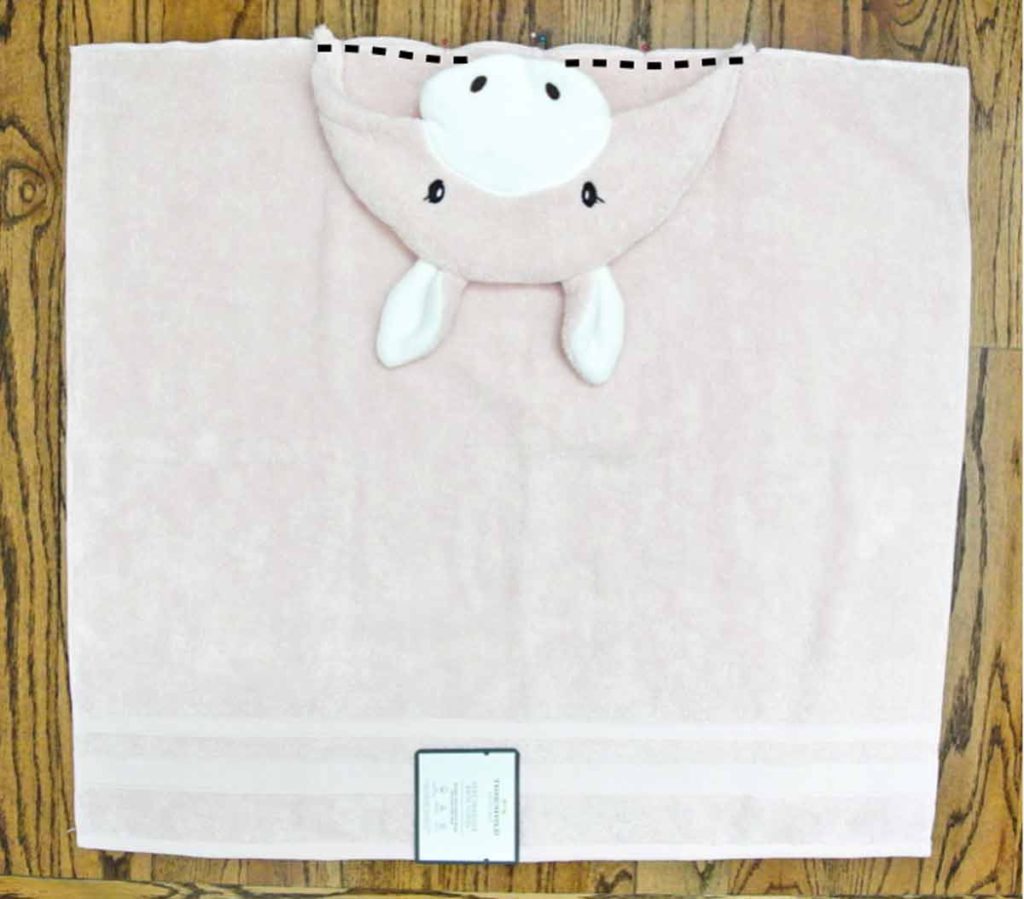
Stitch hood to towel at 1/2″ seam allowance (black dotted line), right sides together.
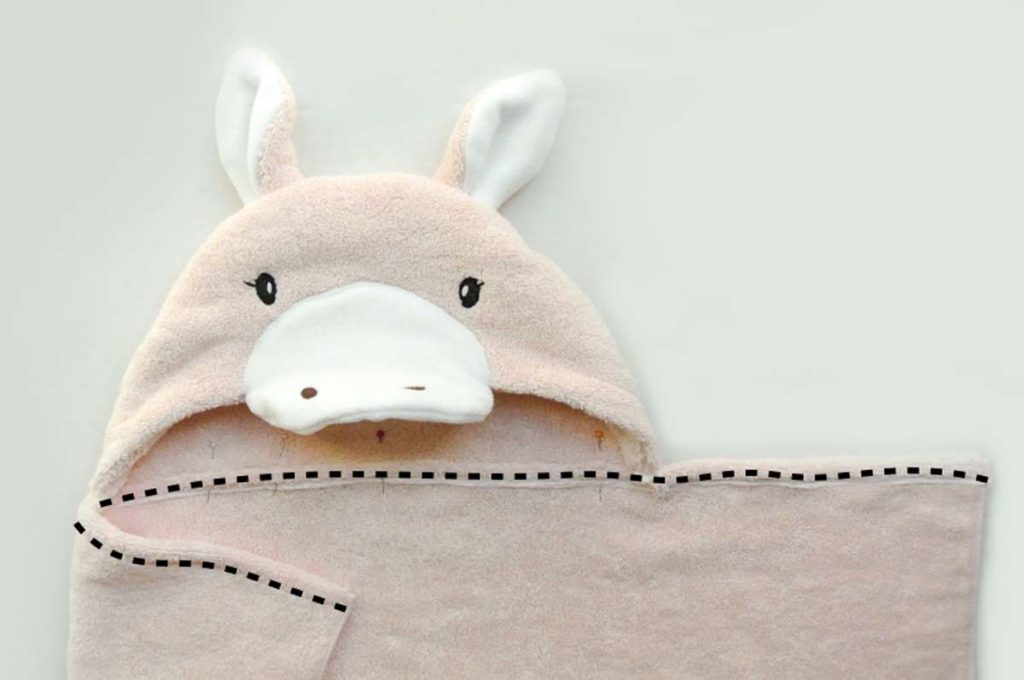
Finish edge of towel by folding top edge down 1/2″ and stitching (black dotted line) from left side to right side.
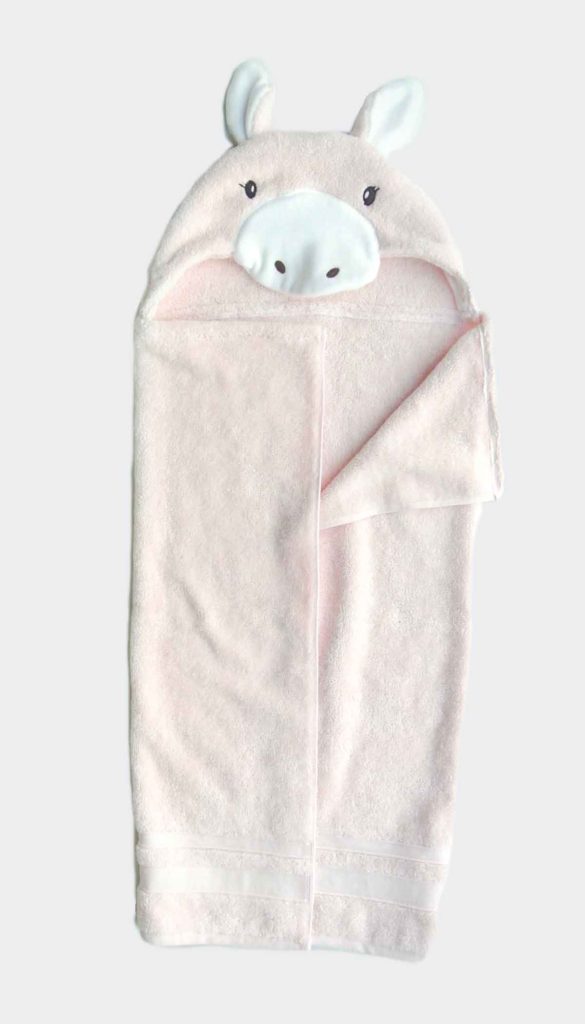
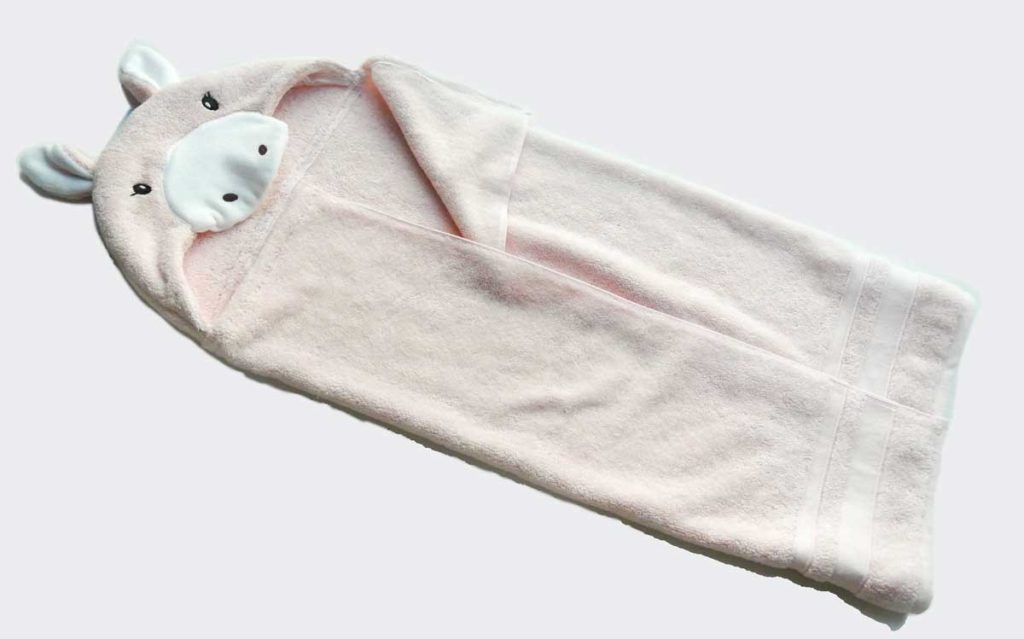
Finished! Wasn’t that easy?
Other Hooded Towel inspirations:
- Make a Mickey Mouse Hooded Towel using a black bath towel and adding Mickey ears to the hood.
- Make a Yoda Hooded Towel using a Sage Green bath Towel for the hood part, and a Cream Colored Towel for the body. I found the perfect Yoda Ears Patterns here.
Grab it here: Basic Hooded Towel Pattern (available in my free resource library)
Don’t forget to pin this image and save it for later!
Other posts you may be interested:

HOW do I get the password for pattern? I did subscribe. Thank you.
Hi Robin!
The password should have been emailed to you once you subscribe. If you still did not receive the email (and it’s not in your spam), please email [email protected]
Hope that helps!
Hi I have tried to subscribe gor the hooded towel code but it wont let me. Is there another way to get the code please, thanks
Eager to make hooded towels.
Is there a pattern for the Yoda ears for a hooded towel?
Hi Jennifer!
Yes, the yoda ears pattern can be found here!
Do you serge the top raw edge of the towel where you sew the hood on? I’m wondering how to make it look “finished”?
Hi Stephanie,
Yes, that’s correct. Serge the top raw edge of the towel, sew the hood to it, and then sew the serged edge down on the towel for a finished look. Alternatively, you can also apply bias binding to the raw edge of the towel after you sew the hood on, then sew the bias binding down on the towel. That will look super nice as well.
Are the pattern pieces available for the basic and the Unicorn? Or do we just look at yours a for a rough idea to make our own?
Hi Alesa,
The pattern pieces for the basic hoodie and the Unicorn are available for free in the MindyMakesLibrary. Once you subscribe to our mailing list you will receive a welcome email with the password. Hope that helps!