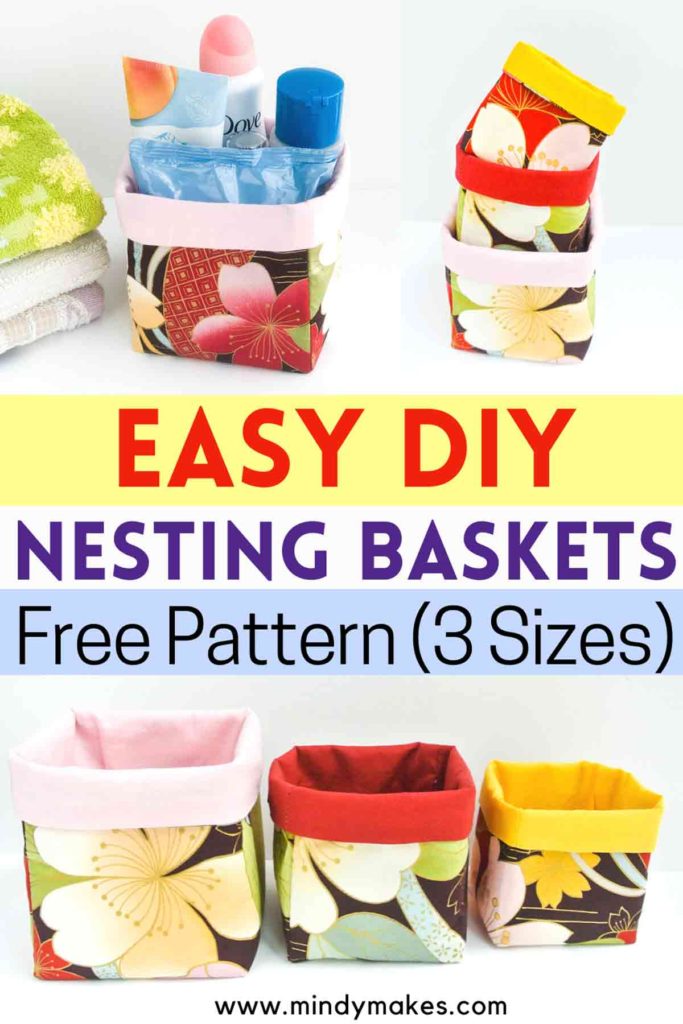
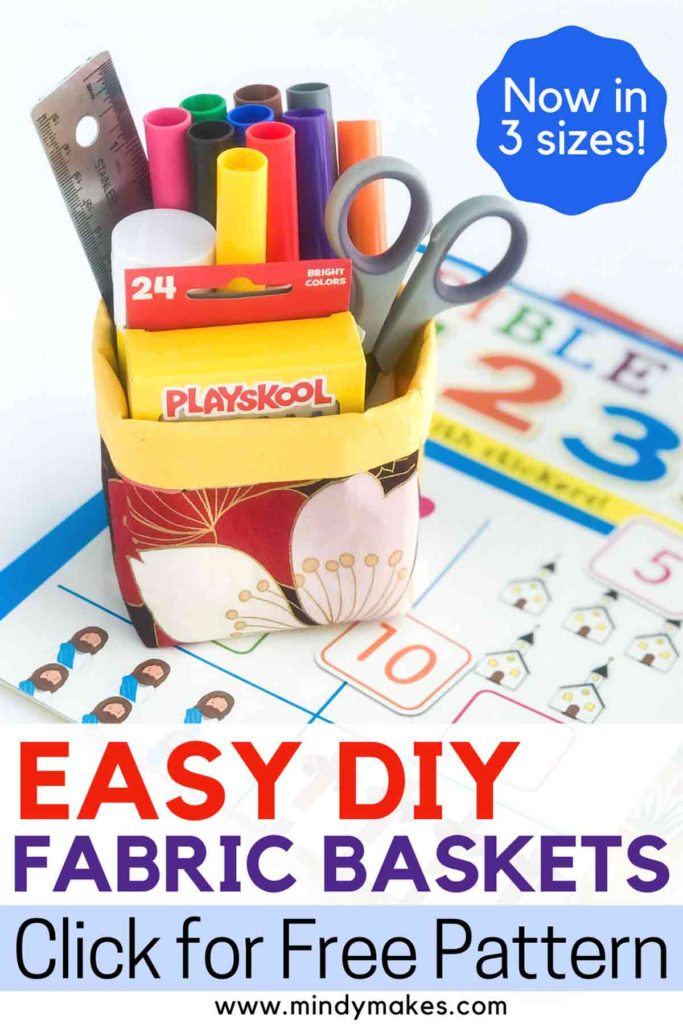
Easy Fabric Basket Pattern for Beginners (Free in 3 Sizes)
This post may contain affiliate links. Please read my disclosure policy for details. As an Amazon Associate, I earn from qualifying purchases.
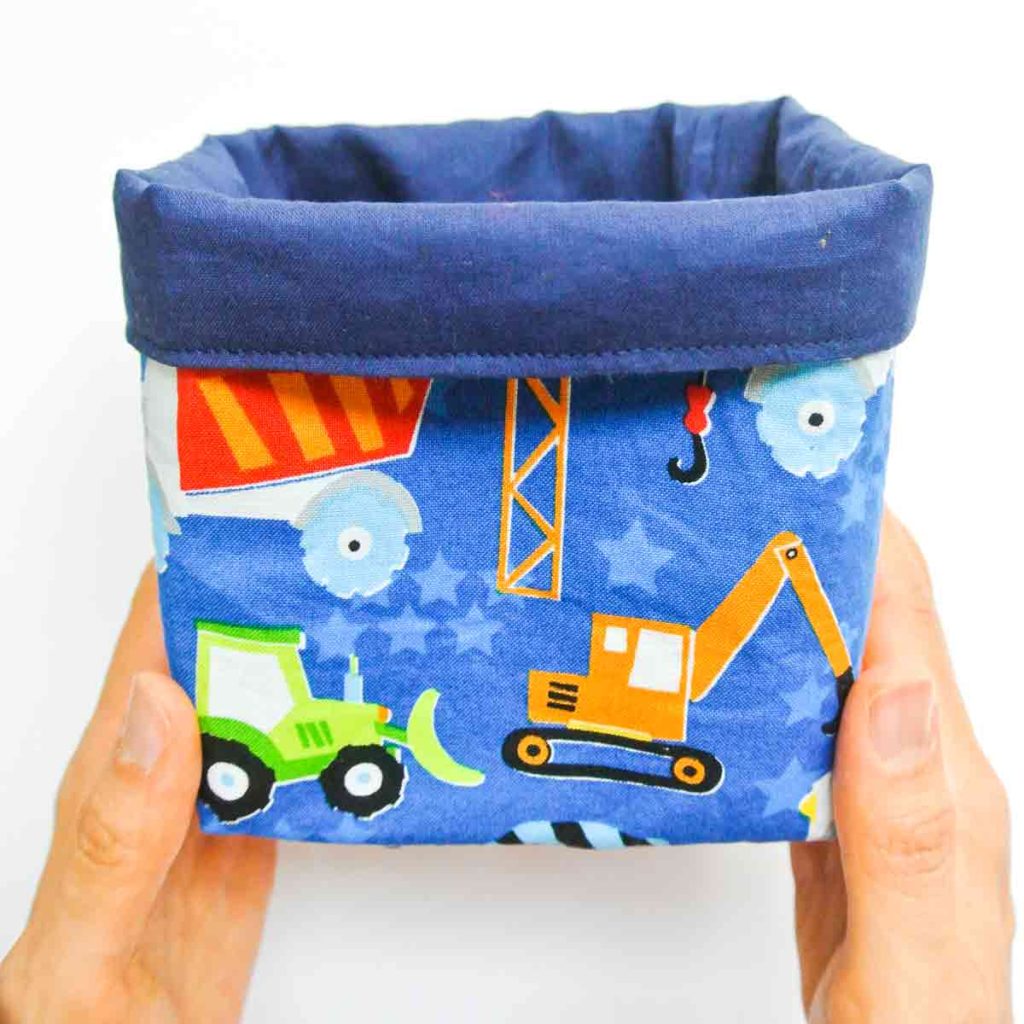
De-clutter and organize your house with these foldable fabric baskets. Best of all, they are super easy to make and takes less than 30 minutes. Great sewing project for beginners.
I’ve never considered myself an organized person. In fact, the word “organize” makes me feel a little nervous.
Growing up, I never learned the art of organization as my parents weren’t great organizers themselves. Our house was always messy and in my estimation we probably wasted days..maybe weeks (cumulative) looking for misplaced things! Yikes!
However, over the years, I’ve come to greatly appreciate the skill of organization. It allows me to put stuff away in their respective “home” so that I can find things easily and quickly later when I need them.
Now that I have a toddler, organizing is even more important! Yes, toddlers get very angry when the exact toy they want has disappeared into the abyss of disorganization. Also, I want to teach him this important skill of organization at an early age so hopefully it’ll become a good habit later on.
For these reasons, I decided to create some fabric baskets for storing toys, pens, crafting supplies, etc. to add more organization in my life. I’ve also created this tutorial to share with you so you can experience organizational bliss in your home!
Yes, it really is a bliss when you know exactly where to find something you need! Ah, how I (sometimes) wished I was super in love with organizing. It seems like such a useful skill to have. Nevertheless, I know I am growing in this area (It will probably be a lifelong journey). And if I can grow in the art of organizing, so can you!
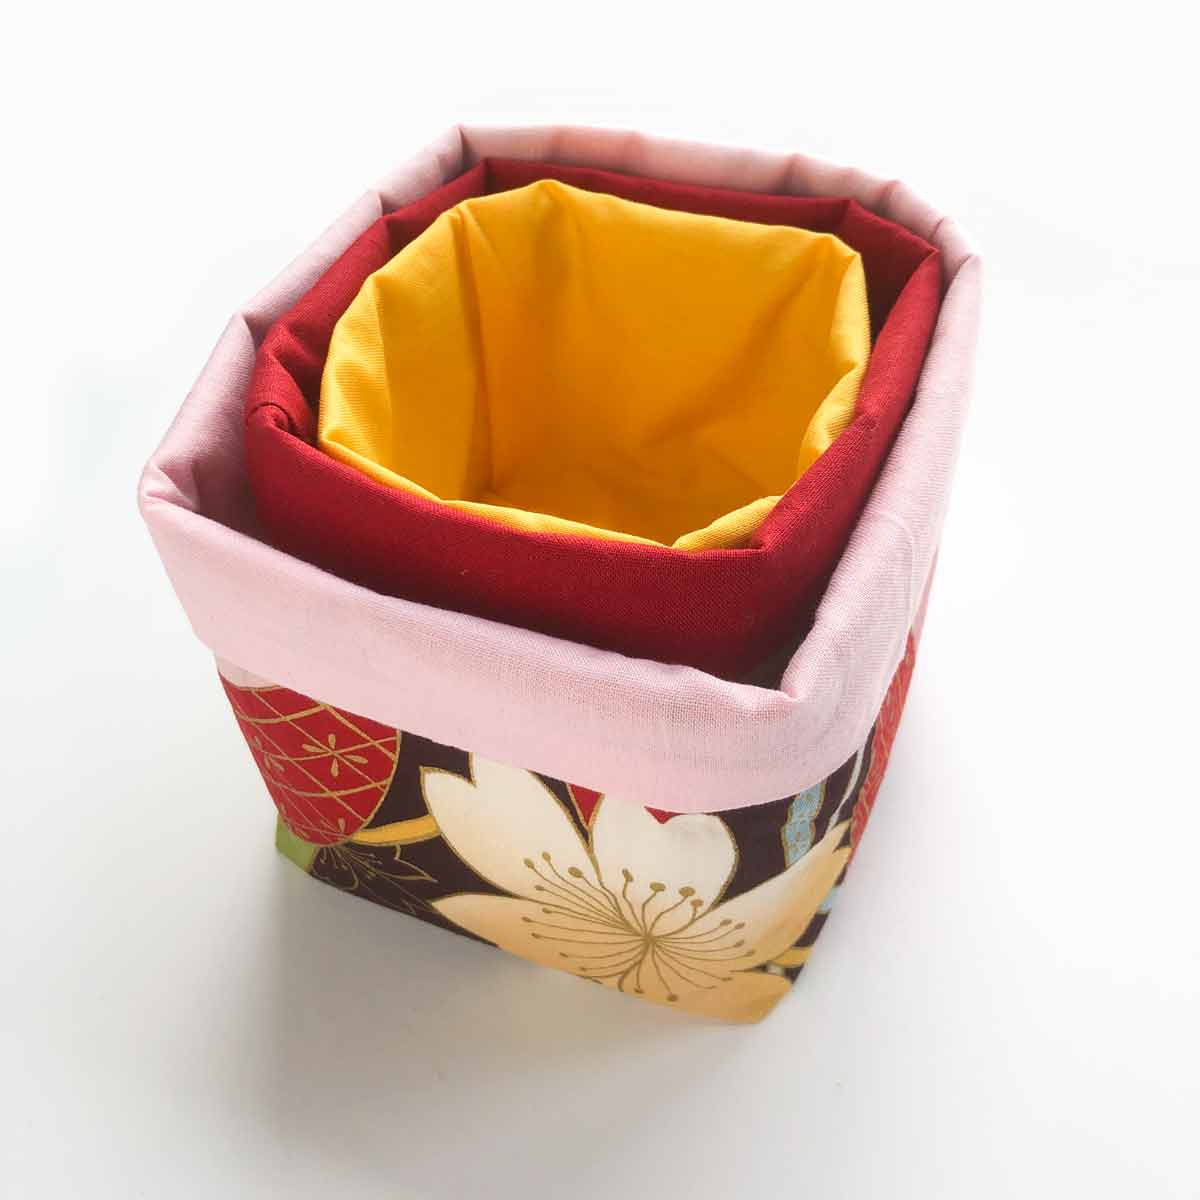
fabric basket measurements

This tutorial comes with 3 free fabric bins pattern in size Large, Medium, and Small. The bottom is square shaped and lays flat. Alternatively, you can collapse the baskets to save space and for easy storage. The dimensions are as follows:
- LARGE BASKET
- Bottom: ~ 4.5”x 4.5”
- Height (top folded down 1”): ~ 5”
- MEDIUM BASKET
- Bottom: ~ 3.75” x 3.75”
- Height (top folded down 1”): ~ 4”
- SMALL BASKET
- Bottom: ~ 3”x 3”
- Height (top folded down 0.75”): ~ 3.25”
FABRIC Basket PATTERN
The Fabric Basket Pattern is Available in my Free Resource Library (subscribe to get the password). Free pattern is downloadable in PDF format and comes in 3 sizes: small, medium, and large.
Need more sizes? You can purchase the PDF pattern which includes 6 Nesting Fabric bins Pattern and the PDF tutorial here. Sizes include XX-Large, X-Large Bin, Large, Medium, Small, and X-Small Bin.
What materials Do I Need to for a fabric basket?
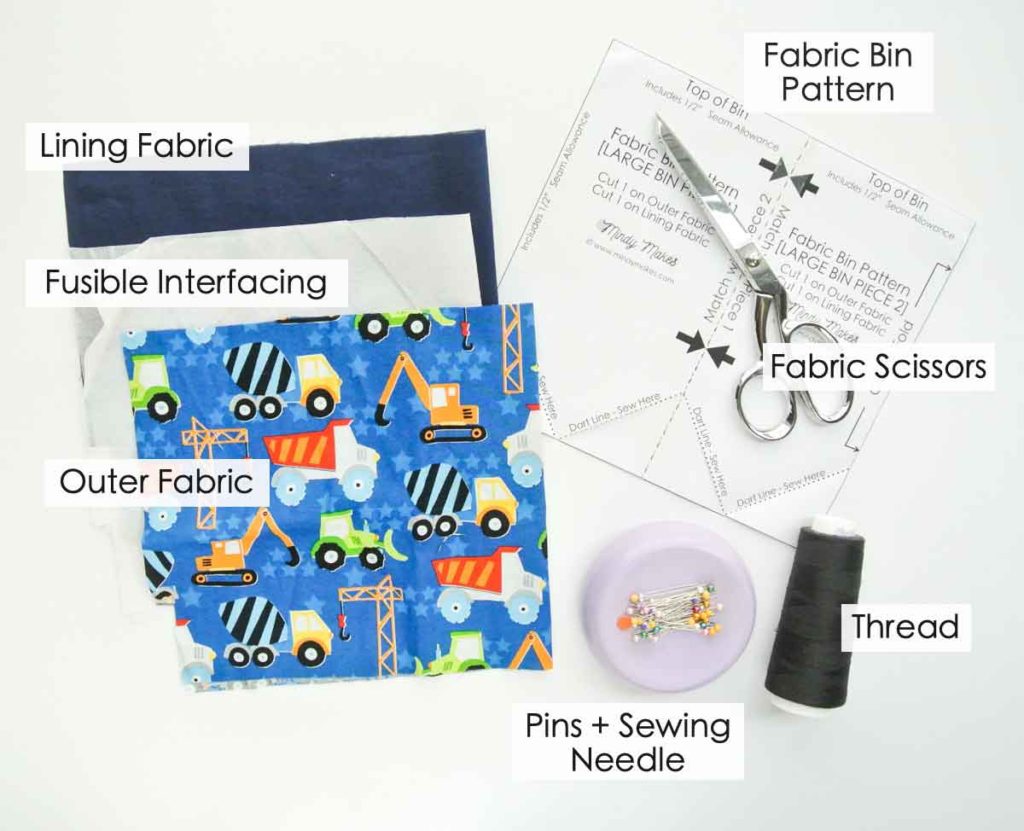
MATERIALS:
- Pattern: Fabric Basket Pattern in 3 sizes (available in my free resource library)
- Exterior Fabric – I used 100% cotton print. Can also use canvas, home decor fabric, upholstery fabric, etc. If you are a beginner I recommend 100% cotton as they are easy to work with. Fat quarters work great!
- Large Basket: 20″ width x 10″ Height
- Medium Basket: 17″ width x 8″ Height
- Small Basket: 15″ width x 7″ Height
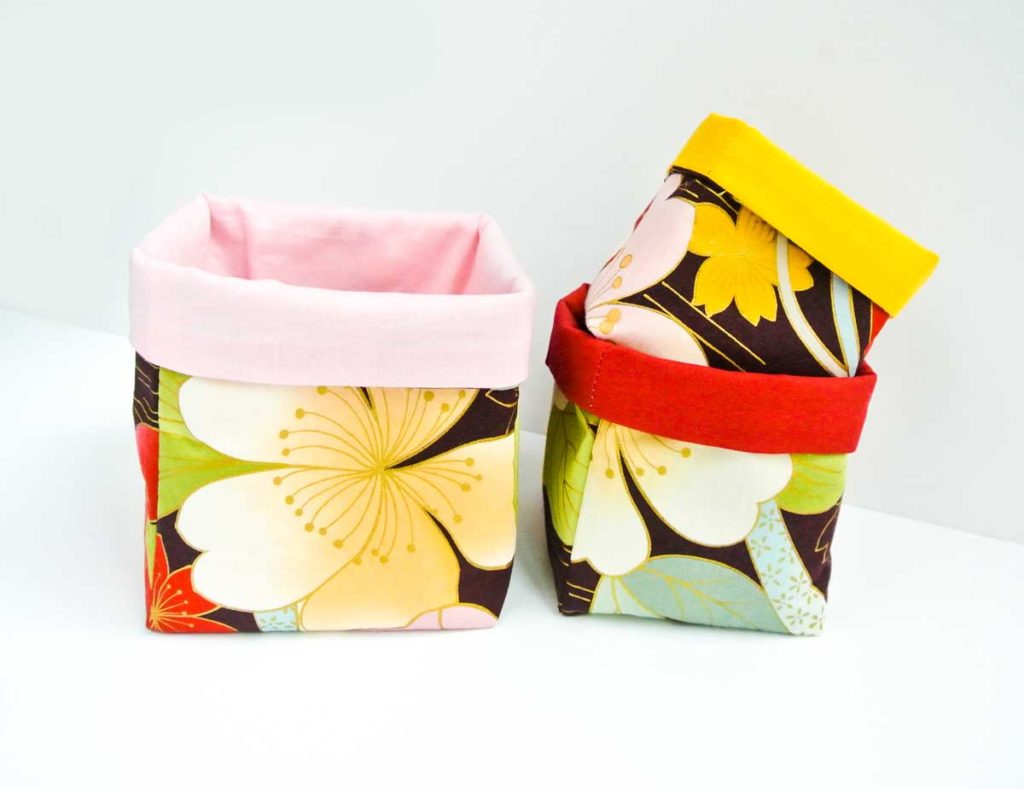
- Lining – I used 100% cotton in solid, but you can also use a printed fabric as well. These bins are 100% reversible so you can flip them to the lining side for a different look!
- Large Basket: 20″ width x 10″ Height
- Medium Basket: 17″ width x 8″ Height
- Small Basket: 15″ width x 7″ Height
- Fusible Interfacing – may not be necessary if you use a stiff fabric such as canvas. However, if you’re using 100% cotton prints like me (which isn’t very stiff) the interfacing are a MUST. They will help the bins retain their shape. I used Fusible Featherweight Interfacing
- Dimension for each size is the exact same as the exterior and lining fabrics
TOOLS
- Sewing machine
- Fabric Scissors – these Ginghers Fabric Shears are my favorite
- Sewing Pins
- Fabric Chalk
- Matching Thread
- Hand sewing needles
- Iron – for pressing
Can I Use Fat Quarters to Make Fabric Storage Bins?
Yes! Fat Quarters are great for these projects. A piece of fat quarter measures 22″ wide x 18″ height. Thus, using 2 pieces of fat quarter (one for exterior fabric, one for lining) you will be able to make:
- 1 Large + 1 Medium/Small bin or
- 1 Medium Bin + 1 Small Bin or
- 2 Medium Bins or
- 2 Small Bins
If you want to make the entire set of 3 Nesting Bins, you will need 4 pieces of fat quarters (2 for exterior fabric, 2 for lining).
How do i make fabric basket tutorial
Preparing and Cutting Pattern
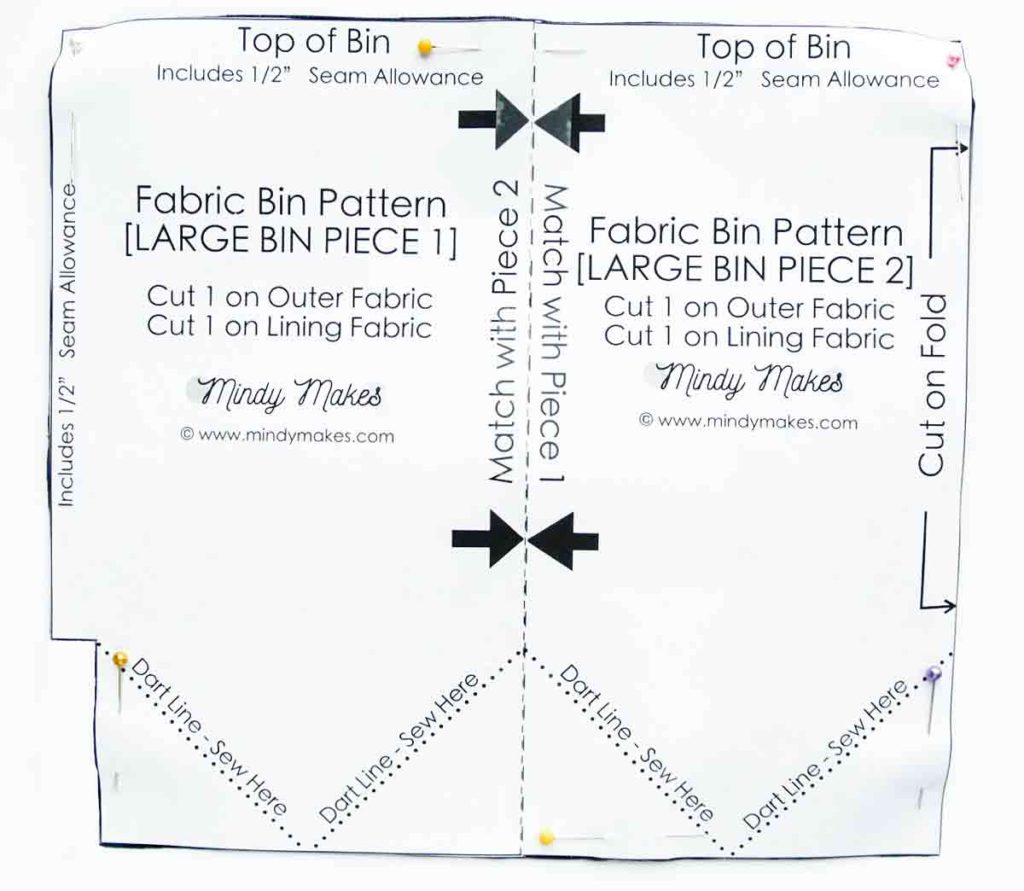

LEFT: First, print and cut out pattern (available in free resource library) and piece pattern together (for Large Bin only). Next, cut pattern out on Exterior fabric and Lining.
RIGHT: Then, using paper scissors, cut out the triangles of the paper pattern that are in between dotted line labeled “Dart Line – Sew Here”.
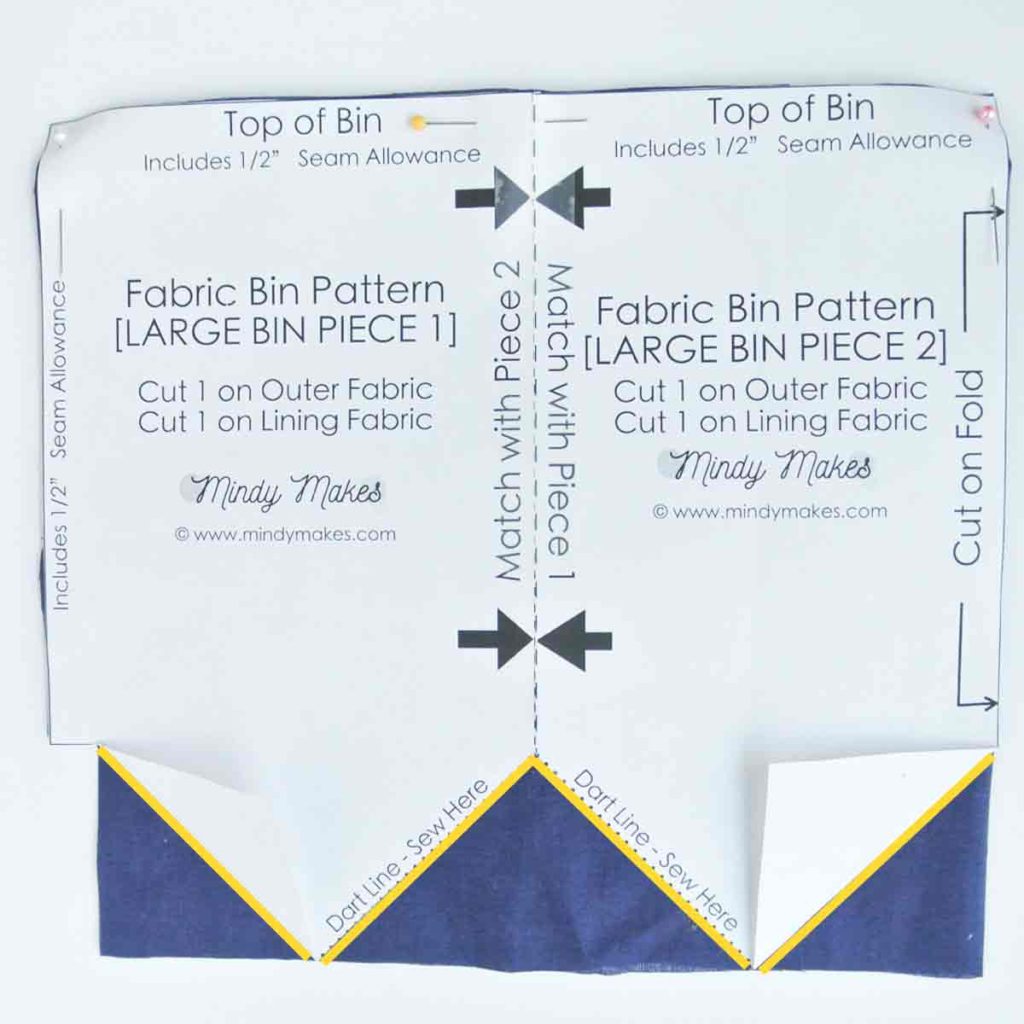

LEFT: Next, pin pattern to Lining Fabric on fold (fold line is on right side of photo). Fold up the two side darts on the PAPER PATTERN to expose the fabric underneath. Using fabric chalk, mark all the dart lines on the fabric (solid yellow line).
RIGHT: Now remove the paper pattern from the fabric. Flip fabric to the other side so fold line is on left side.
Next, place paper pattern on top of fabric (blank side of pattern will face up) and use chalk to mark dart lines of the middle triangle (where you had cut out from paper pattern earlier). There’s no need to mark side darts on this second side of fabric.
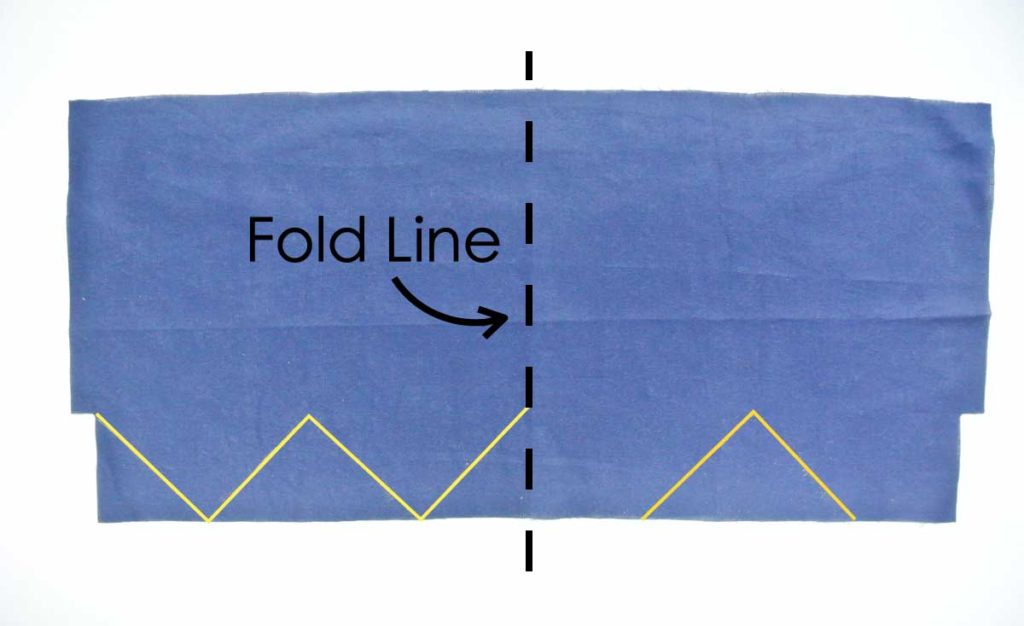
Finally, when you unfold the fabric, your fabric will have the dart lines marked as pictured (solid yellow line).
Sewing Darts
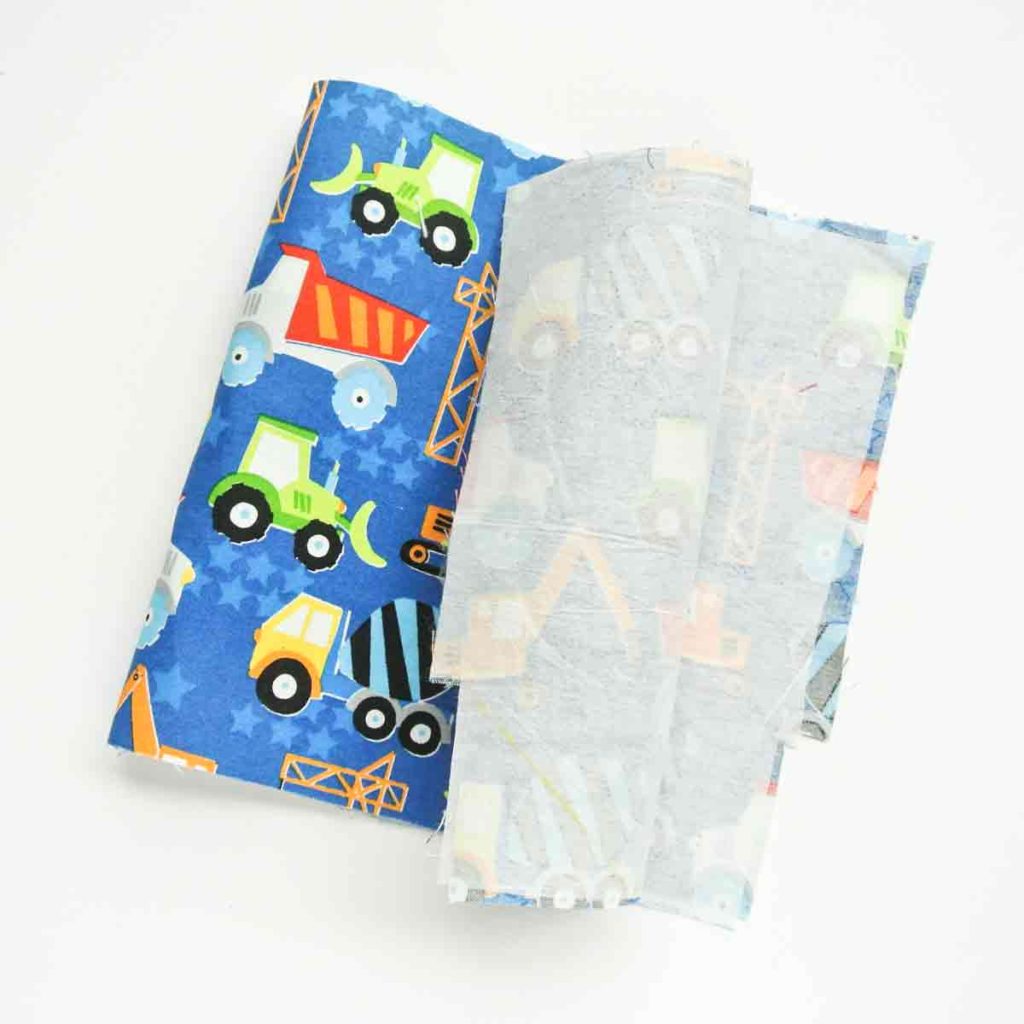
LEFT: First, apply fusible interfacing to wrong side of Exterior Fabric using iron.
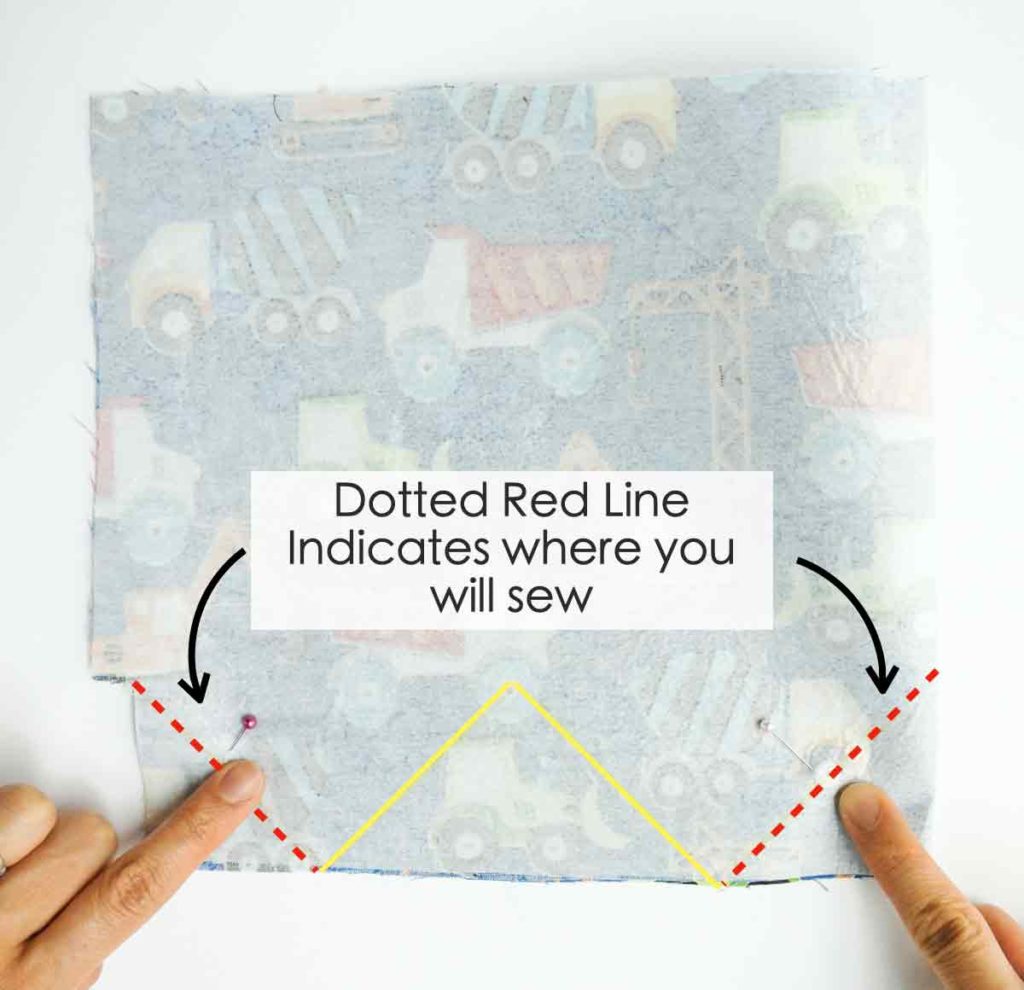
RIGHT: Next, mark dart lines as previously shown and fold fabric in half at fold line. Then sew the two side darts (red dotted line). Make sure to back stitch at either end.
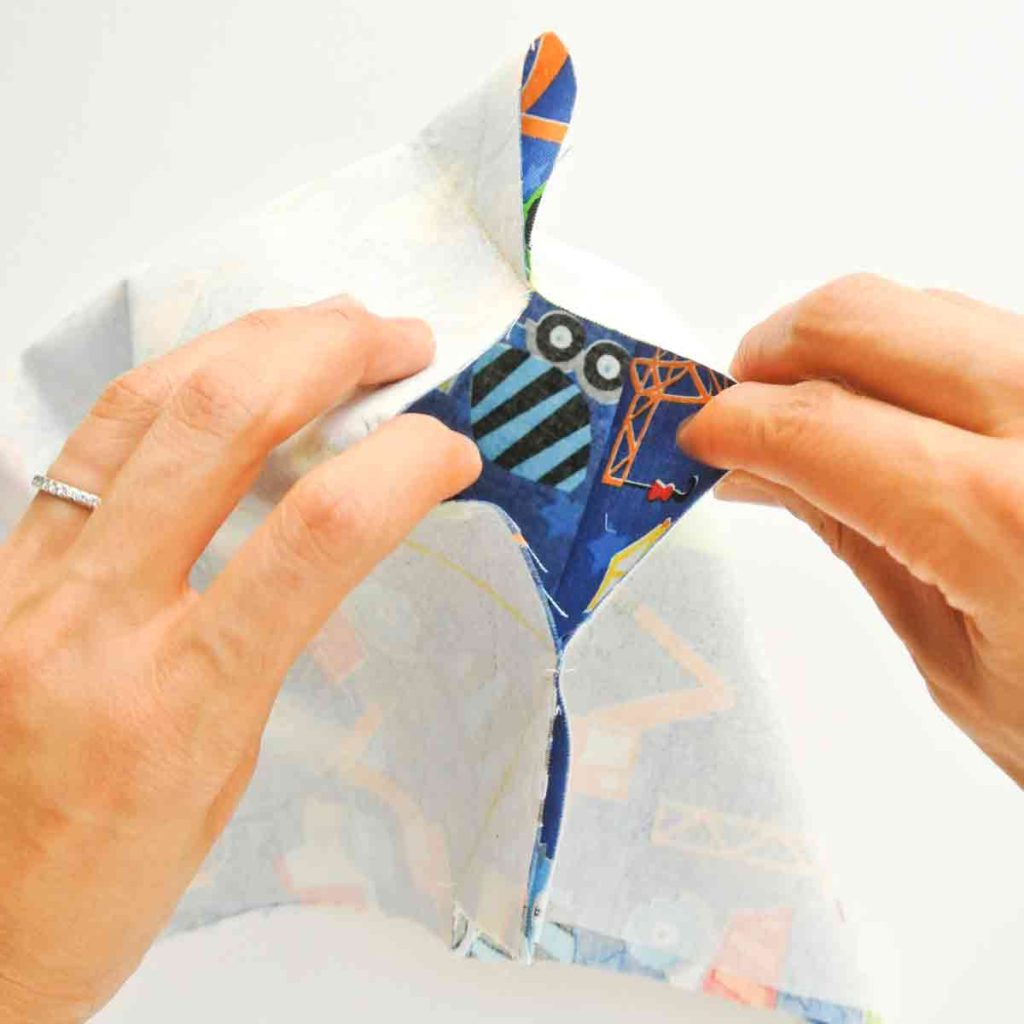
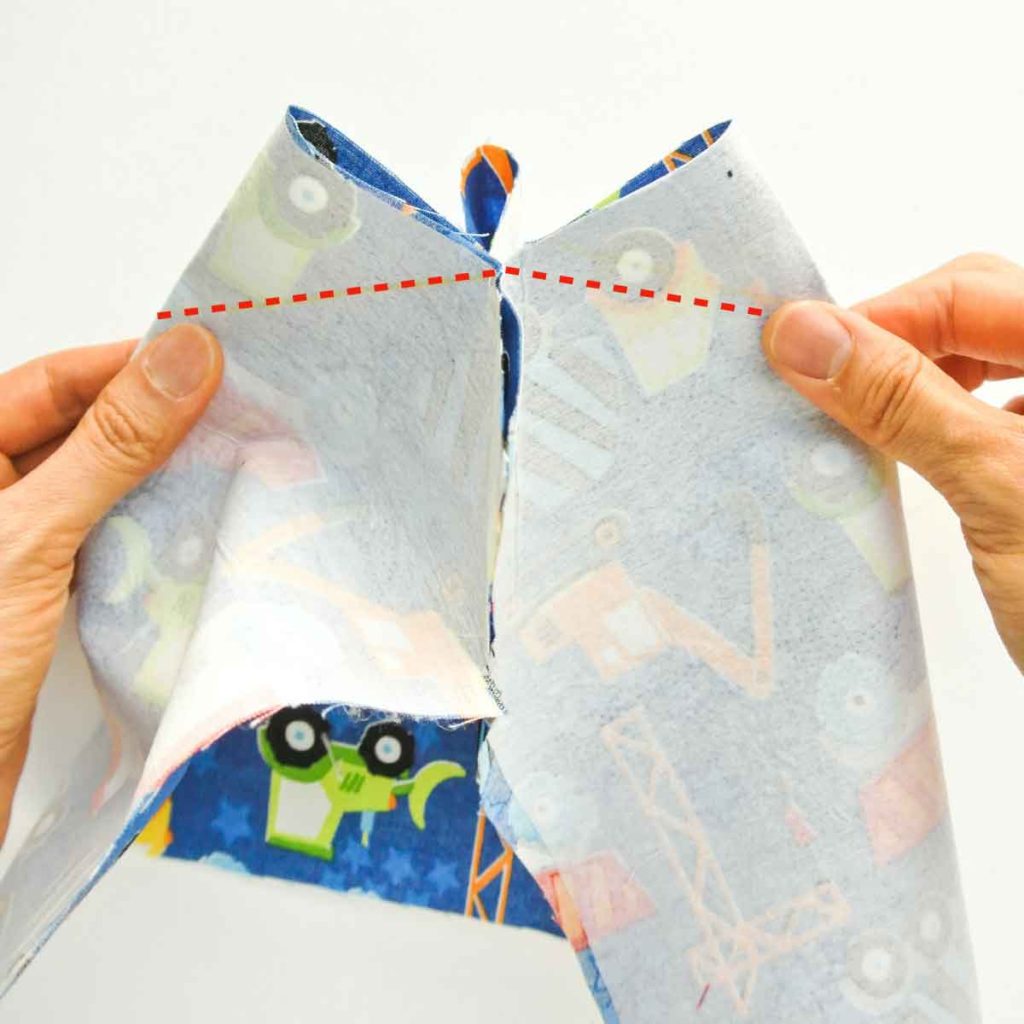
Next, open the bottom of the fabric bin (between the two darts you had just sewn) and pinch the darts together so you get something that looks like a plus (+) sign (RIGHT photo)
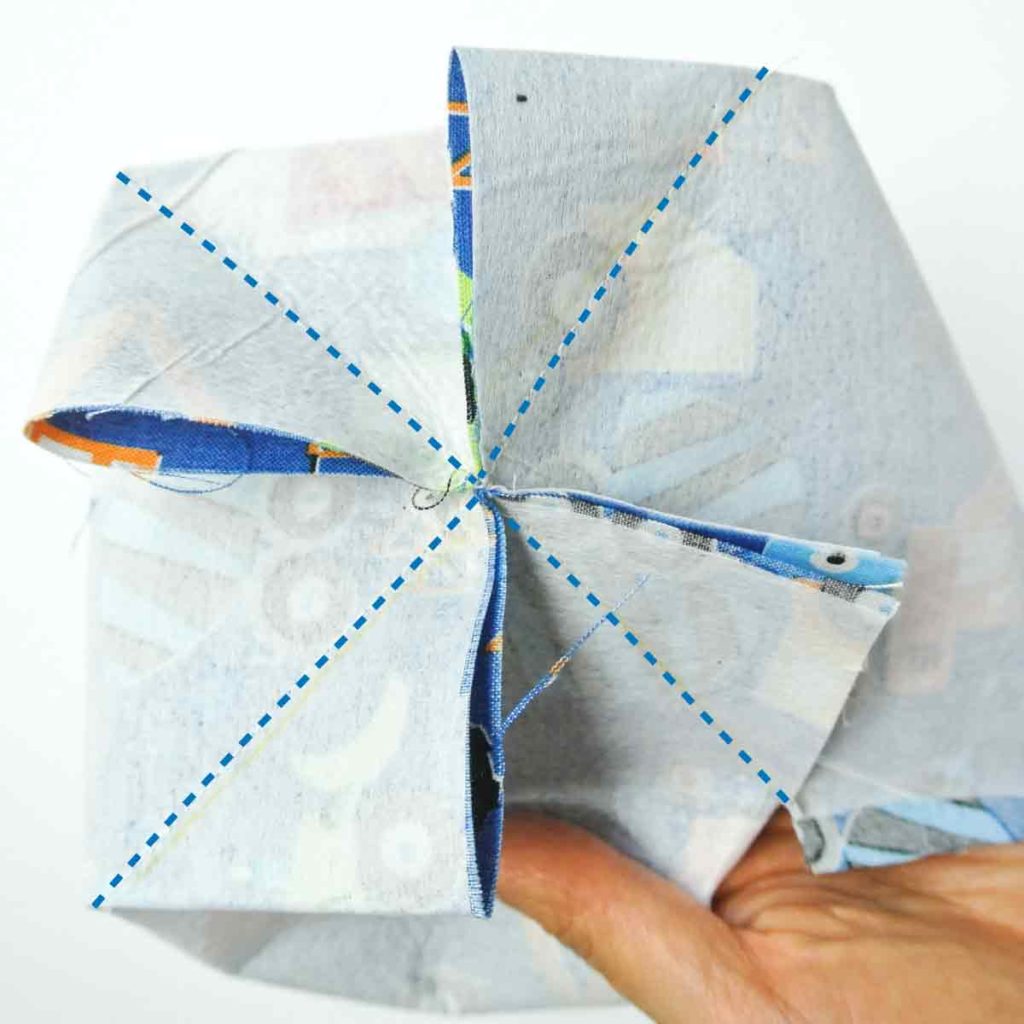
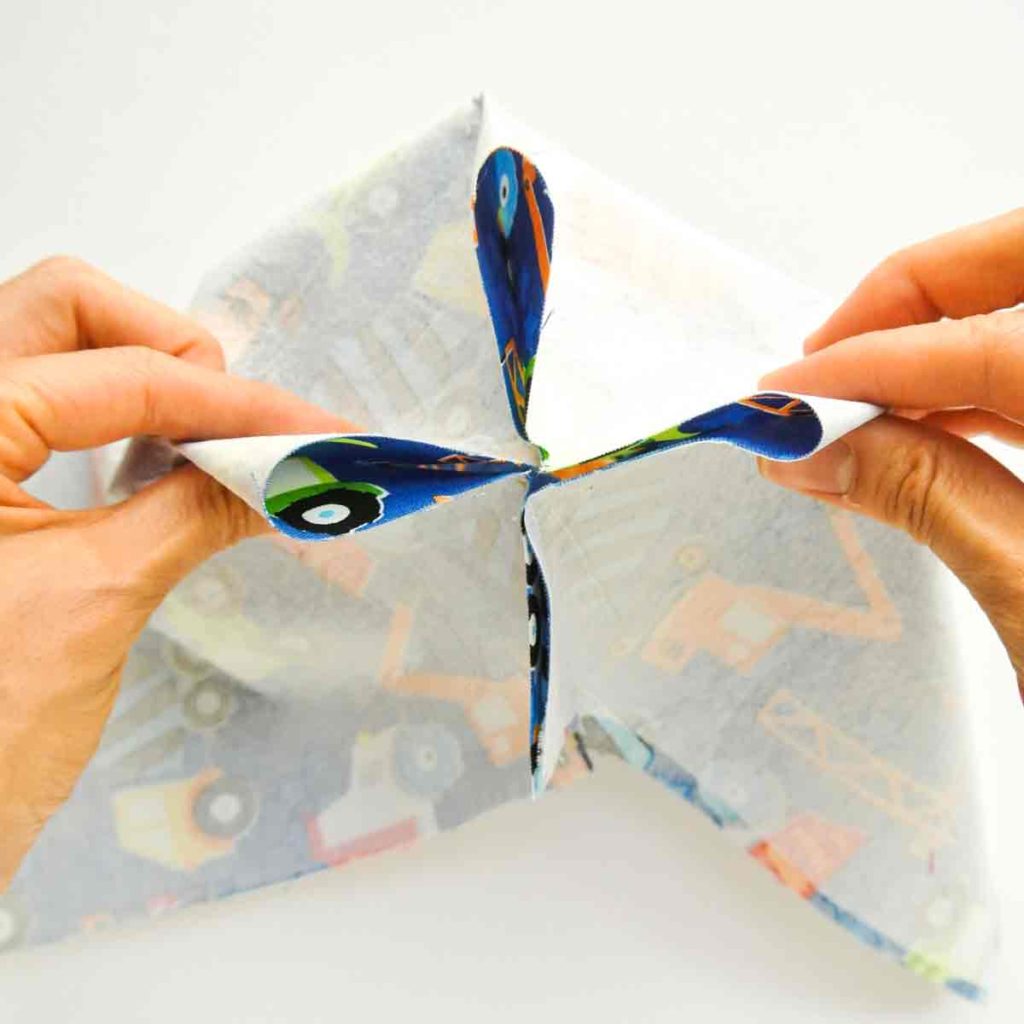
LEFT: Next, match the dart lines and sew together (red dotted line)
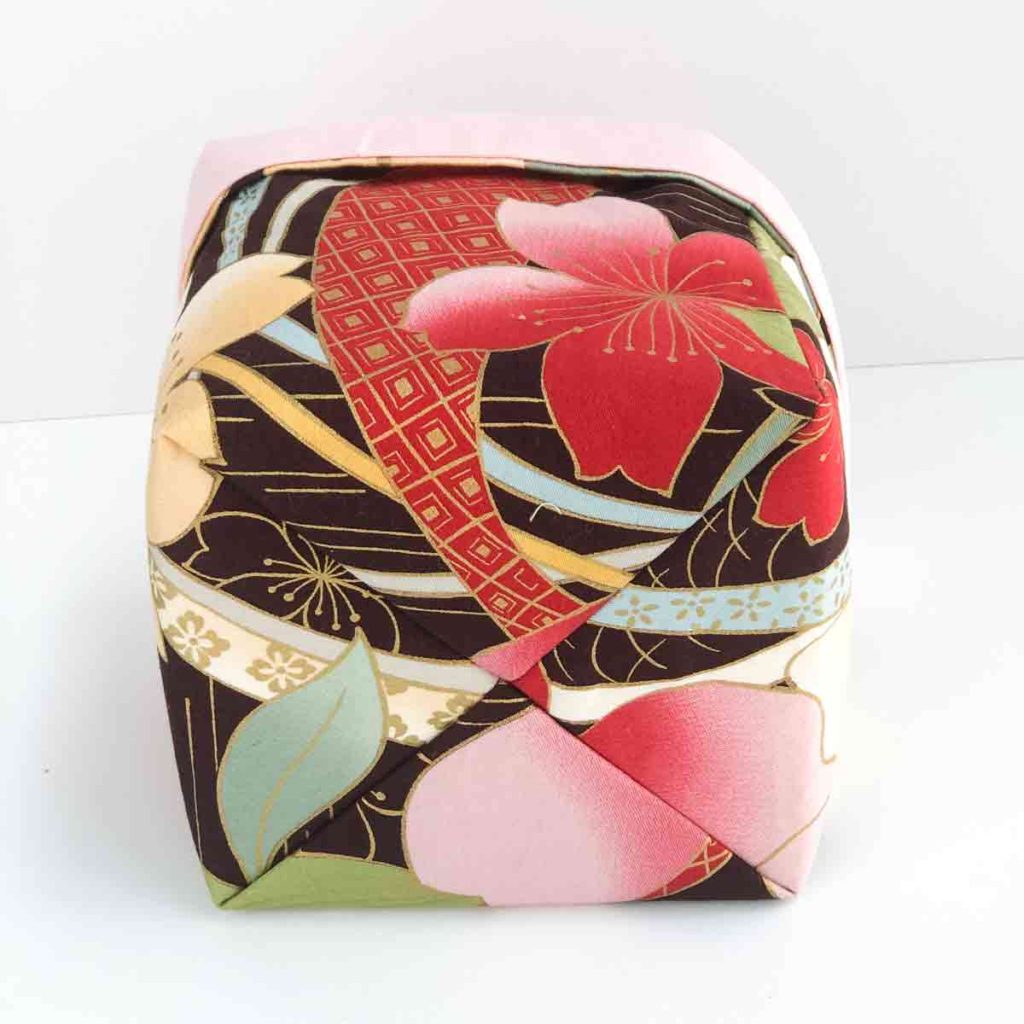
RIGHT: Finally, when you are done, the bottom of the bin (wrong side) will look like this. Blue dotted line indicates where you sewed.
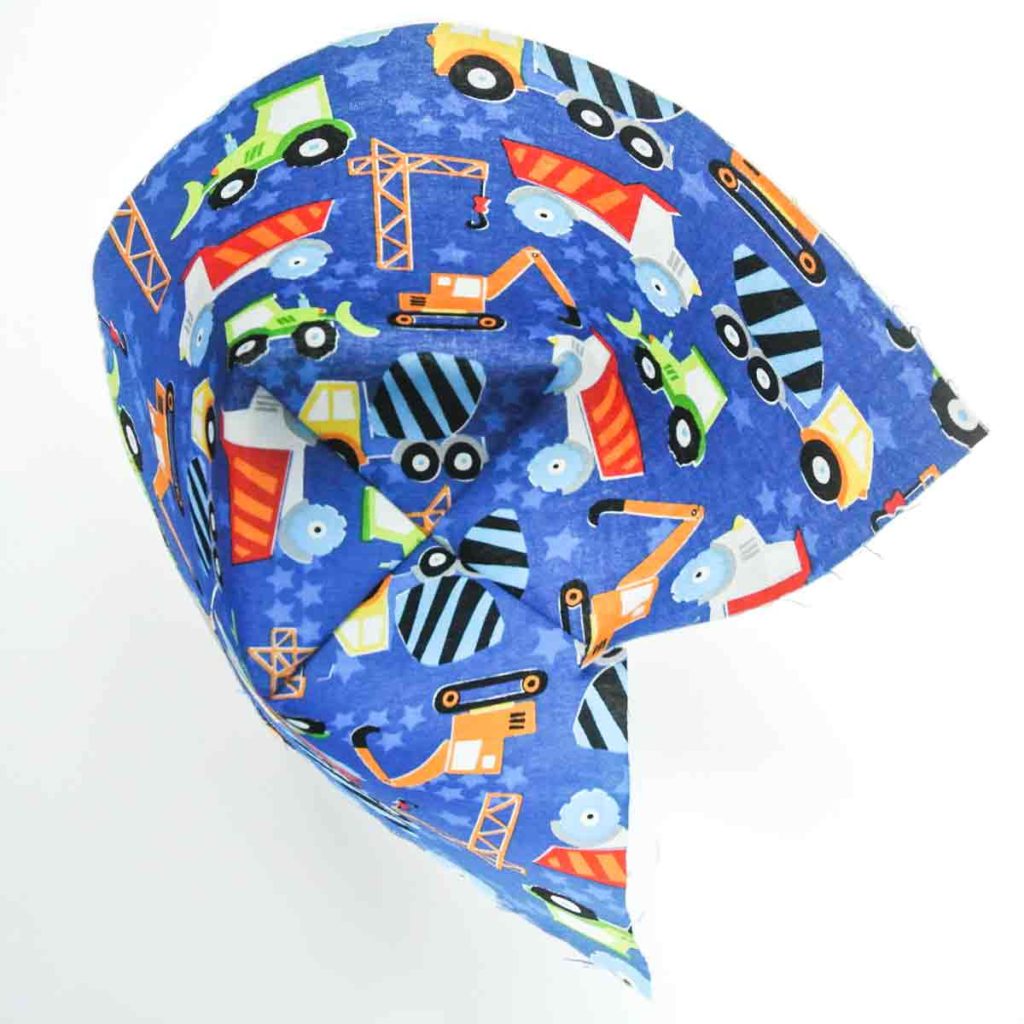
LEFT: Fabric basket viewed from top with square bottom sewn
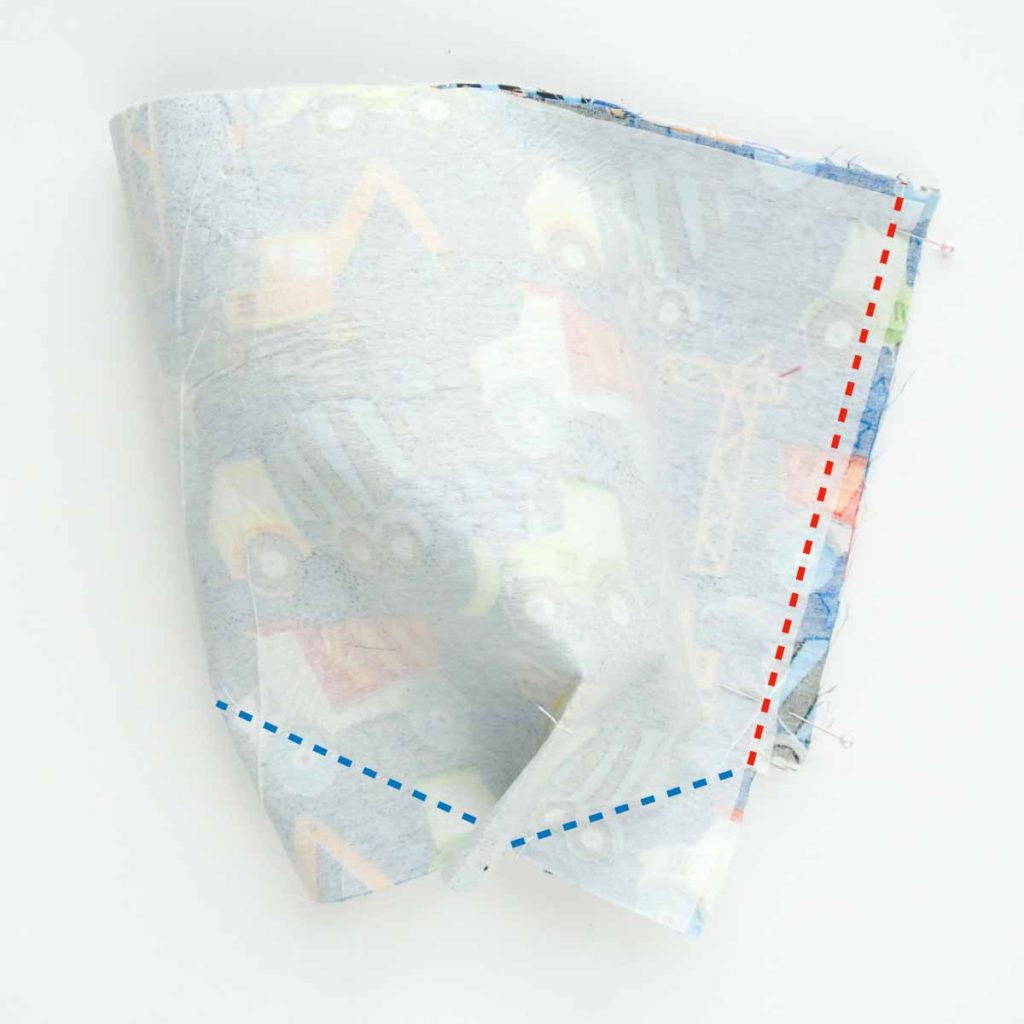
RIGHT: Sew side seams together (red dotted line). Blue dotted lines indicate the dart lines you had sewn before.
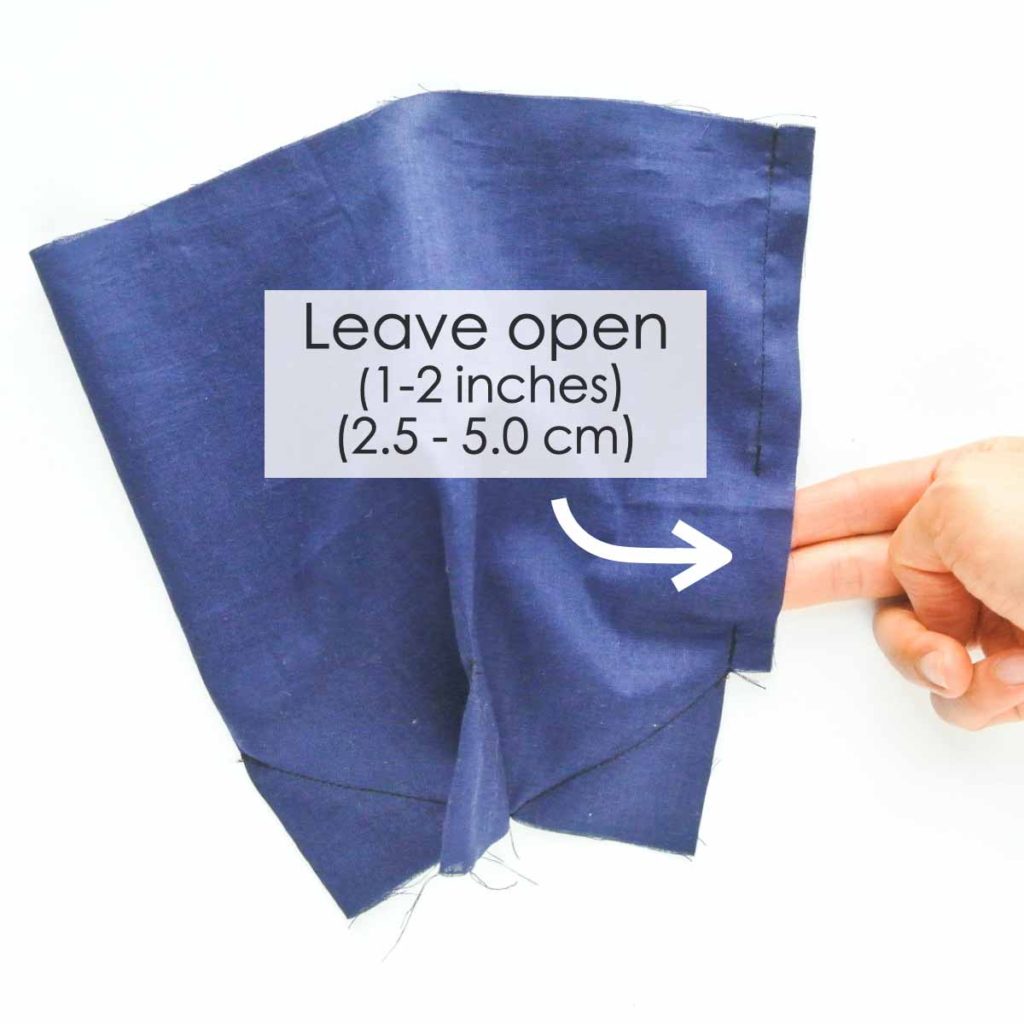
Repeat sewing darts for lining. When sewing side seam of lining together, leave a small opening (1 -2 inches or 2.5-5cm) towards the bottom. Make sure to back stitch on either end of the opening. The opening is where you will turn your project to the right side later on.
Sewing Basket Together

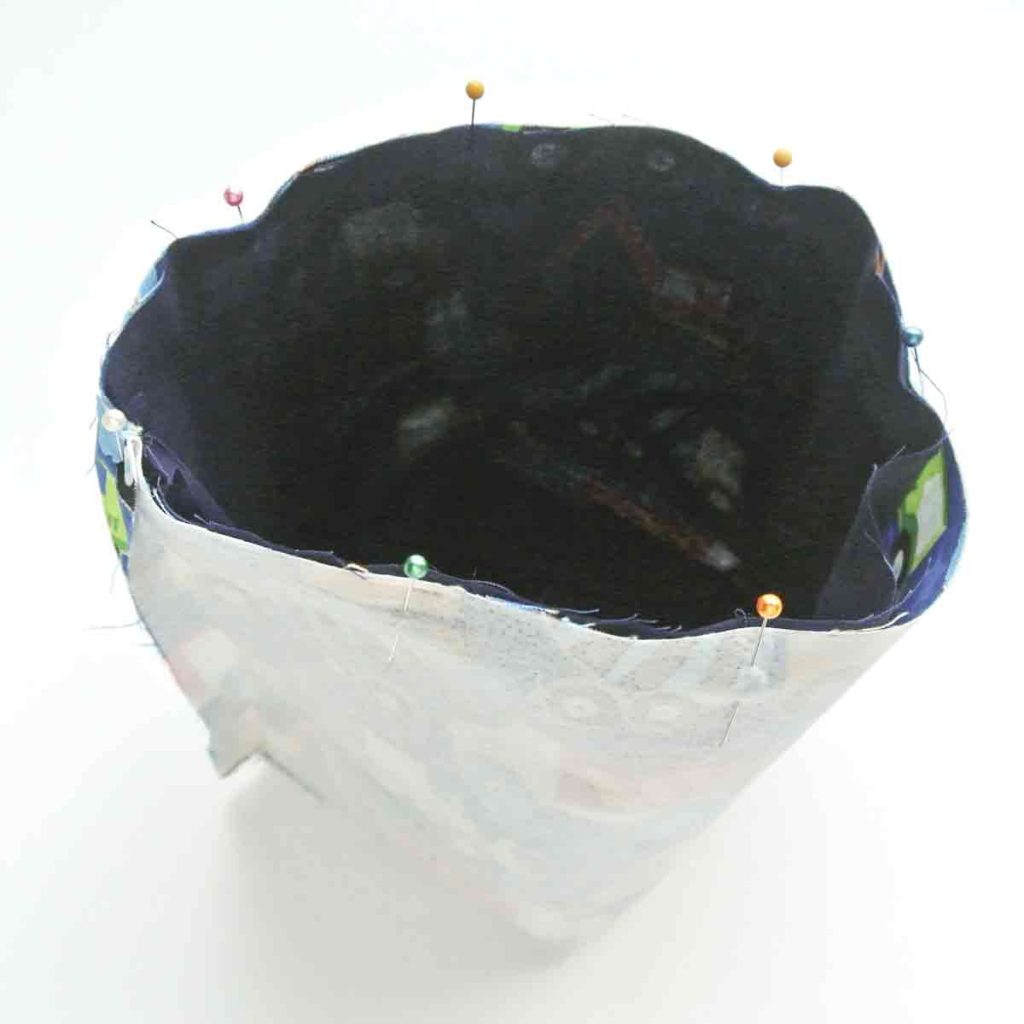
First, match side seam of outer fabric and lining, right sides together. Pin at the top of fabric basket.
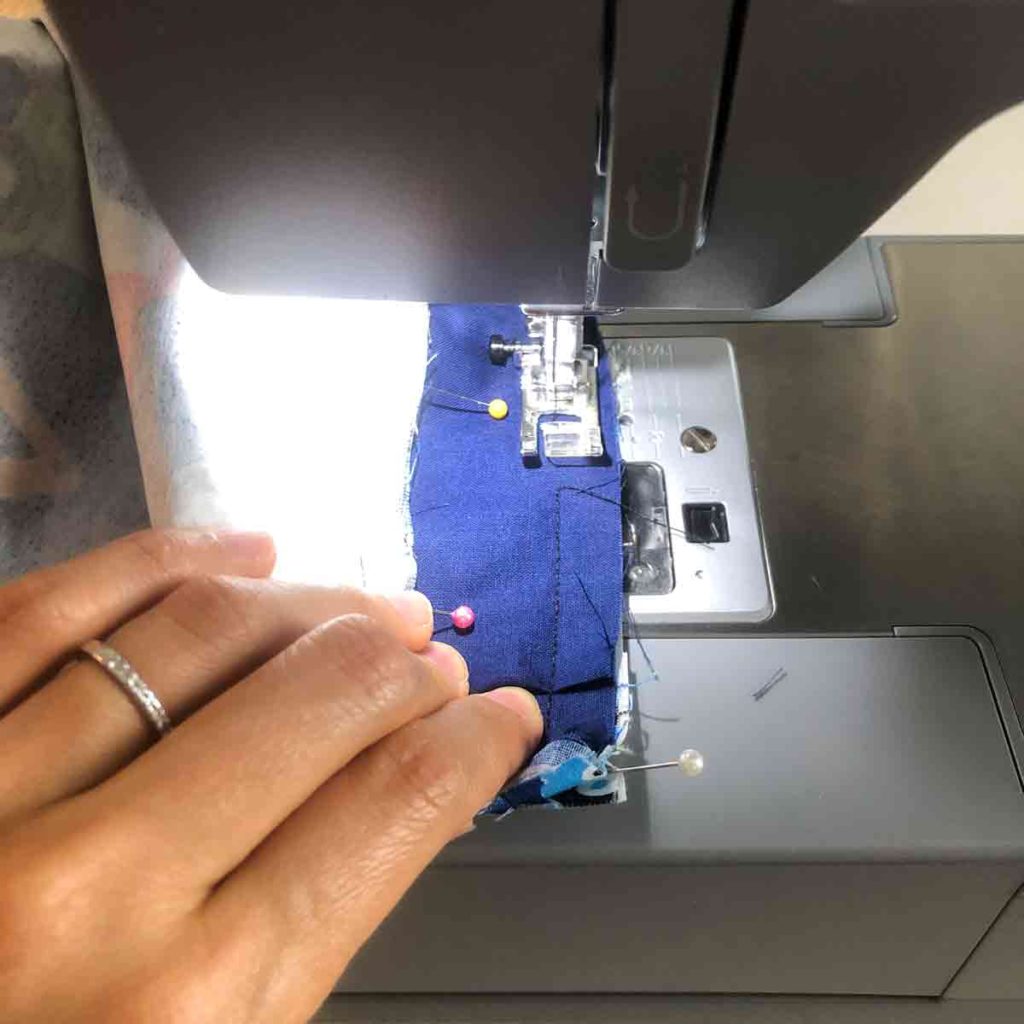
Next, sew lining to exterior fabric at top edge (1/2″ or 1.27cm seam allowance)
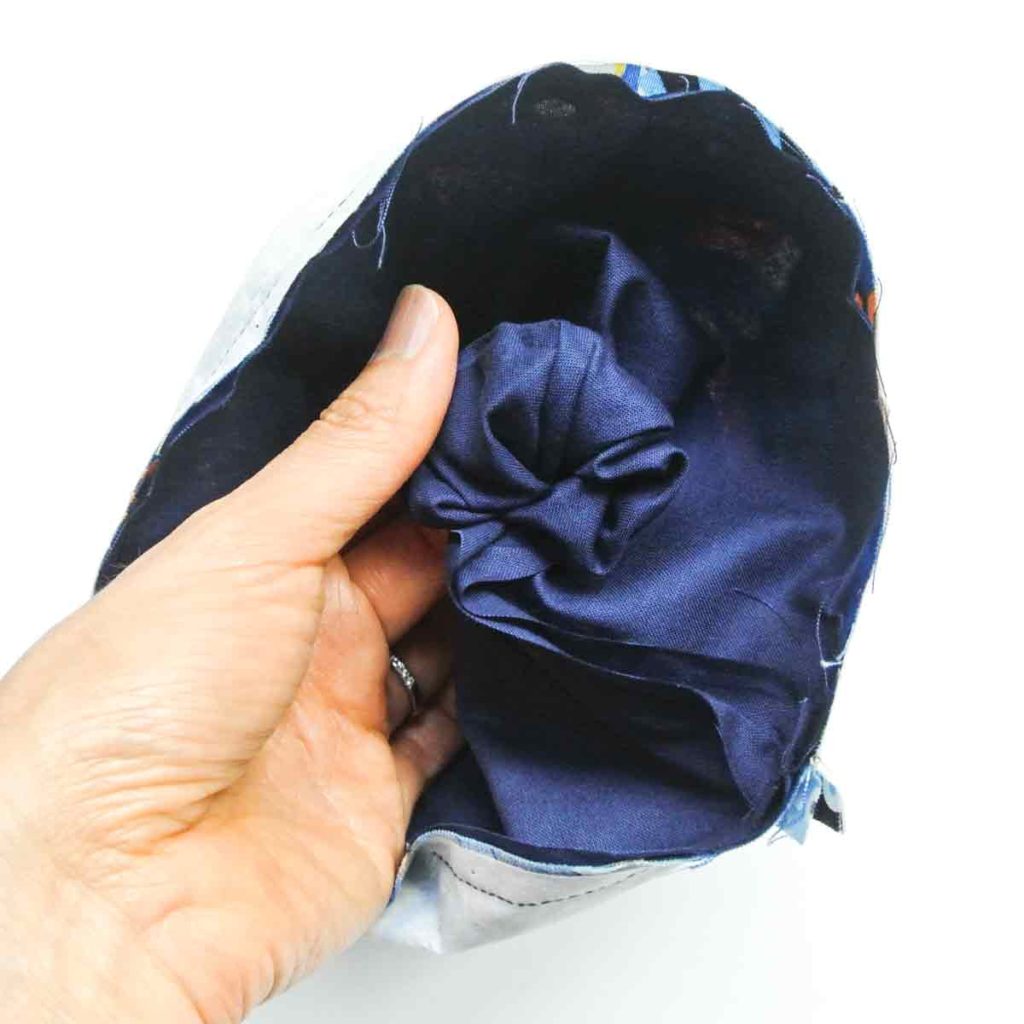
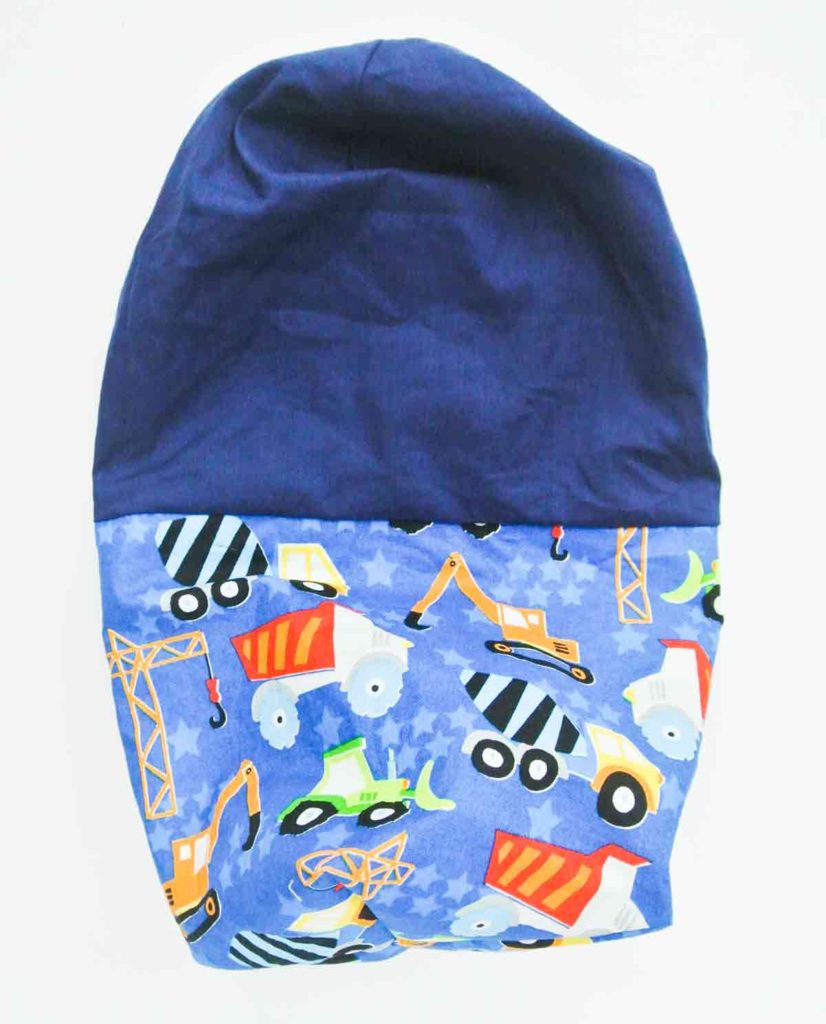
Then, turn basket to the right side through the opening on the lining
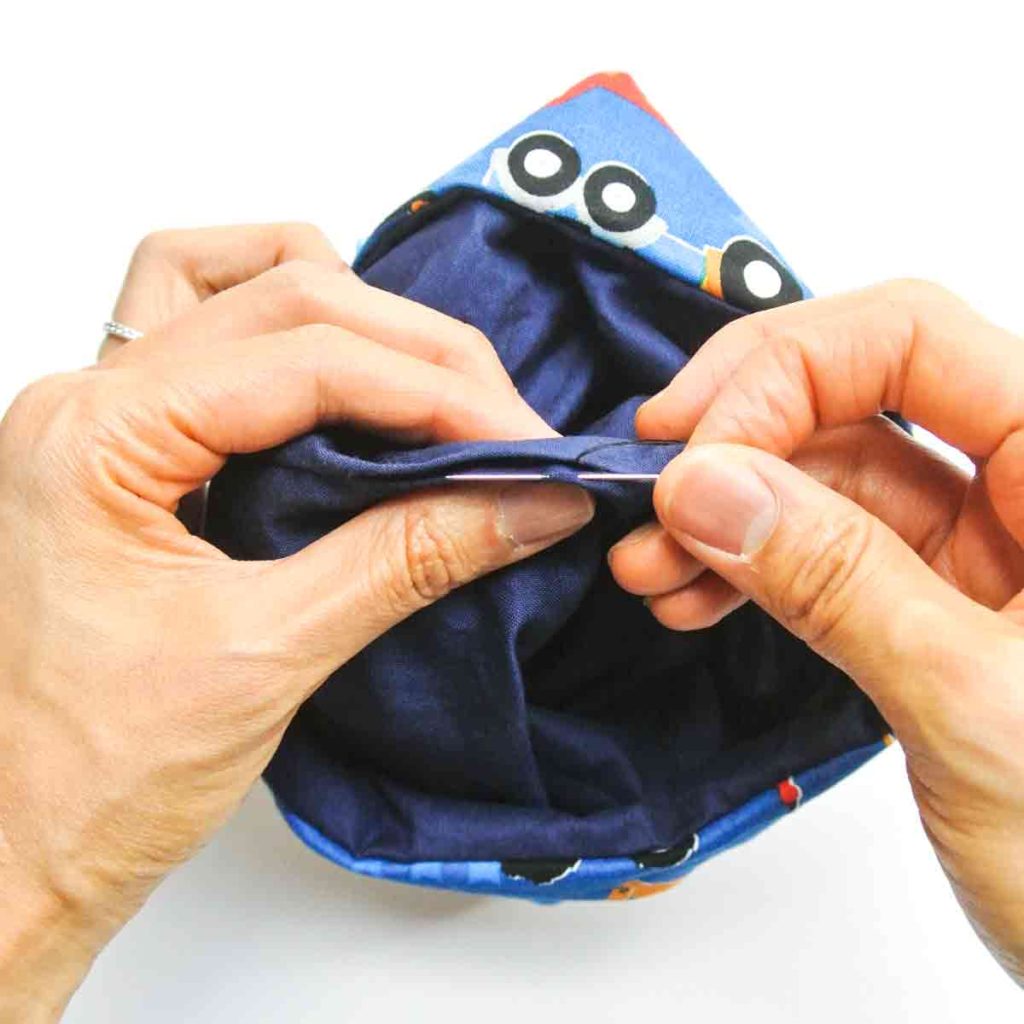
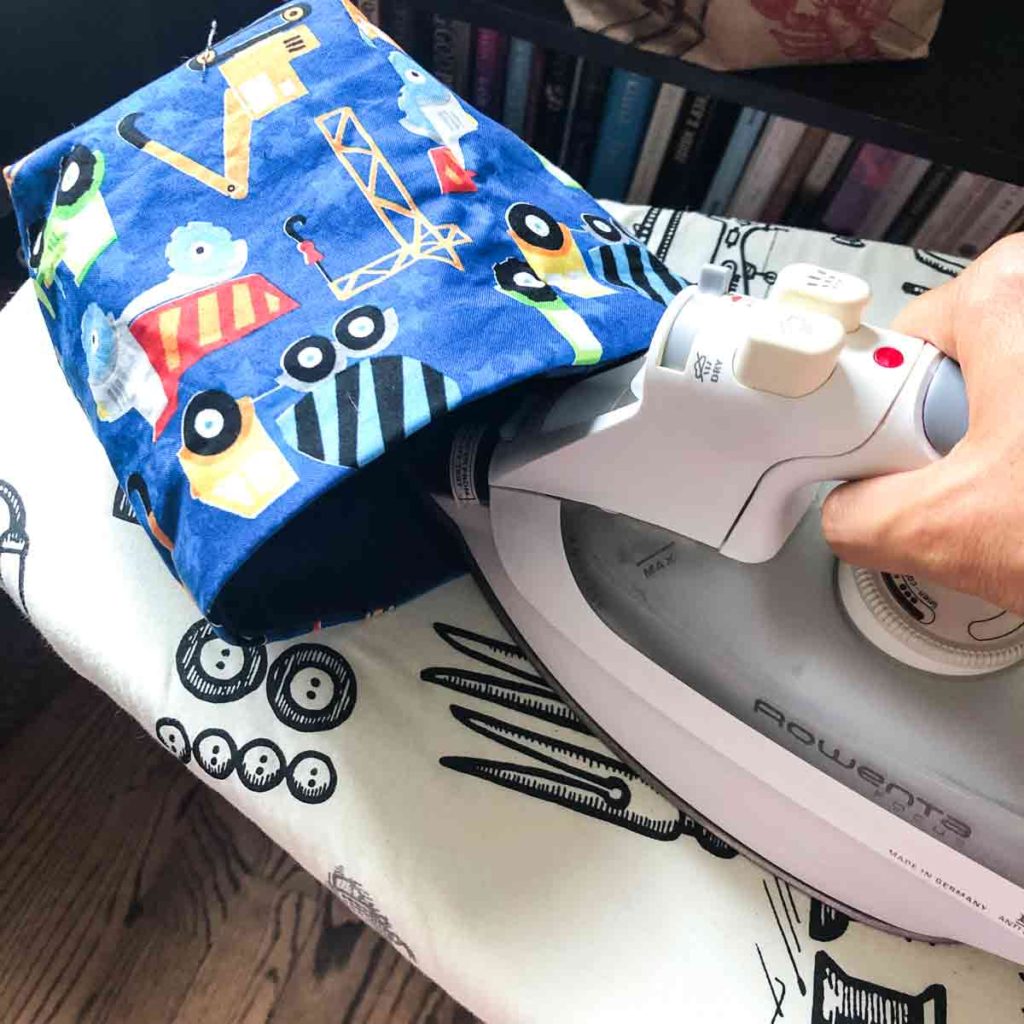
Finally, use invisible ladder stitch to hand sew the opening close and give your bin a good press.
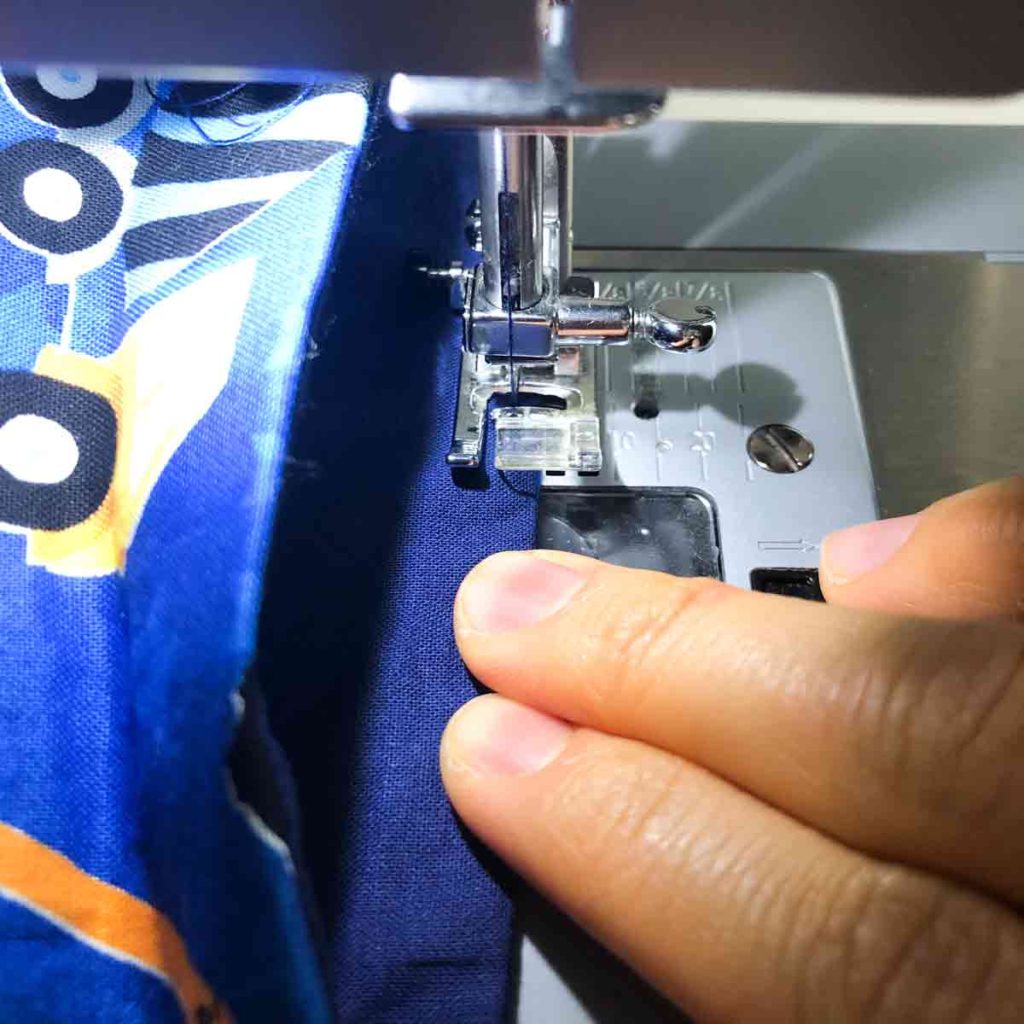
LEFT: Optional: Top stitch around the top edge of fabric bin. (This step is more of a personal preference)
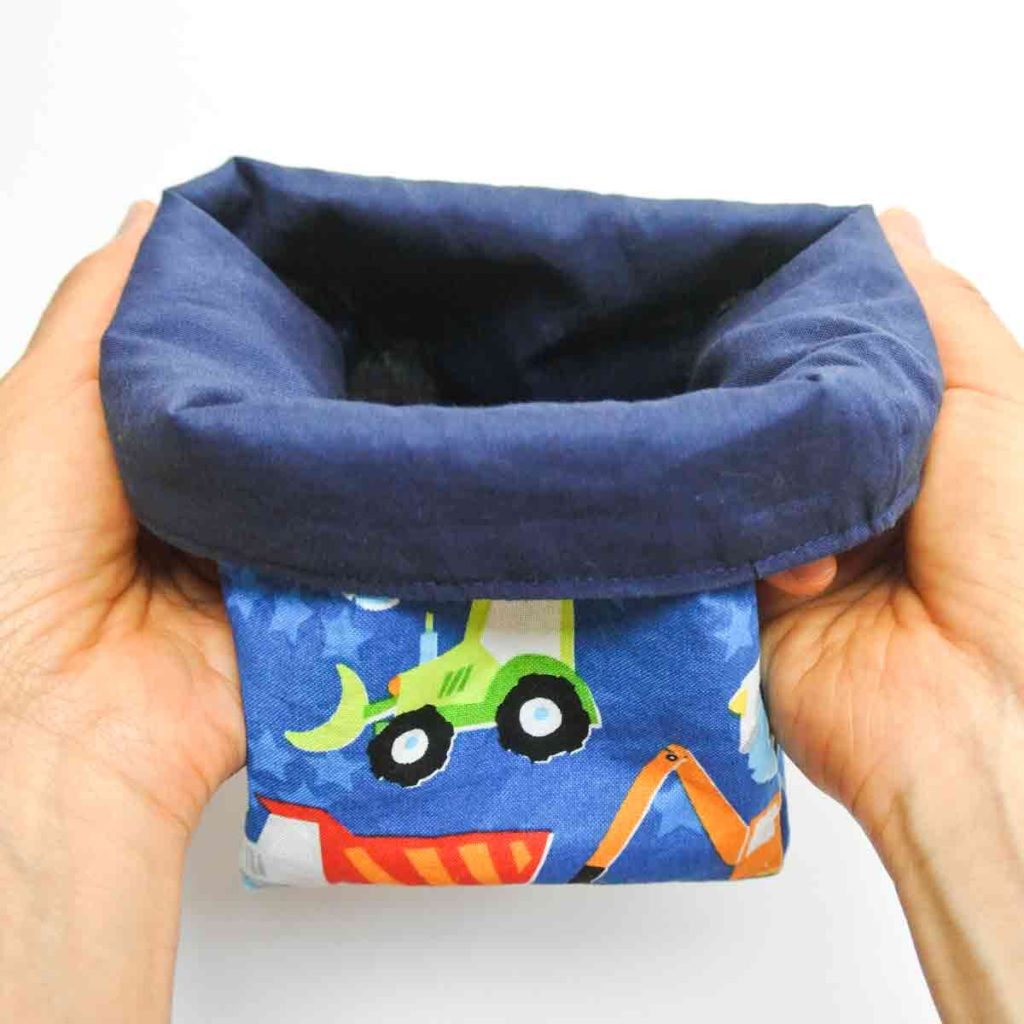
RIGHT: Fold down top edge of bin.
Finished! Wasn’t that easy? Now that you’ve made one…I’m pretty sure you won’t want to stop! The more you make the easier (and faster) they get. Sew a whole bunch to help you organize or give them as gifts so your friends and family can also stay organized!
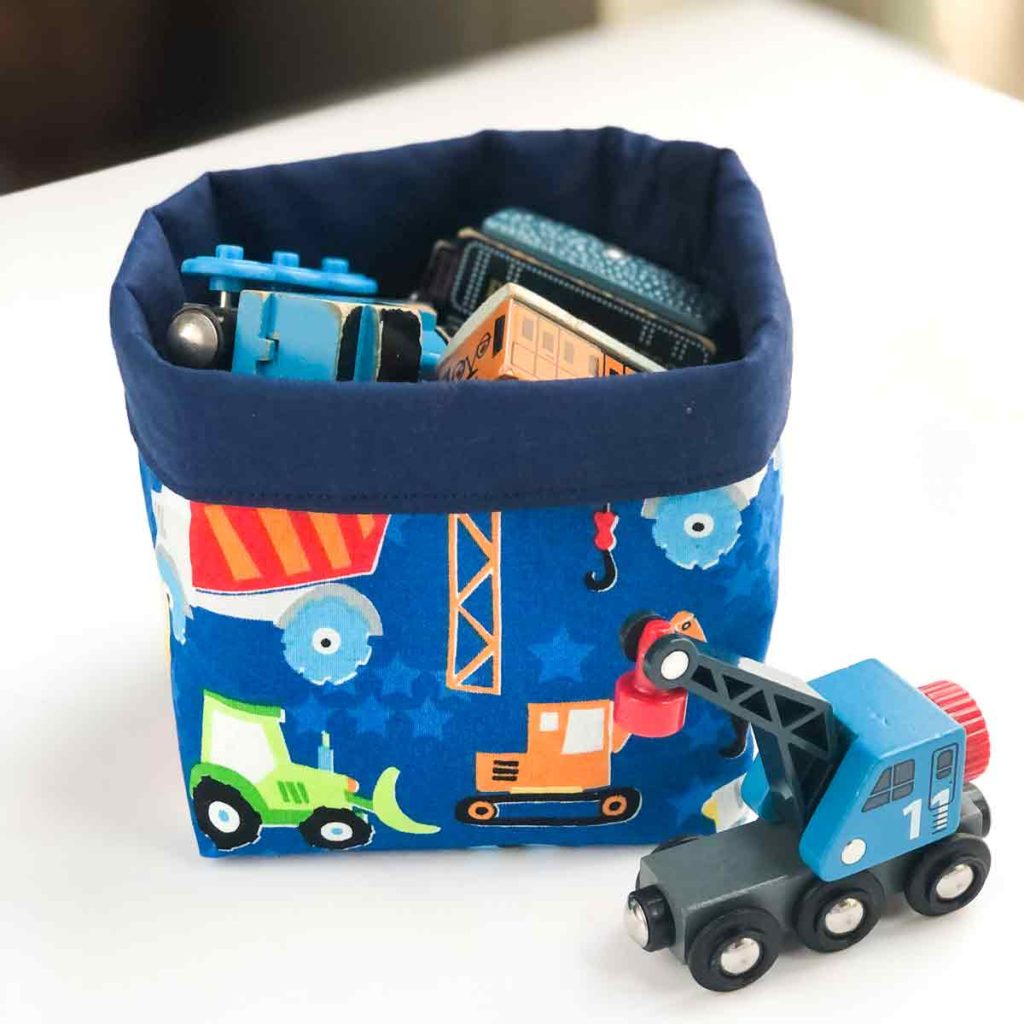
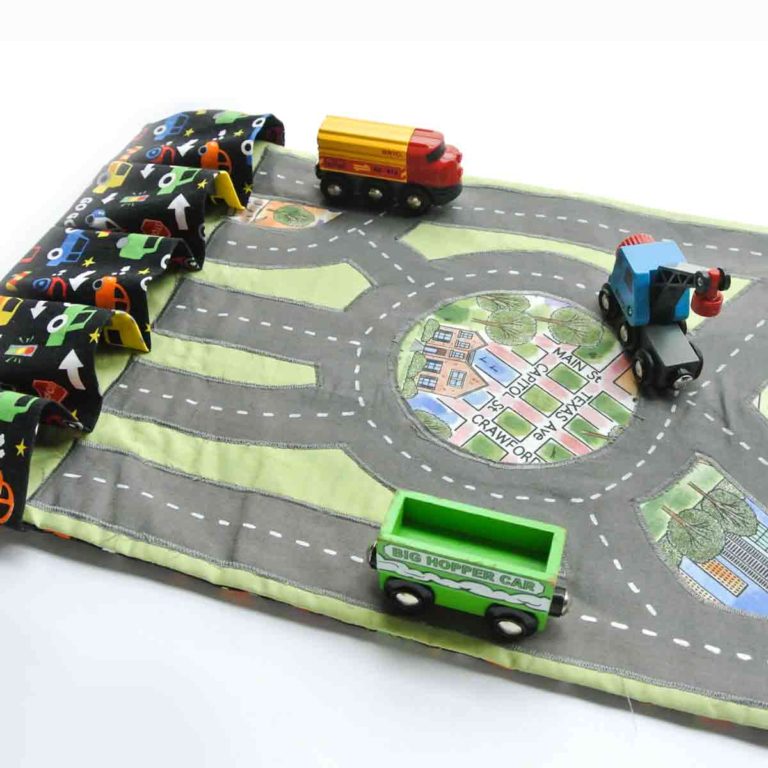
Great for stowing little children’s toy cars.
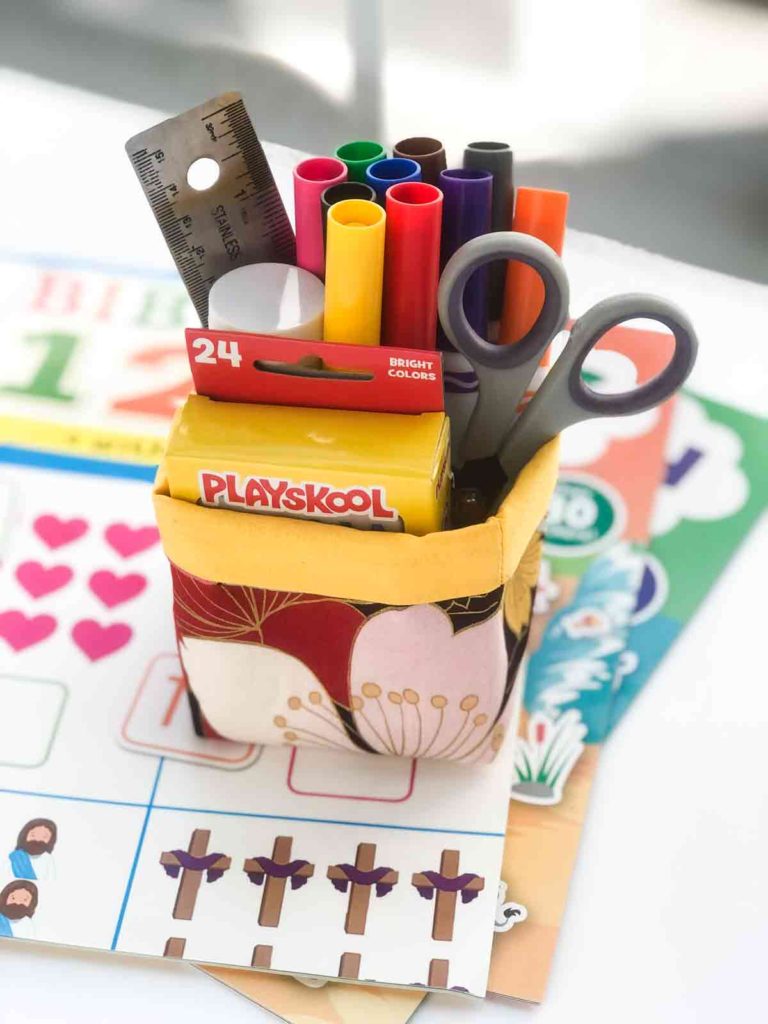
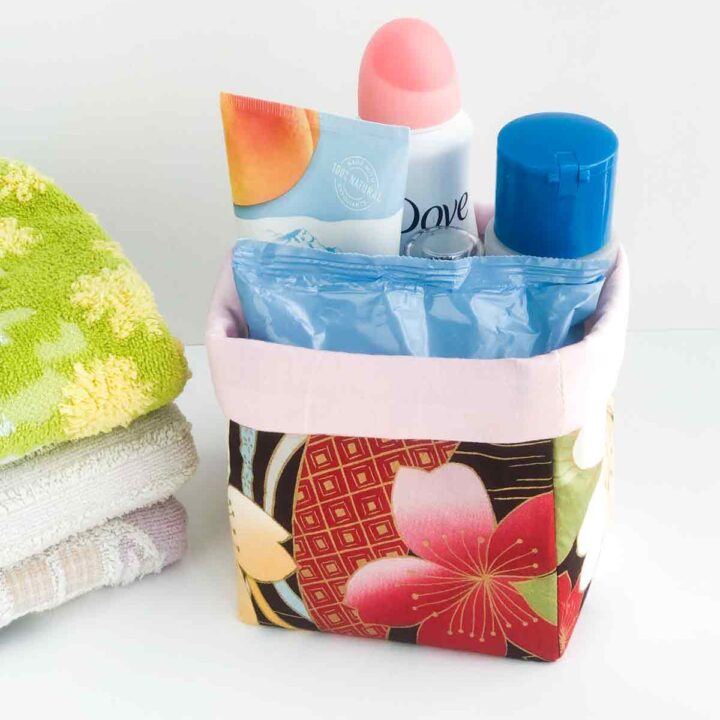
Great for organizing arts and craft supplies, pens, sewing supplies, toiletries, makeup, etc. Works well as a fabric planter bin too!
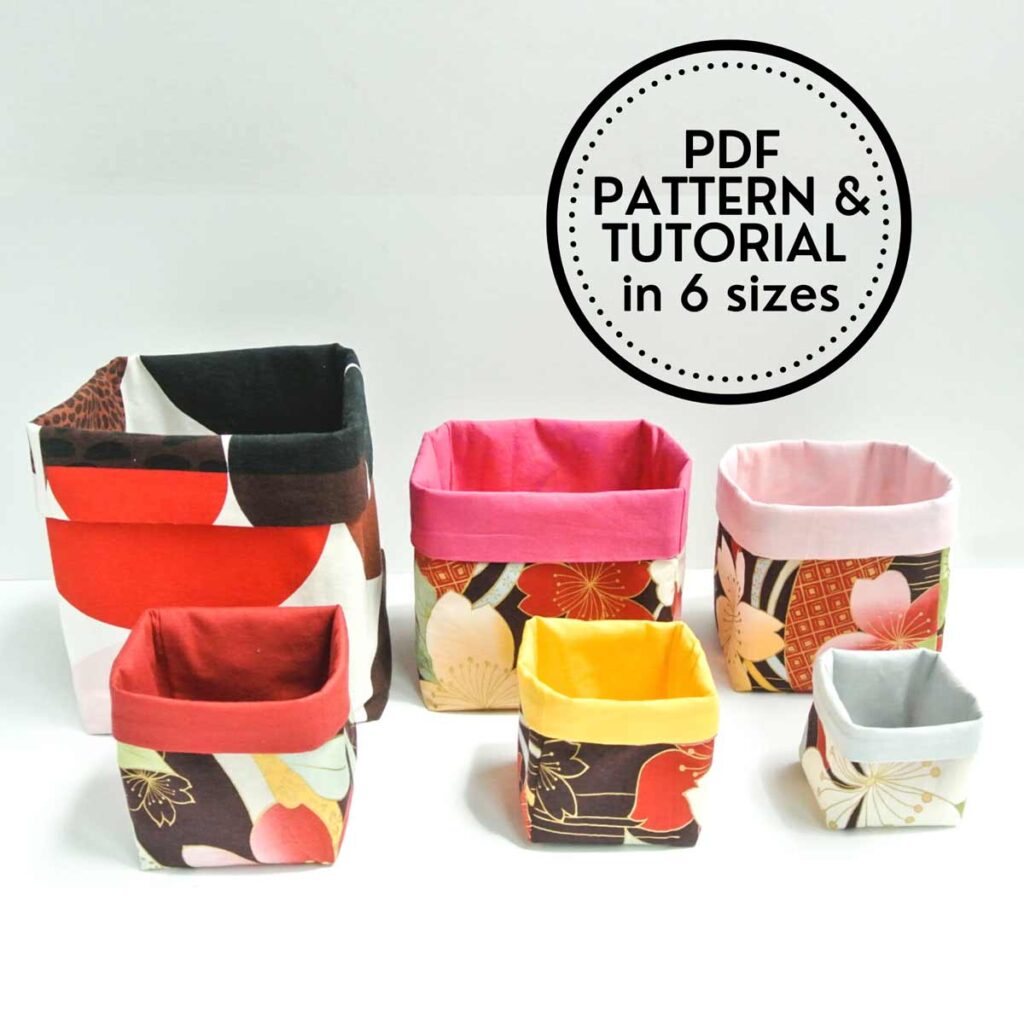
The ad-free, PRINTER-FRIENDLY PDF version of this sewing tutorial with all the step-by-step photos is available for purchase IN OUR SHOP. The sewing tutorial consists of 15 pages of detailed instructions with photos. Additionally, you will receive 6 sizes (instead of 3): XS, S, M, L, XL, XXL in PDF Format. Print a copy today to keep next to your sewing machine for easy reference!
I hope you enjoyed this tutorial and that it helped you to be more organized! Don’t forget to pin this image to save for later. Happy Sewing!
How to Sew Fabric Baskets (3 Sizes)
Make these easy fabric baskets to de-clubtter and organize your house. Great sewing project for beginners.
Materials
- FREE FABRIC BASKET PATTERN - Available in the MindyMakes Free Resource LIbrary
- EXTERIOR FABRIC - 100% Cotton (see note 1)
- LINING - 100% Cotton (same amount as EXTERIOR FABRIC. See note 1)
- FUSIBLE INTERFACING (same as EXTERIOR FABRIC, see note 1)
Tools
- SEWING MACHINE
- FABRIC SCISSORS
- SEWING PINS
- FABRIC CHALK
- MATCHING THREAD
- HAND SEWING NEEDLE
- IRON - for pressing
Instructions
- Print, cut out pattern and piece pattern together (for Large fabric basket only).
- Cut pattern out on EXTERIOR FABRIC and LINING.
- Cut triangles of paper pattern that are in between dotted line labeled "Dart Line - Sew Here".
- Fold up the two side darts on paper pattern to expose the fabric. Using fabric chalk, mark the dart lines on the fabric.
- Pin pattern to fabric on fold (fold of fabric is to your right)
- Fold up the two side darts on the pattern to expose the fabric underneath.
- Using fabric chalk, mark all the dart lines on the fabric.
- Remove the paper pattern from the fabric. Flip fabric to the other side so fold line is on left side.
- Place pattern on top of fabric (blank side of pattern will face up).
- Mark dart lines on the middle triangle (where you had cut out from paper pattern earlier). There's no need to mark side darts on this second side of fabric.
SEWING DARTS OF FABRIC BASKETS
- Use iron to apply fusible interfacing to wrong side of Exterior Fabric.
- Mark dart lines as you did for Lining.
- Fold fabric in half at fold line and sew the two side darts. Make sure to back stitch at either end.
- Open the bottom of the fabric bin (between the two darts you had just sewn) and pinch the darts together so you get something that looks like a plus (+) sign.
- Match the dart lines and sew together.
- Sew side seams together.
- Repeat sewing darts on lining.
- When sewing side seam of lining together, leave a small opening (1 -2 inches or 2.5-5cm) towards the bottom. Make sure to back stitch on either end of the opening.
SEWING BASKET TOGETHER
- With right sides together, match side seam of outer fabric and lining together. Pin at the top of fabric bin.
- Sew lining to exterior fabric at top edge (1/2" or 1.27cm seam allowance).
- Turn fabric basket to the right side through the opening on the lining.
- Use invisible ladder stitch to hand sew the opening close and give your bin a good press.
- (Optional)- Top stitch around the top edge of fabric bin.
- Fold down top edge of bin and you are done!
Notes
- Amount of Exterior Fabric Needed (Fat Quarters Work Great)
• Large Basket: 20" width x 10" Height
• Medium Basket: 17" width x 8" Height
• Small Basket: 15" width x 7" Height - Amount of Lining Needed: Same as Exterior Fabric (see note 1)
Recommended Products
As an Amazon Associate and member of other affiliate programs, I earn from qualifying purchases.

These are the best little baskets, I just love them, thank you so much for sharing them. The way you do the bottom tucks is fabulous and so pretty 🙂