How to Make Simple Fabric Pumpkins (Free Pattern)
Always wondered how to make stuffed pumpkin decorations for the fall? These adorable pattern for pumpkins are free and available in 3 sizes. Now you can easily whip up some some adorable stuffed pumpkin decor in no time!
This post may contain affiliate links. Please read my disclosure policy for details. As an Amazon Associate, I earn from qualifying purchases.

Stuffed Fabric Pumpkins – A Fun Fall Decor
Recently I saw a beautiful red metal truck decor on sale at Hobby Lobby and just had to pick it for my 5 year old son. He is after all, obsessed with red vehicles!
But…an empty red truck seemed a little…empty. So the next thing I needed were some decorative stuffed pumpkins to liven up this red truck! And so I immediately got to work and sewed up some stuffed fabric pumpkins!
Today, I will be showing you exactly how to make these adorable stuffed pumpkins using my free fabric pumpkin patterns.
How Do You Make a Pumpkin Out of Fabric?
In a nutshell, the steps are as follows:
- Cut out 6 or 8 [FABRIC PUMPKIN PATTERN] pieces on fabric of choice.
- Sew [FABRIC PUMPKIN PATTERN] pieces together.
- Stuff the pumpkin with polyester fiberfill.
- Close top opening of fabric pumpkin using large running stitch.
- Make fabric pumpkin stem and glue it to the top of your stuffed pumpkin.
- Finished!
How to Make a Tall Fabric Pumpkin?

Please note that all measurements are approximate and not exact. The final dimension of your pumpkins may differ slightly from what is listed here.
First of all, these adorable fabric pumpkin patterns come in 3 sizes: small, medium, and large.
Second, the small and medium pumpkin patterns make pumpkins that are short and wide. Small pumpkin measures approximately 4″ (10.16 cm) wide and 3.5″ (8.9cm) tall.
Medium pumpkin measures 6″ (15.24cm) wide and about 5″ (12.7cm) tall.
Third of all, the Large pumpkin pattern makes a tall and round pumpkin variety and measures approximately 6″ (15.24cm) wide and 8″ (20.32cm) tall.
Finally, depending on how long you make the pumpkin stems, you can also adjust the how tall or short each of your fabric pumpkins are as well.
Pattern for Fabric Pumpkins
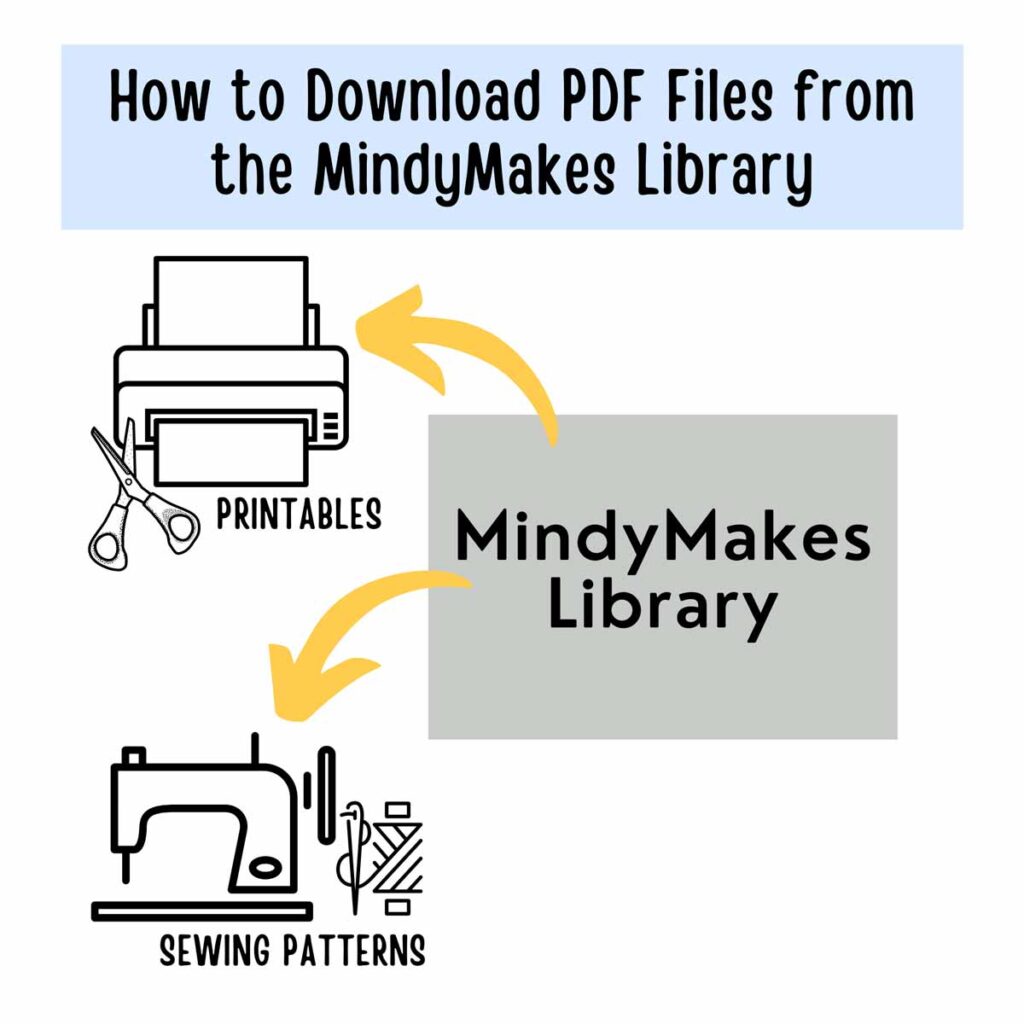
To download the PDF Fabric Pumpkin Pattern, subscribe to the MindyMakes Email List to receive the password for the Mindy Makes Free Resource Library. The fabric pumpkin pattern is listed under section ‘P’ of the library as “Fabric Pumpkins”.
Once you click “submit”, the password will show up on the next page. You will also receive a welcome email with the password in case you forget.
Please allow up to an hour for the welcome email to fly through cyberspace and travel into your inbox. If you still don’t receive the email, make sure to check your junk or spam folders and add my email to your safe list!
Need more help? Be sure to check out this step-by-step guide that shows you exactly how to get the password, enter the library, and download the PDF.
Need additional help? Be sure to check out this step-by-step guide that will show you exactly how to get the password, enter the library, and download the PDF.
What Do I need to Make Simple Fabric Pumpkins?
Materials
- PUMPKIN FABRIC – See “What Size Fabric for Fabric Pumpkins” below
- FELT/FLEECE – for stem
- POLYESTER FIBERFILL – I like using Poly-fill by Fairfield
- MATCHING THREAD
- EMBROIDERY FLOSS (optional) – for tying pumpkins at the end to create “wedges”
Tools
- HOME SEWING MACHINE – I LOVE my SINGER HEAVY DUTY SEWING MACHINE
- FABRIC SCISSORS – GINGHERS are my favorite. I’ve tried other brands such as Fiskars, but they just don’t compare.
- SEWING PINS and/or SEWING CLIPS
- HOT GLUE GUN & GLUE GUN STICKS
What Size Fabric for Fabric Pumpkins?
- To make Large Size Fabric Pumpkin, you will need 1/3 Yard of fabric. Equivalent to 12 inches or 0.3M of fabric.
- For Medium Size Fabric Pumpkins, you will need 1/4 Yard of fabric. Equivalent to 9 inches or 0.23M of fabric.
- To make Small Size Fabric Pumpkins, you will need 1/4 Yard of fabric. Equivalent to 9 inches or 0.23M of fabric.
Pattern for Pumpkin – How Many Pieces?
In the tutorial below, I will show you how to make a small sized pumpkin using 8 pattern pieces. You can also make the pumpkins using 6 pattern pieces instead.

Photo shows difference between medium fabric pumpkins made with 8 pieces (orange one on the left) versus medium size made with 6 pieces (white one on the right).
The orange pumpkin measures 6″ wide and 3.5″ tall (15.24cm x 8.9cm) whereas the white pumpkin measures 4.5″ wide and 3.75″ tall (11.43cm x 9.5).
See how the orange pumpkin made with 8 pieces is wider and a little bit flatter than the white pumpkin made with 6 pieces. Keep this in mind when deciding whether you want to make a 6 or 8 piece pumpkin.
However, honestly these little fabric pumpkins are so fun and easy to make that you’re going to want to make a bunch of them in varying sizes and fabrics!
How Do You Make Fabric Pumpkins?
Cut and Sew Pattern for Pumpkins
First, cut out 6 or 8 pieces of [FABRIC PUMPKIN PATTERN].


Next, put two pieces right sides together and sew at 1/2” (1.27cm) seam allowance. Make sure to back stitch on both ends.

Then, open up the two [FABRIC PUMPKIN PATTERN] piece you just stitched together so right side of fabric faces you.

Now, place third piece of [FABRIC PUMPKIN PATTERN] together with the two pieces you just sewed, right sides together.

Next, match the tip of the pattern pieces together and pin in place.

Then, pin entire [FABRIC PUMPKIN PATTERN] piece together and stitch at 1/2” (1.27cm) seam allowance (black dotted line). Make sure to back stitch at the ends.

You will now have three [FABRIC PUMPKIN PATTERN] pieces stitched together. Front and back view.

Now, repeat the same process for all your other [FABRIC PUMPKIN PATTERN] pieces until you’ve sewn them all to each other. You will end up with something that looks like the photo.

All 8 [FABRIC PUMPKIN PATTERN] pieces stitched together, view from top.

All 8 [FABRIC PUMPKIN PATTERN] pieces stitched together, viewed from the bottom.

Next, turn your pumpkin to the right side through bottom opening.

You will end up with a pumpkin that looks like this.
Stuffing Your Fabric Pumpkin

Next, start filling your pumpkin with polyester fiberfill.

Now, continue stuffing the pumpkin until you are happy with how full it looks.

Next, take large straight stitches around the opening of the pumpkin, 1/2” (1.27cm) from the top. To learn more about the straight stitch (also called running stitch), check out this article.

Once you’ve taken stitches about 1.5 circle around the opening, you can start pulling on the thread to close it.

Keep pulling on the thread to close the opening.

Then, continue pulling the the thread until the opening is fully closed.

Next, take a stitch on the opposite side (from where the thread came out) of the opening. I’ve highlighted the thread in blue for better visualization.

Pull thread out and do this a few more times to really cinch the opening close. Once the opening is nice and tight, tie a knot at the end of the thread.

Next, stick your needle through where the knot is and poke it out a distance away from the knot.

Finally, pull out the thread and snip off excess.

Your stuffed pumpkin is now done. Top and bottom view. Next, we will make the fabric stem.
Making Pumpkin Stem

For Reference:
- LARGE PUMPKIN STEM measures approximately 2.25″ wide and 10″ long (5.71cm x 25.4cm).
- MEDIUM PUMPKIN STEM approximately 1.5″ wide and 15″ long (3.81 cm x 38.1 cm).
- SMALL PUMPKIN STEM approximately 1″ wide x 8″ long (2.54cm x 20.32 cm).
Keep in mind that the longer your strip, the thicker your stem will be.

First, cut a long strip of felt or fleece in the color that you want your stem to be.

Next, start rolling your fabric strip from the bottom. Try to roll it as tightly as you can.

Then, continue rolling the strip until you’ve reached the end.

Now, you will have a little pumpkin stem.

Next, finish off stem by using a whip stitch to secure the end.

Now, continue stitching until you’ve secured the entire length of the stem.

Then, tie and knot and poke the needle through where the knot is and out the stem a little distance away.

Finally, snip off the excess thread. Your fabric stem is now complete!
Gluing Pumpkin Stem
NOTE: At this point, you can glue the stem to the stuffed pumpkin and you are finished. If you’d like to create the “wedges” around your stuffed pumpkin, proceed to “HOW TO TIE PUMPKIN” before gluing the fabric stem on.

First, apply hot glue gun all around bottom edge of stem.

Next, stick your stem to the top of your stuffed pumpkin, in the center. All done!
Measuring Amount of Floss To Tie Fabric Pumpkin
Before we start, we need to determine how much embroidery floss is need to tie the entire pumpkin.

First, take your embroidery floss and measure (wrap it around) the length of one of the seams, from top center to bottom center.

Next, take this length and measure out another length of floss with it. You now have 2 “lengths”.
NOTE 1: Since we have 8 seams for this pumpkin (remember, we used 8 [FABRIC PUMPKIN PATTERN] pieces at the beginning) we will need to measure out this length 8+1 times, for a total of 9 times. The extra “1” length gives us extra floss to tie the pumpkin later on.
NOTE 2: If you used 6 [FABRIC PUMPKIN PATTERN] pieces at the beginning, measure out this length 6 + 1 times.

Photo shows floss that’s been measured out 9 “lengths”, which will be enough to tie this pumpkin with 8 seams.

Now cut off extra floss.

You are now ready to tie your pumpkin!
NOTE: You can tie the pumpkin in any way you like, but I do recommend wrapping the floss around the seams to create the “wedged” look. The photo tutorial below shows you how I tied the pumpkins, it’s essentially like tying a parcel. However, you can tie it using whatever method you prefer and it doesn’t have to be the way I tie it!
Tying Your Stuffed Pumpkin

First, fold the floss in half and center the floss over the top of the pumpkin. Second, wrap the floss around both sides of the pumpkin at the seams to the bottom of the pumpkin. Then, tie a knot at the bottom of pumpkin.

Next, wrap the floss around another two seams (perpendicular to the seams that are already wrapped), and follow the seam the top of the pumpkin.

Once you are back at the top, first pull one end of the floss under the existing tied floss strand (black arrow).

Next, pull second end of floss under perpendicular floss strand (red arrow).

Tie a knot at the top center of pumpkin. Next, wrap floss around another pair of seams and follow it to the bottom of pumpkin.

Again, at the bottom, thread both ends of floss underneath existing floss like you did previously.

Next, tie a knot at the bottom center of pumpkin.

Then, wrap floss around last pair of seams and follow it to the top of the pumpkin.

Finally, thread one end of floss beneath all the other tied floss (black arrow)

Do the same with other end of floss (red arrow).

Next, tie a knot (left) and pull it tight (right).

Now tie a double knot.

Finally, snip off excess floss. Your tied pumpkin is now done!

View of tied bottom side of pumpkin.

Now, adjust how your pumpkin looks by pulling on the embroidery floss a bit and gently squeezing and patting your pumpkin so it looks good.

Apply glue on the bottom of your fabric stem and glue it to the center of your pumpkin. You are finished!
How to Sew Fabric Pumpkins

These adorable stuffed pumpkins are an easy sewing project and also super fun to make! Whip up a whole bunch in time for fall.
Materials
- PUMPKIN FABRIC (See note 1)
- FELT/FLEECE - to make stem
- POLYESTER FIBERFILL
- MATCHING THREAD
- EMBROIDERY FLOSS (optional) - for tying pumpkins at the end to create "wedges"
Tools
- SEWING MACHINE
- FABRIC SCISSORS
- SEWING PINS or
- SEWING CLIPS
- HOT GLUE GUN
- GLUE GUN STICKS
Instructions
- Cut out 6-8 pieces of [FABRIC PUMPKIN PATTERN].
- Next, put two pieces right sides together and sew at 1/2” (1.27cm) seam allowance. Make sure to back stitch on both ends.
- Open up the two [FABRIC PUMPKIN PATTERN] piece you just stitched together so right side of fabric faces you.
- Place third piece of [FABRIC PUMPKIN PATTERN] together with the two pieces you just sewed, right sides together.
- Match the tip of the pattern pieces together and pin.
- Pin entire [FABRIC PUMPKIN PATTERN] piece together and stitch at 1/2” (1.27cm) seam allowance. Make sure to back stitch at the ends.
- You will now have three [FABRIC PUMPKIN PATTERN] pieces stitched together.
- Repeat the same process for all your other [FABRIC PUMPKIN PATTERN] pieces until you’ve sewn all the pieces together.
- Turn your pumpkin to the right side through bottom opening.
- Start filling your pumpkin with polyester fiberfill.
- Continue stuffing the pumpkin until you are happy with how full it looks.
- When you are happy with your pumpkin, take large straight stitches around the opening of the pumpkin, 1/2” (1.27cm) from the top.
- Once you’ve taken stitches about 1.5 circle around the entire opening, start pulling on the thread to close it.
- Continue pulling the the thread until the opening is fully closed.
- Next, take a stitch on the opposite side (from where the thread came out) of the opening to further close the opening even tighter.
- Pull thread out and do this a few more times to really cinch the opening close.
- Once the opening is nice and tight, tie a knot at the end of the thread.
- Pull out the thread and snip off excess.
- First, cut a long strip of felt or fleece in the color that you want your stem to be.
- Next, start rolling your fabric strip from the bottom. Try to roll it as tightly as you can.
- Continue rolling the strip until you’ve reached the end.
- Finish off the stem by using a whip stitch to secure the end.
- Apply hot glue gun all around bottom edge of stem.
- Stick your stem to the top of your stuffed pumpkin, in the center. All done!
CUTTING AND SEWING PATTERN FOR PUMPKIN
MAKING PUMPKIN STEM
GLUING PUMPKIN STEM
NOTE: At this point, you can glue the stem to the stuffed pumpkin and you are finished. If you’d like to create the “wedges” around your stuffed pumpkin, proceed to “HOW TO TIE PUMPKIN” before gluing the fabric stem on.
HOW TO MEASURE EMBROIDERY FLOSS FOR TYING PUMPKIN
Before we start, we need to determine how much embroidery floss is need to tie the entire pumpkin.
- Take your embroidery floss and measure (wrap it around) the length of one of the seams, from top center to bottom center of pumpkin.
- Take this length and measure out another length of floss with it. You now have 2 “lengths” (see Notes 2 and 3).
- Repeat until you’ve measured out 9 “lengths” (this will be enough to tie a pumpkin with 8 seams), then cut off extra floss.
4. You are now ready to tie your pumpkins (see note 4)
HOW TO TIE PUMPKIN
- Fold the floss in half and place midpoint of floss over the top of the pumpkin.
- Wrap the floss around both sides of the pumpkin seams and follow the seam to the bottom of pumpkin.
- Tie a knot at the bottom of pumpkin.
- Wrap the floss around the two seams (perpendicular to where you already wrapped it) and follow the seam to the top of the pumpkin.
- Once you are back at the top, pull one end of the floss (doesn’t matter which one) under the existing floss.
- Pull second end of floss under the already tied floss.
- Tie a knot at the top center of pumpkin. Next, wrap floss around another pair of seams and follow it to the bottom of pumpkin.
- Again, at the bottom, thread both sides of floss underneath existing floss like you did previously.
- Tie a knot at the bottom center of pumpkin and wrap floss around last pair of seams and follow it to the top of the pumpkin.
- Finally, thread one end of floss beneath all the other tied floss and do the same with other end of floss.
- Next, tie a knot, pull it tight, and then tie another knot to form a double knot. Snip off excess floss.
- Now, adjust how your pumpkin looks by pulling on the embroidery floss a bit and gently squeezing and patting your pumpkin so it looks good.
- Apply glue on the bottom of your fabric stem and glue it to the center of your pumpkin. You are now finished!
Notes
NOTE 1:
- To make Large Size Fabric Pumpkin, you will need 1/3 Yard of fabric. Equivalent to 12 inches or 0.3M of fabric.
- For Medium Size Fabric Pumpkins, you will need 1/4 Yard of fabric. Equivalent to 9 inches or 0.23M of fabric.
- To make Small Size Fabric Pumpkins, you will need 1/4 Yard of fabric. Equivalent to 9 inches or 0.23M of fabric.
NOTE 2: Since we have 8 seams for this pumpkin (remember, we used 8 [FABRIC PUMPKIN PATTERN] pieces at the beginning) we will need to measure out this length 8+1 times, for a total of 9 times. The extra “1” length gives us extra floss to tie the pumpkin later on.
NOTE 3: If you used 6 [FABRIC PUMPKIN PATTERN] pieces at the beginning, measure out this length 6 + 1 times.
NOTE 4: You can tie the pumpkin in any way you like, but I do recommend wrapping the floss around the seams to create the “wedged” look. The way I like to tie it is essentially like tying a parcel. However, you can tie it using whatever method you prefer!