How to Make a DIY Lanyard (Free Pattern)
Learn how to make this simple fabric lanyard that only takes about 10 minutes. A perfect sewing project that is great even for beginners!

Now that my son is school-aged, he needs a bus and MRT pass whenever we travel around Taipei. However…a bus pass and a 6 year old? You know that’s not going to last more than 10 minutes before…”I can’t find my bus pass! Did you move it?”
Hence that’s why lanyards come in so handy! Today, I will be showing you step-by-step how to sew a lanyard using your favorite fabric. This sewing project is extremely easy as it only involves making straight stitches. Thus, this is the perfect beginner sewing project!
What are the Measurements for a Lanyard?

When finished, the lanyard measures approximately 17.5″ (44.45cm) long. The thickness of the lanyard will be either 3/4 in (1.9 cm) or 1/2 in (1.27cm) wide, depending on the width you decided to cut your fabric. (See Lanyard Pattern)
Lanyard Pattern
The lanyard pattern in this tutorial is a set of measurements (see below) that you draw out on fabric and cut out. You don’t need to print anything out. The length of the lanyard stays the same. However, there are 2 options for the width of the lanyard.
You can either choose to make a 3/4″ (1.9 cm) wide lanyard, or a 1/2 in (1.27 cm) wide lanyard. Make the lanyard size that suits your needs!
To make 3/4 in (1.9cm) Wide Lanyard:
- Cut a piece of fabric that measures 3” x 36”(7.62 cm x 91.44 cm).
- Cut a piece of fusible interfacing that measures 3/4”x 35” (1.9 cm x 88.9cm)
- You will need to use a 3/4” wide lobster clasp hook.
To make 1/2 in (1.27 cm) wide Lanyard:
- Cut a piece of fabric that measures 2” x 36”(5cm x 91.44cm).
- Cut a piece of fusible interfacing that measures 0.5” x 35” (1.27 cm x 88.9 cm)
- You will need to use a 1/2” wide lobster clasp hook.
What Materials Do You Use for Lanyards?
For this beginner sewing project, you will need the following supplies:
- FABRIC (I recommend cotton) – 1 Yard (How Much Fabric to Make a Lanyard)
- FUSIBLE INTERFACING
- LOBSTER SWIVEL CLASP – 1/2” or 3/4”wide
- SEWING MACHINE
- SEWING PINS or SEWING CLIPS.
- MATCHING THREAD
- IRON – I love my Rowenta Iron with a retractable cord for easy storage
How Much Fabric to Make a Lanyard?
You will need 1 Yard of Fabric to make a lanyard. Yes, that is not a typo! The reason for this is because you need to cut the lanyard fabric along the selvedge (see Note 1).
Why do we need to cut along the selvedge, you may ask? This is because the selvedge is the least stretchy part of the fabric, thus preventing stretching and distortion of the lanyard.
This is important as you will be hanging objects on the lanyard. The force of gravity will be tugging on the lanyard all day, especially if you are hanging heavier objects on your lanyard such as keys and phone.
Thus, cutting the lanyard pattern along the selvedge will best prevent the fabric from warping and stretching over time.
Note 1: In case you forgot what the selvedge is: it is the edge of the fabric that is “self-finished”, meaning it won’t fray or unravel. Usually it is a different color than the rest of the fabric and may have text printed on them regarding name and manufacturing of the fabric.
The selvedge is also the length of the fabric along which the fabric is cut, that’s why you need 1 yard of fabric (36”) to make a lanyard.
I know this may seem like a lot of fabric just for making 1 lanyard. However, since this is a quick and easy sewing project, you can make a whole bunch for craft fairs, gifts, party favors, and more!
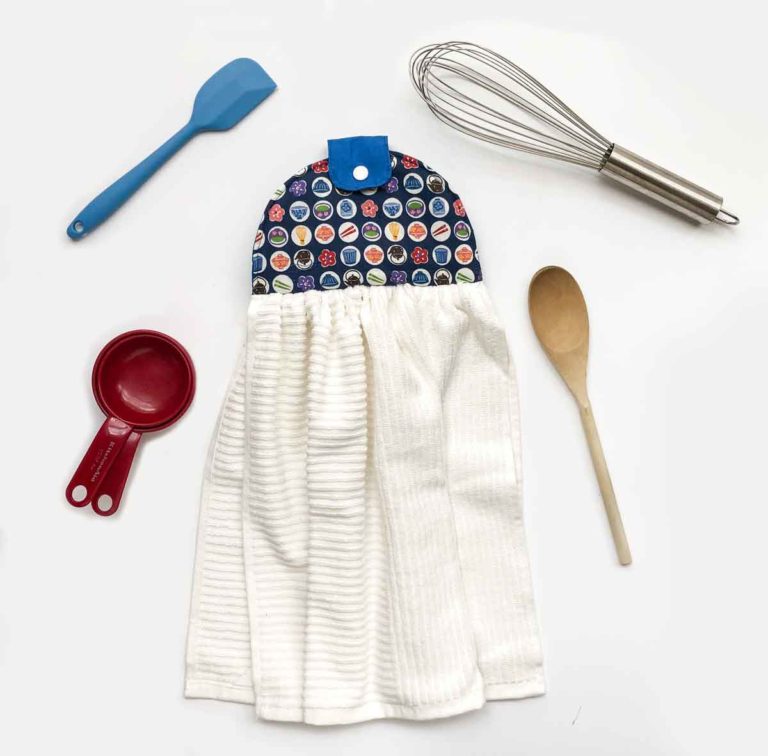
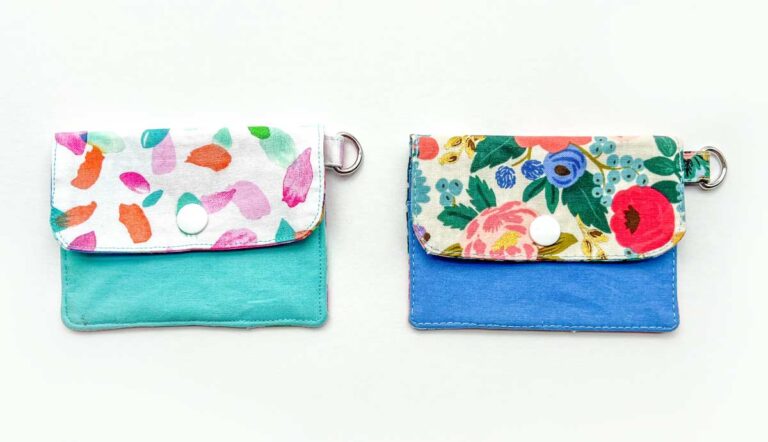
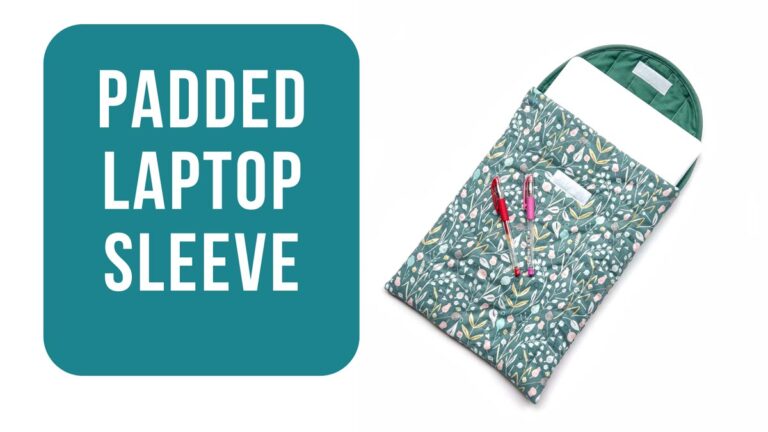
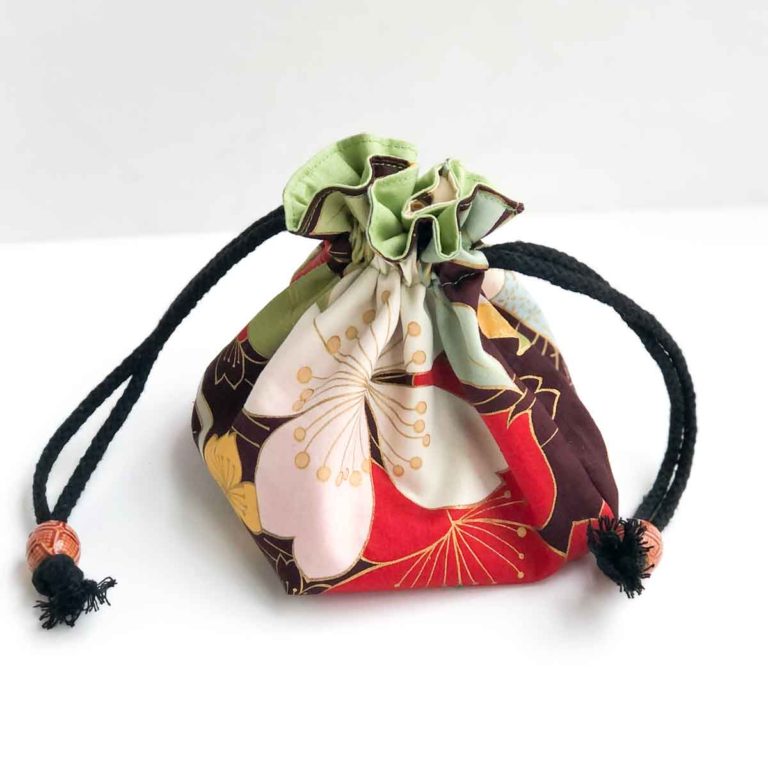
Otherwise, here are a few other useful sewing projects to use your leftover fabrics:
Tips and Techniques for Making Durable Lanyards
Here are a few helpful tips to make your lanyards more durable:
USE THICK COTTON
Using heavy cotton fabrics such as canvas or denim will make for a more durable lanyard. These fabrics will be able to weather the tugging and friction that lanyards frequently undergo.
Make sure to choose 100% cotton fabrics (woven) to minimize stretch. Cotton fabrics that have a partial blend of rayon or lycra (spandex) are unsuitable for making lanyards.
USE HEAVYWEIGHT INTERFACING
Heavy weight fusible interfacing such as Thermoweb’s Heat’n Bond Interfacing is a good choice for making durable lanyards. The extra weight of the interfacing adds durability to the fabric for longevity.
If you want to use even thicker interfacing, fusible fleece is a good option. The fleece will add even more thickness to your lanyard for increased durability.
USE GOOD QUALITY THREAD
Using good quality threads ensures your threads don’t pop or break easily. For starters, purchase polyester name brand threads such as Coats & Clark or Gutermann. These threads are sturdy and made well.
Avoid ones you find in stores or online from brands that you have never heard of. Trust me. I’ve used those threads before and they definitely break a lot easier than my Coats & Clark or Gutermann threads! The last thing you want is to have to constantly fix your lanyard because the threads have popped!
REINFORCE YOUR STITCHES
While you only need to sew 3 straight stitches to make this easy sewing project, however, I can’t stress the importance of reinforcing them via back stitching! Back stitching is important as it prevents your threads from coming undone.
Since lanyards undergo a lot of daily use, it is absolutely crucial that you back stitch at the start and finish of your straight stitches. I highly recommend sewing over your last stitch line (the one that holds your lobster clasp in place) at least 2-3x so that it doesn’t come undone.
CONCLUSION
At the end of the day, you may just have to experiment with what type of fabric and interfacing is the best for your needs.
For example, using thicker interfacing (especially fusible fleece) or heavy cotton will make your lanyard more stiff. This will affect the feel of the lanyard when taking it on and off.
Secondly, you may not need to interface heavy cotton as this also affects the ease of sewing.
However, these tips will give you a good starting point for making durable lanyards that can last for year to come!
How to Make a Lanyard out of Fabric?

First, cut out fabric and fusible interfacing according to pattern dimensions.
Second, fold and iron press fabric in half (wrong side facing each other) along the long length (36”) of fabric.

Third, open up your fabric. You will now have a crease marked along the midline.

Next, place fusible interfacing (adhesive side down towards wrong side of fabric) right above crease line. Interfacing should be 1/2” shorter than fabric on both sides.
Now fuse interfacing to wrong side of fabric.
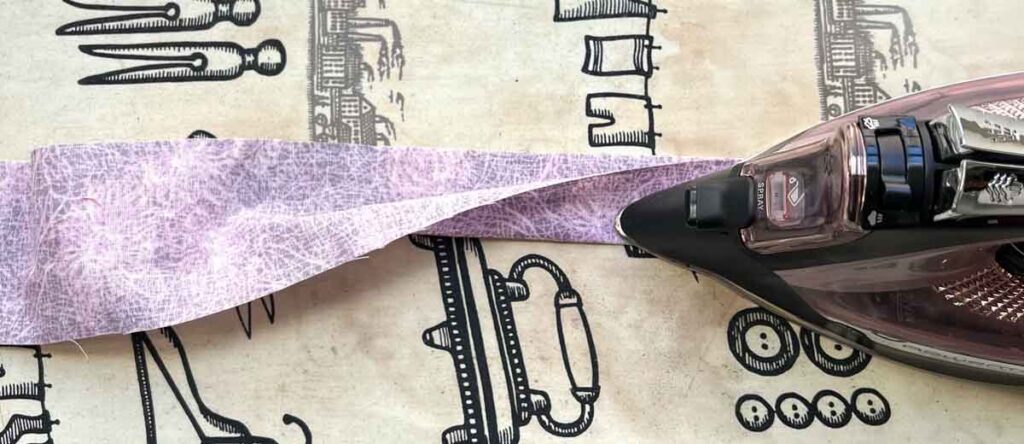
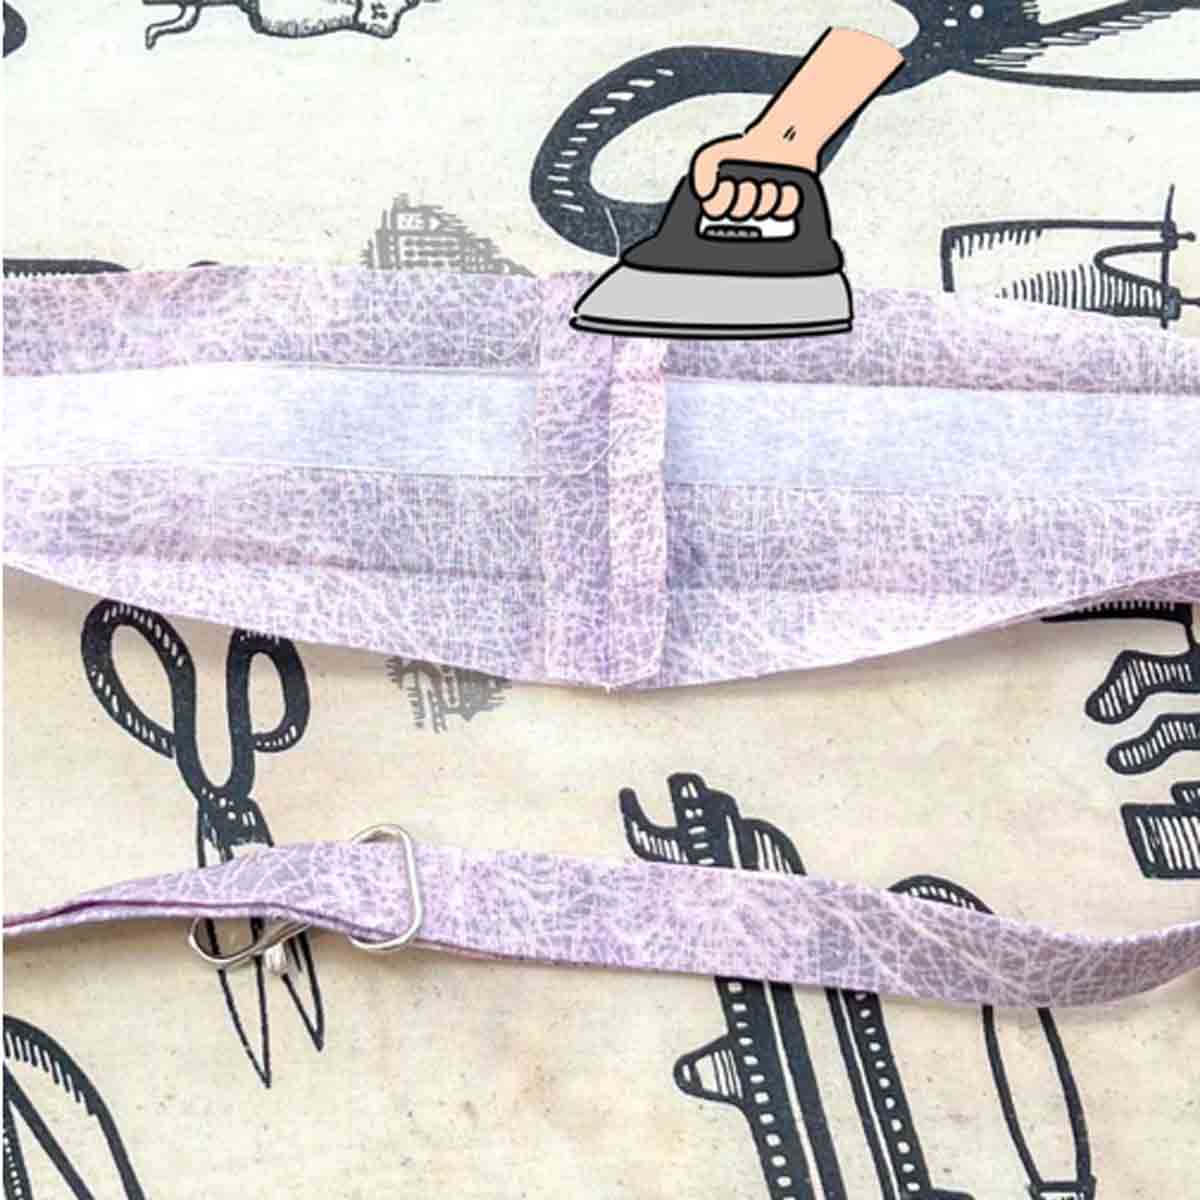
Next, fold bottom edge up to crease line and press down.
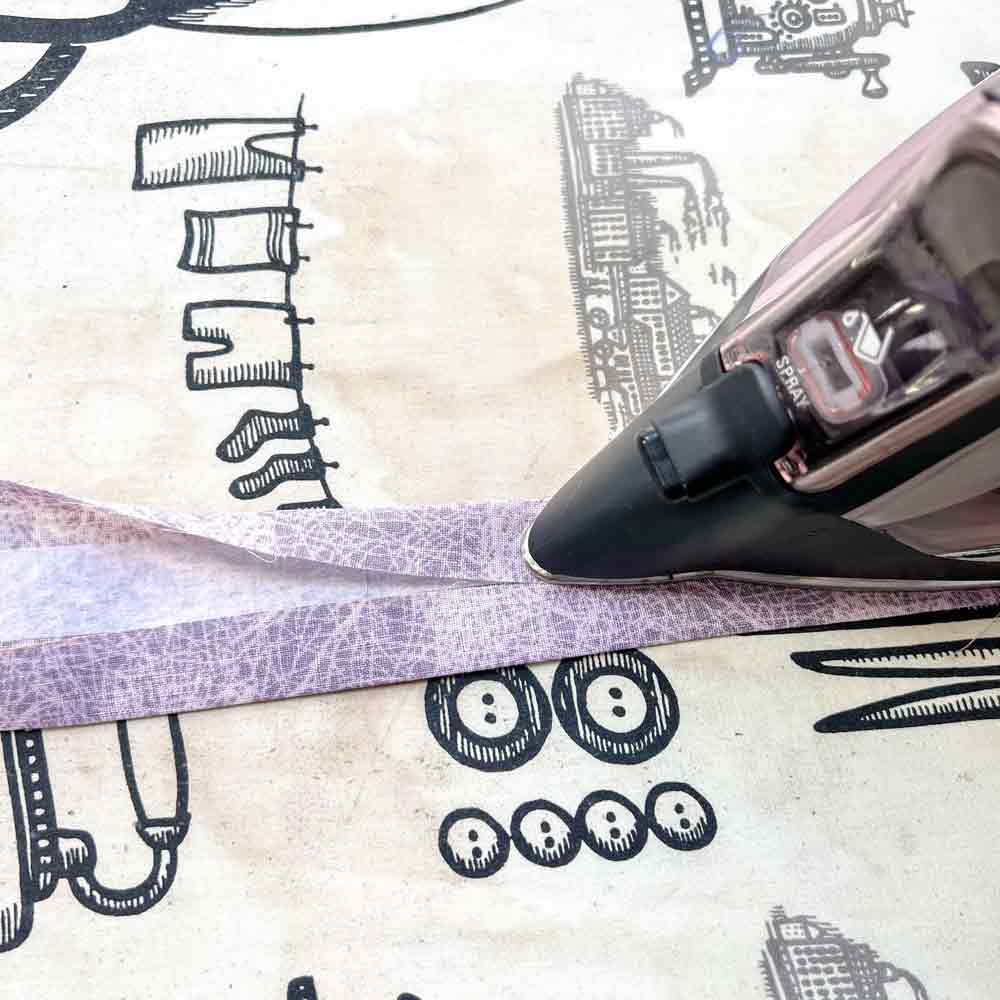
Then fold and press top edge down to meet at the midline.

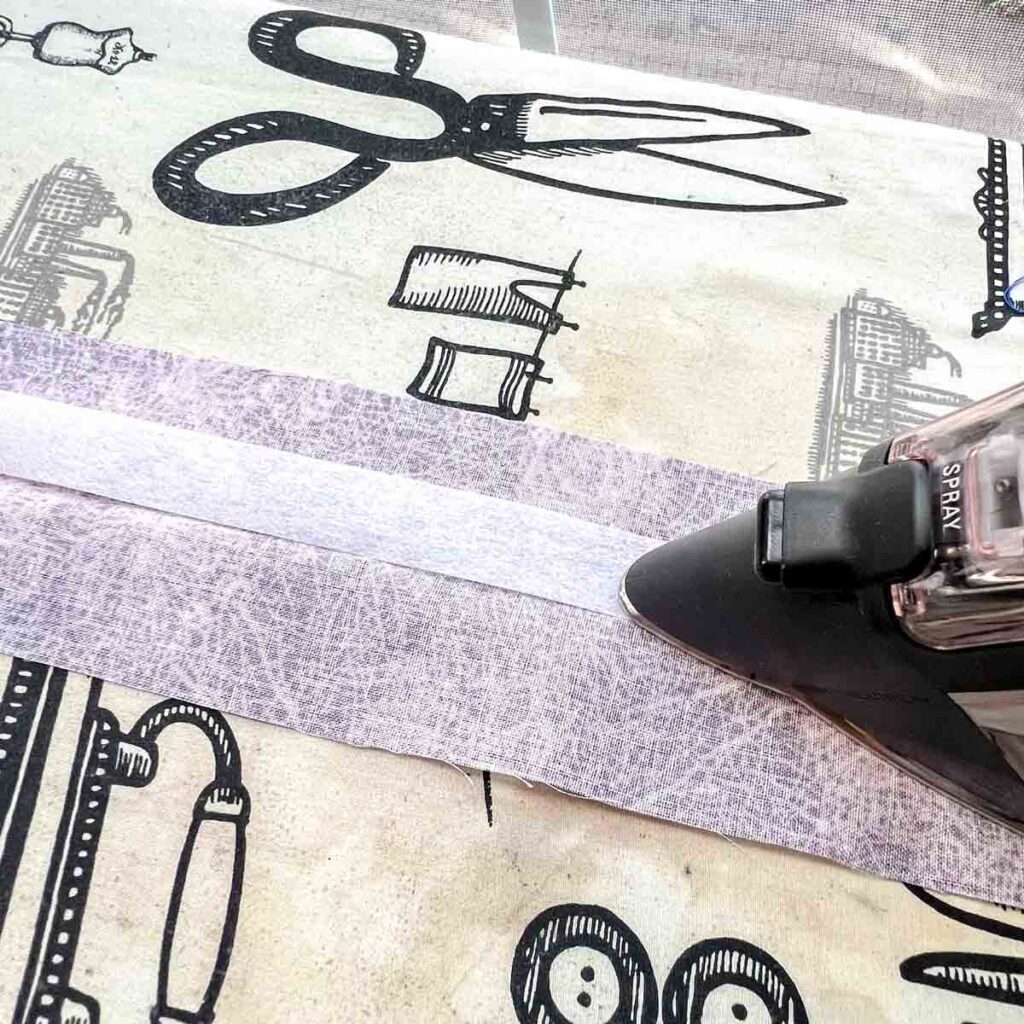
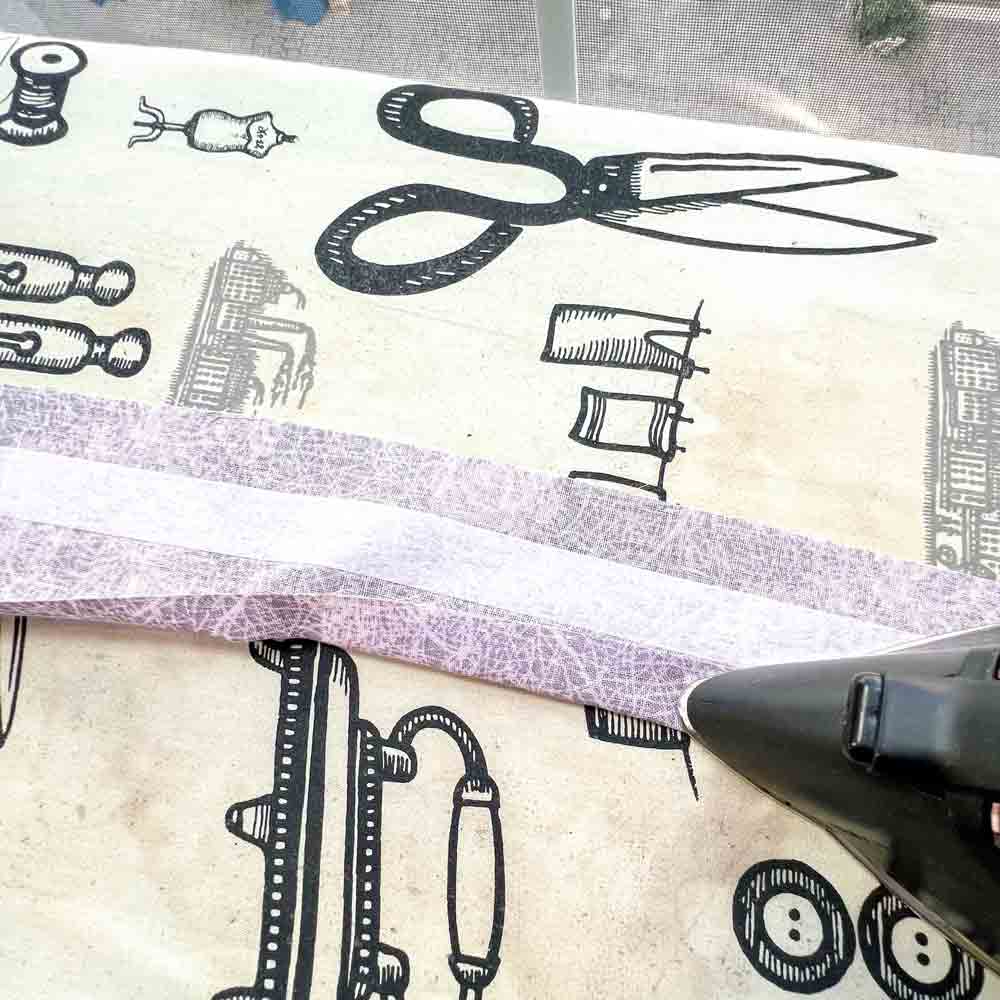
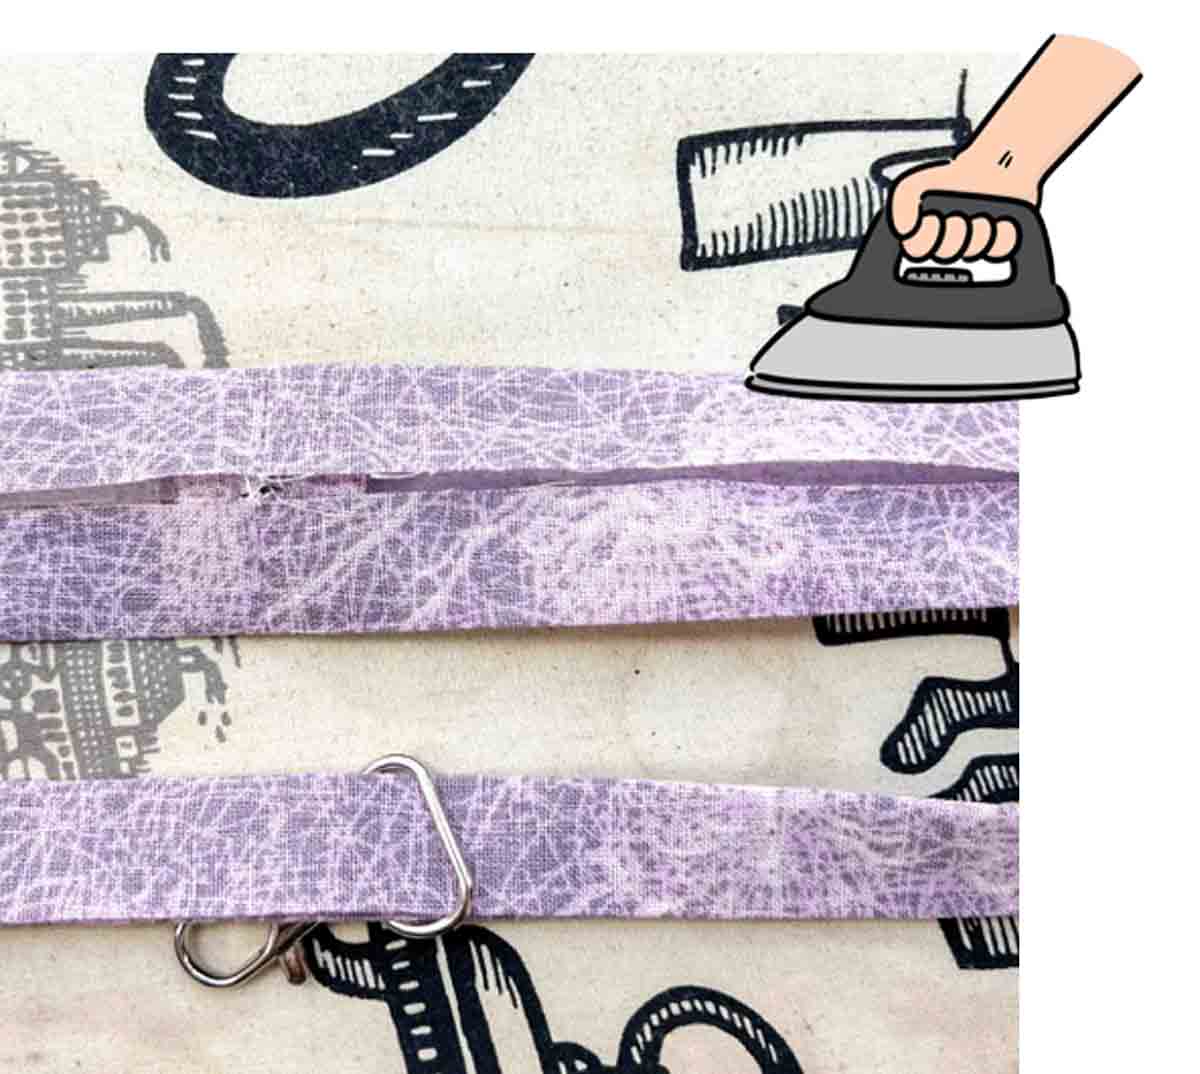
Now fold and press entire fabric strip in half
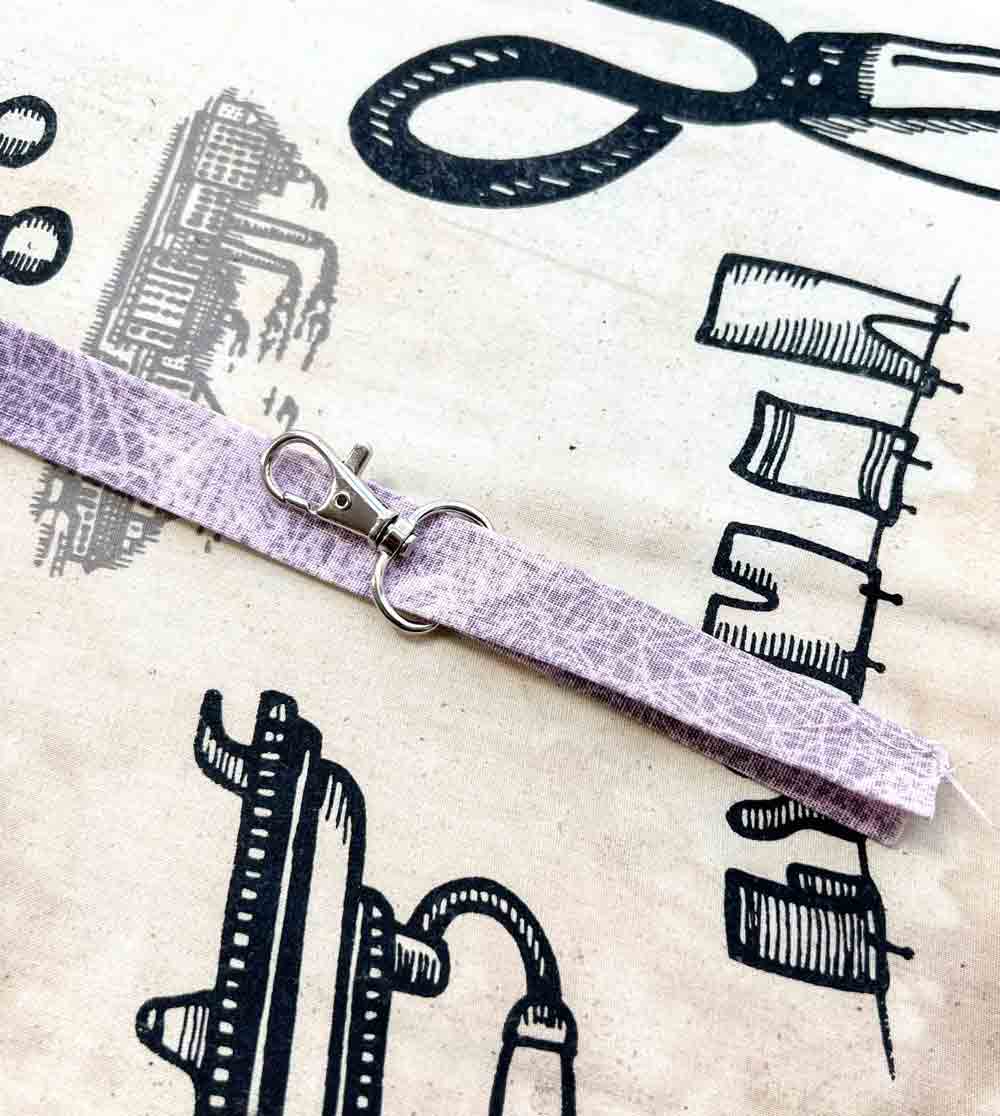
Next, thread folded fabric strip through lobster clasp loop.

Now slide lobster clasp to about middle of of fabric strip so it’s away from the ends. Open up both ends of fabric strip.
Next, place fabric ends with each other, right sides together. Hold in place with clips/pins.
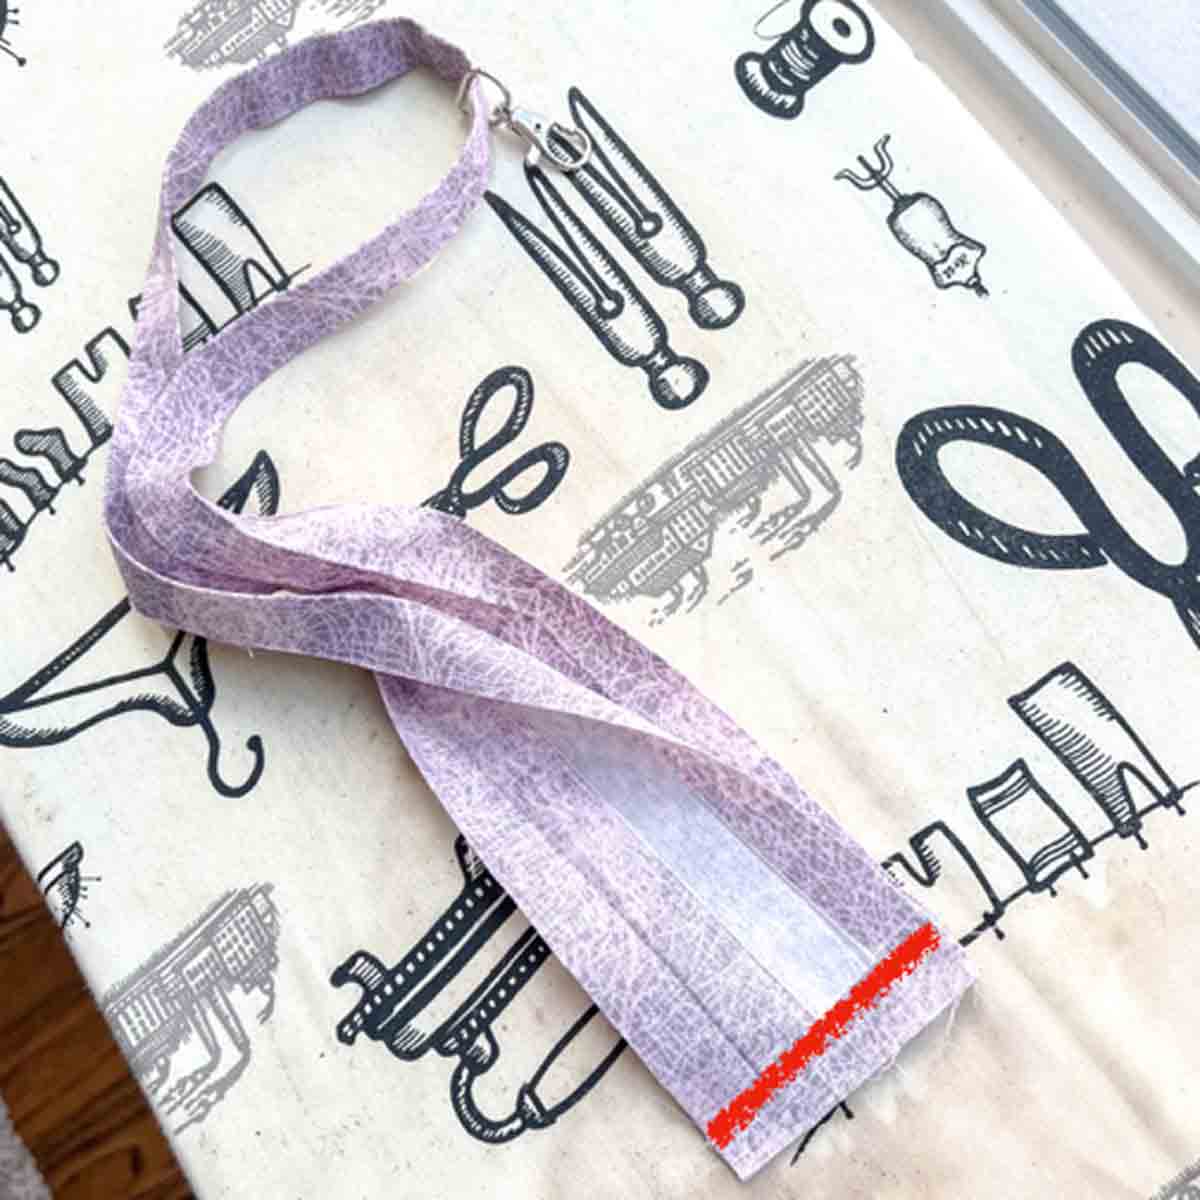
Then sew together at 1/2” (1.27cm) seam allowance (red line). Back stitch on both ends of sew line.
Next, trim down seam allowance to 1/4” (6mm) if you are using thick cotton. In the photo I’m using a very thin cotton so I didn’t bother trimming the seam allowance. Then press open seam allowance.

Now fold bottom edge up to midline again and give it a good press.
Repeat folding top edge down to midline and give it a good press.
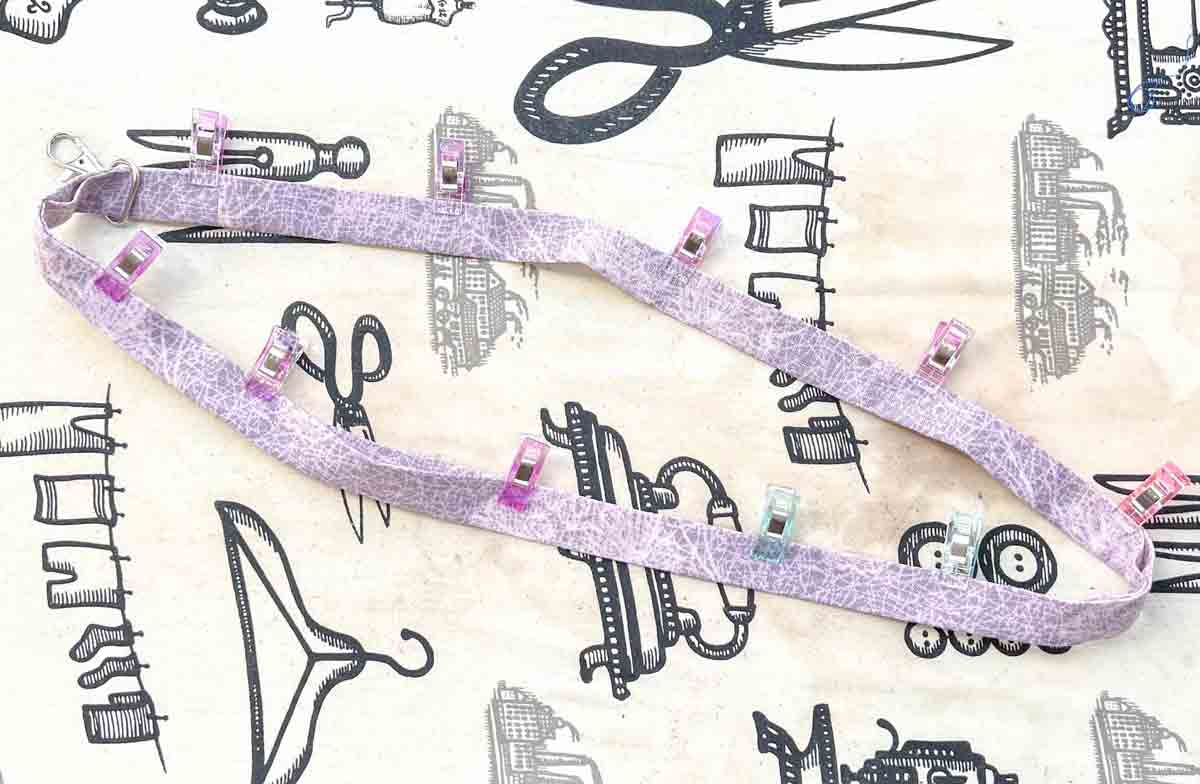
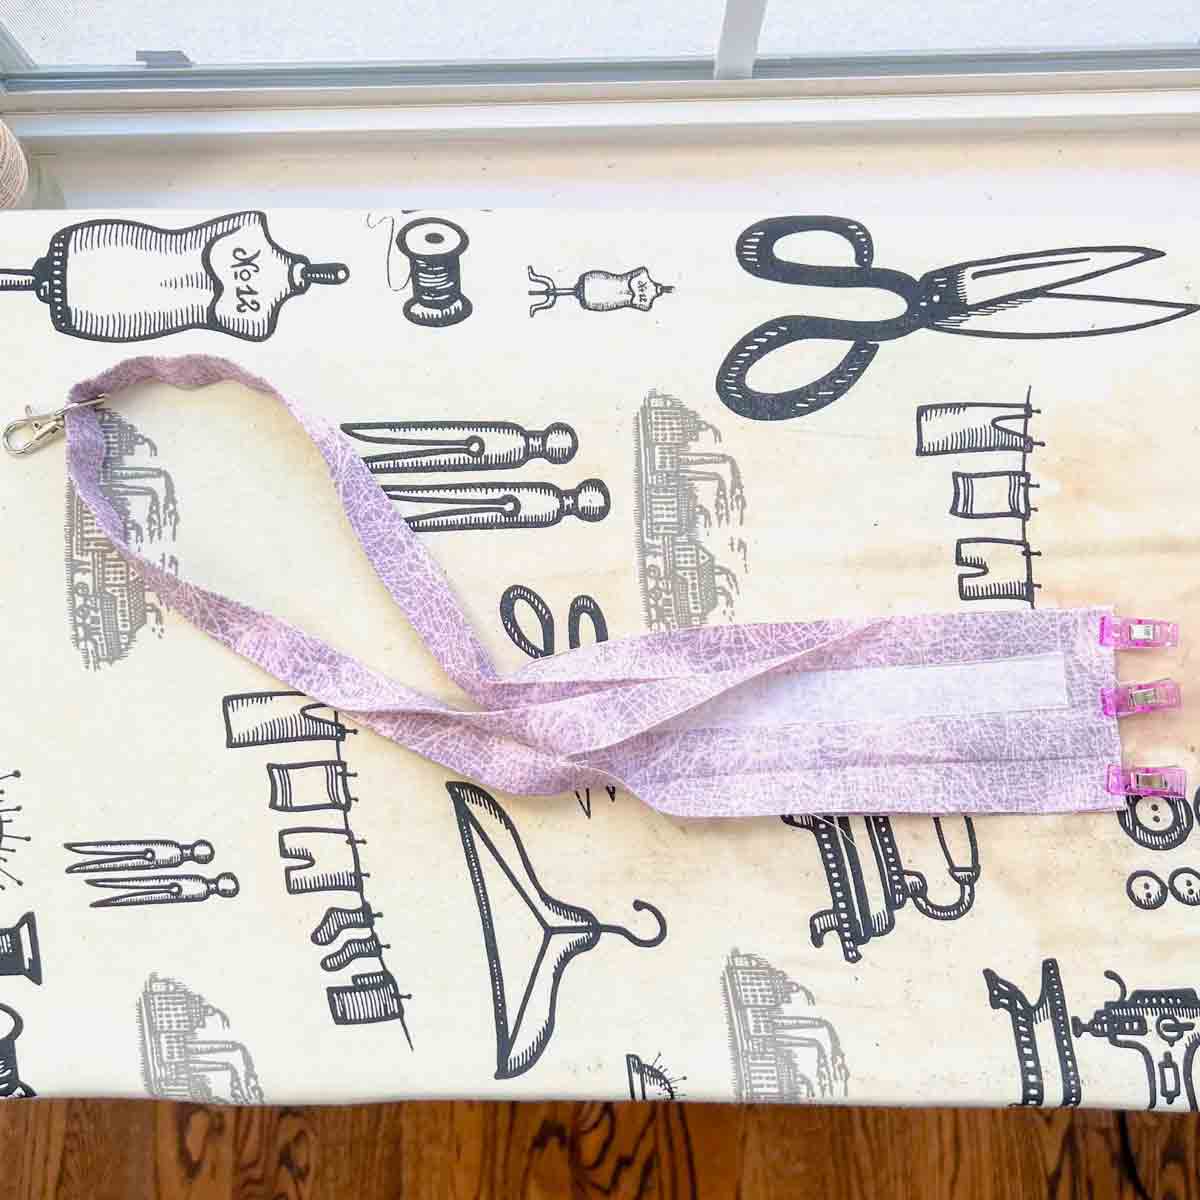
Next, fold entire lanyard in half and hold in place with clips/pins.

Then stitch entire lanyard down on sides, 1/8” (3mm) from both edge (black dotted line).
Your lanyard will look something like the photo at this point.

Now align your lanyard so the seam is where the lobster clasp hook is.
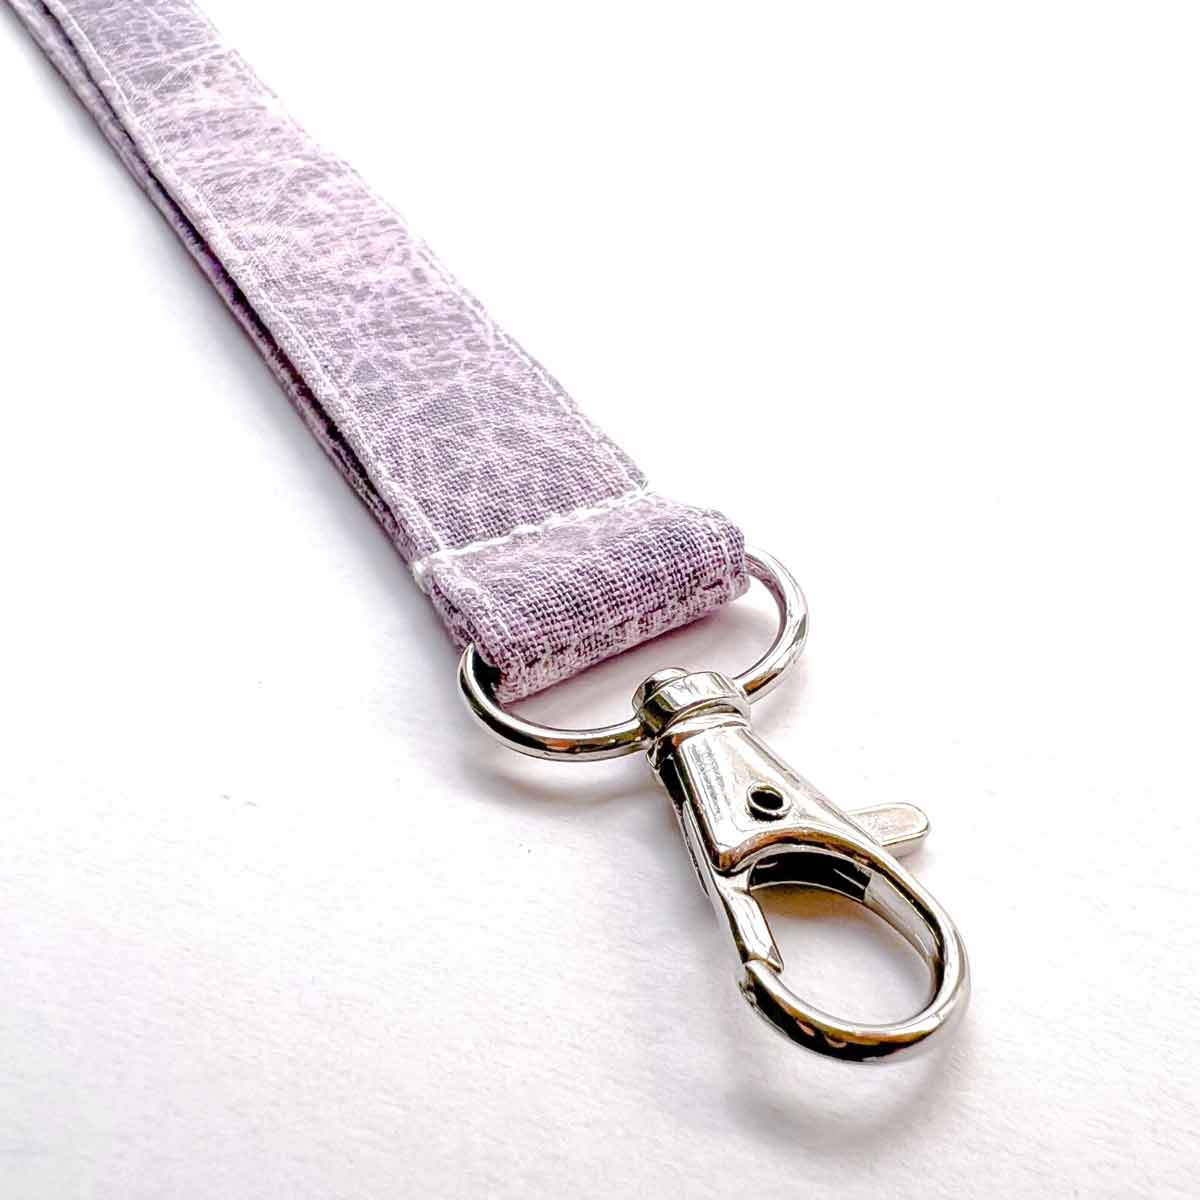
Finally, stitch lanyard together to hold the lobster clasp in place. Make sure to back stitch a few times to reinforce.
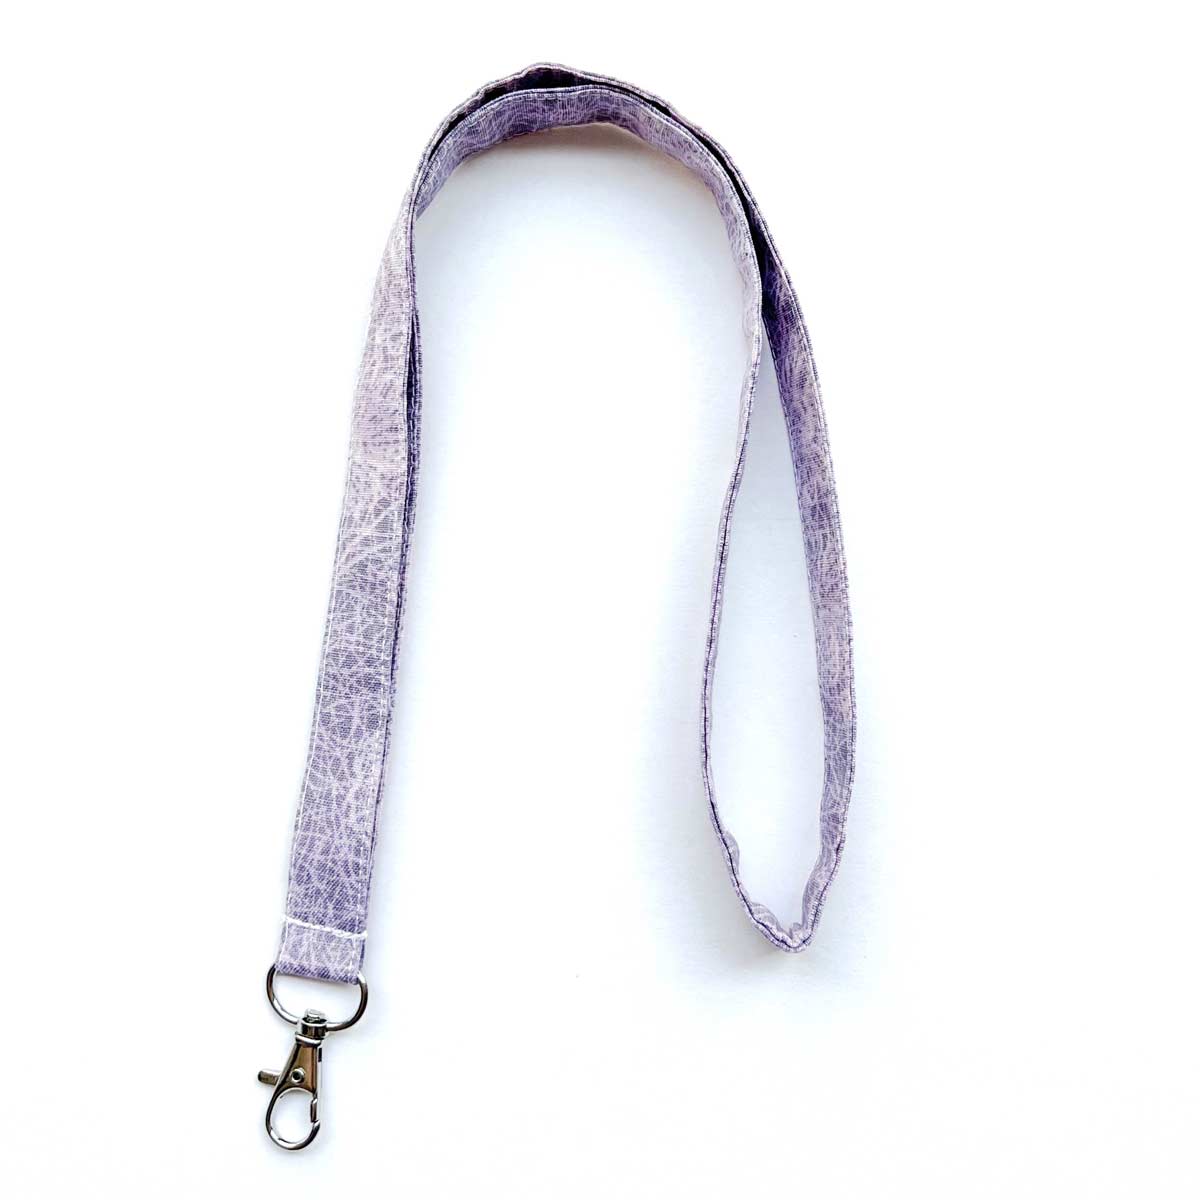
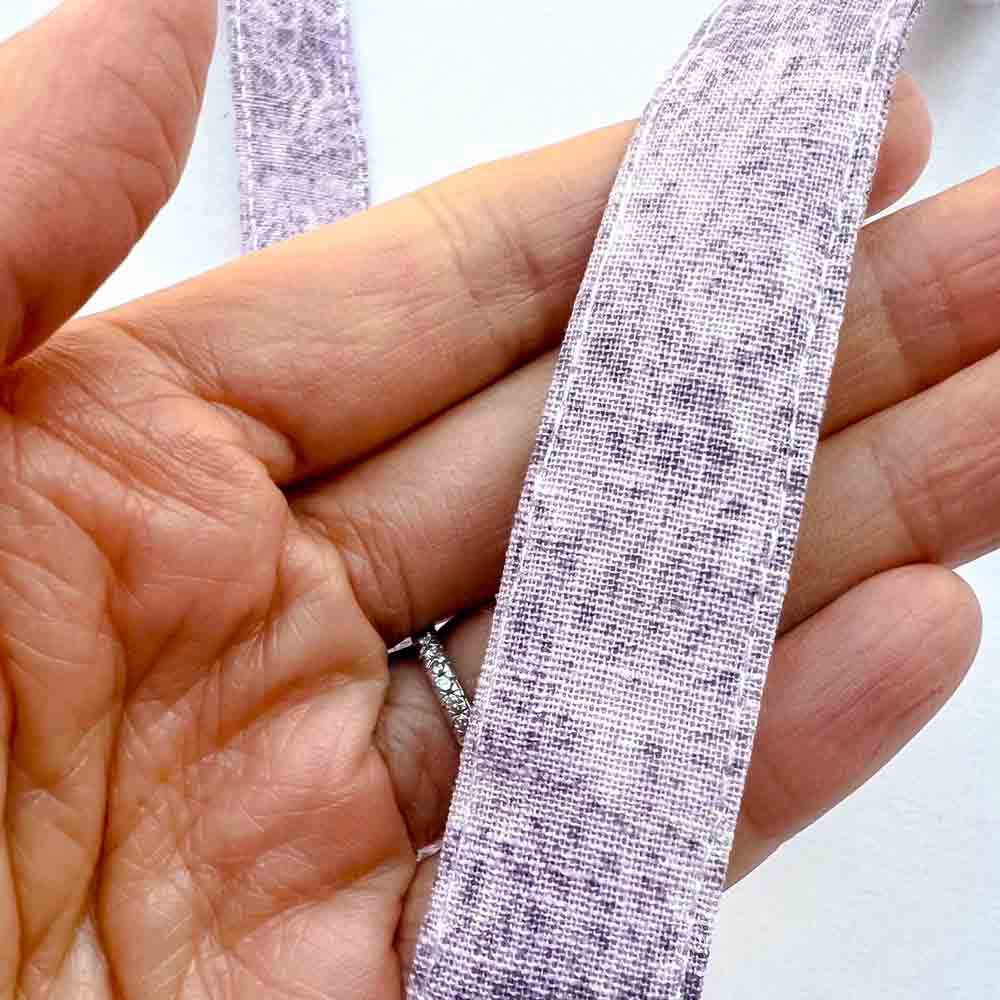
Your lanyard is finished!
How to Sew a Lanyard

These DIY fabric lanyards are a pinch to make! Perfect sewing project for beginners.
Materials
- COTTON FABRIC - 1 Yard
- FUSIBLE INTERFACING
- LOBSTER SWIVEL CLASP - 3/4' or 1/2", depending on the width you want your lanyards to be
- HOME SEWING MACHINE
- SEWING PINS or
- SEWING CLIPS
- MATCHING THREAD
- IRON
Instructions
- Cut out fabric and fusible interfacing according to pattern dimensions.
- Fold and iron press fabric in half along the long length (36”) of fabric.
- Open up your fabric. You will now have a crease marked along the midline.
- Next, place fusible interfacing (adhesive side down towards wrong side of fabric) right above crease line. Interfacing should be 1/2” shorter than fabric on both sides.
- Fuse interfacing to wrong side of fabric.
- Next, fold bottom edge up to crease line and press down.
- Fold and press top edge down to meet at the midline.
- Fold and press entire fabric strip in half.
- Thread folded fabric strip through lobster clasp loop.
- Next, slide lobster clasp to about middle of of fabric strip so it’s away from the ends. Open up both ends of fabric strip.
- Place fabric ends with each other, right sides together. Hold in place with clips/pins and sew together at 1/2” (1.27cm) seam allowance. Back stitch on both ends of sew line.
- Next, trim down seam allowance to 1/4” (6mm) if you are using thick cotton.
- Press open seam allowance.
- Fold bottom edge up to midline and give it a good press.
- Fold top edge down to midline and give it a good press.
- Fold entire lanyard in half and hold in place with clips/pins.
- Stitch entire lanyard down on sides, 1/8” (3mm) from both edge.
- Now align your lanyard so the seam is where the lobster clasp hook is.
- Stitch lanyard together to hold the lobster clasp in place. Make sure to back stitch a few times to reinforce.
- Your lanyard is finished!